Showing posts with label top. Show all posts
Showing posts with label top. Show all posts
Thursday, March 7, 2013
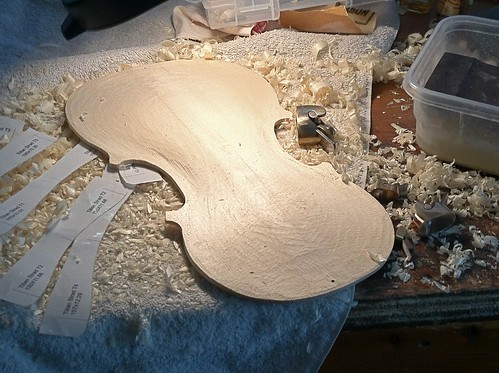
Top arching.
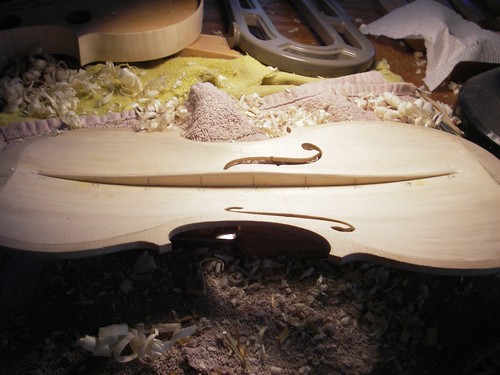
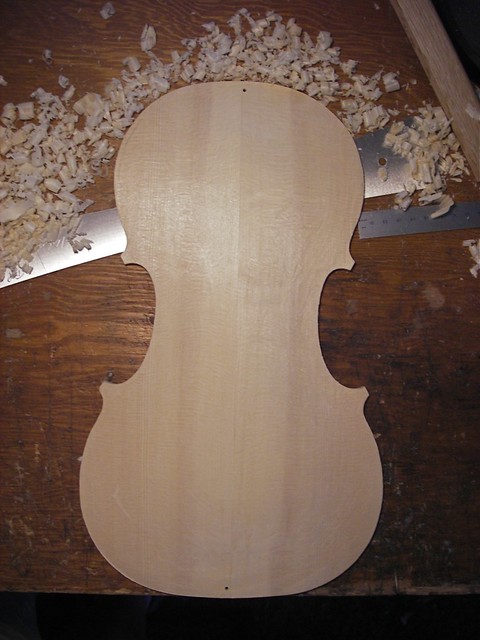
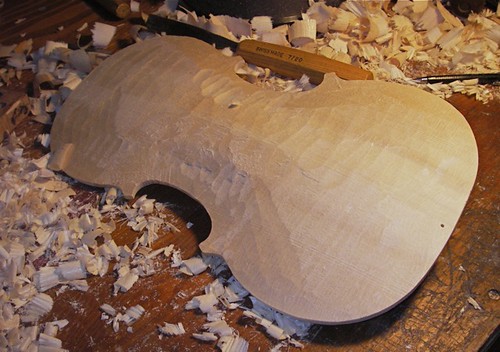
Just an in-progress shot, complete with messy bench; I'm waiting for a customer to show up with a bass that's lost its neck and another with a couple fiddles that need some tending-to.
The top is at the point I really need to finish the outline, get the corners into shape, and get the purfling installed. This spruce is really chippy, so I have the wet-stone at the ready for sharpening touch-ups. I'm using an Bros. Amati outline and Strad "Titian" arching.
Thursday, July 5, 2012
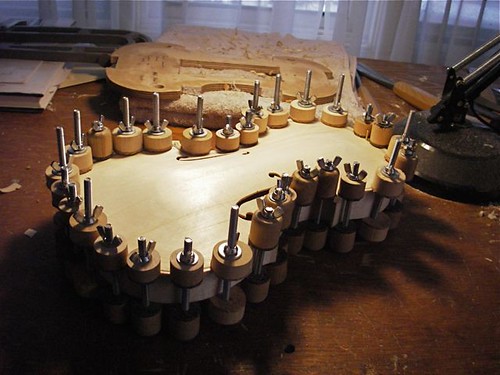
Glueing the top to the ribs
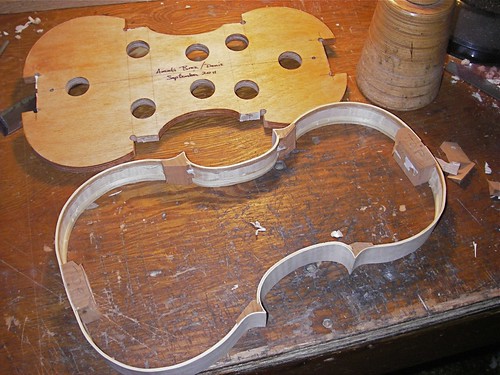
Getting ready to remove the form from the ribs, I clip the blocks with a chisel and mallet. This gives me a little more wiggle room.
The rib assembly is flexible yet strong. It only takes a few minutes to get the form out. I clean up the blocks most of the way before glueing the top on.
Hide glue and clamps, we starting to have a box. Always a fun point in the process. I spent some time carving the scroll today as well, and it is sitting in the background between the sharpening stone and the caliper.
Now a glass of wine is in order.
Wednesday, July 4, 2012
Finishing the inside of the top
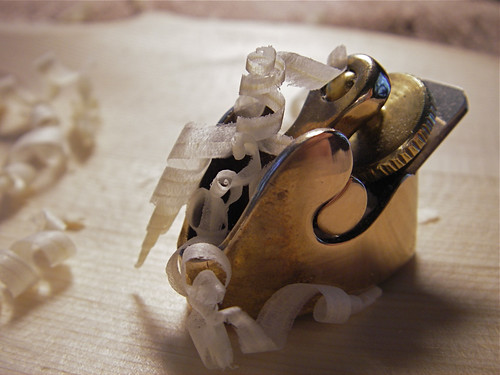
With the outside pretty much done, it's time to finish the inside of the top. I use a big-sweep gouge to remove most of the stuff, and this goes fairly fast. Then onto thumb-planes of decreasing size. At the end, you're removing fairly thin shavings. This thumbplane has a sole length of 28-mm, or about an inch and an eighth.
I use a graduation-punch modeled after the one in the Stradivari Museum in Cremona to mark the final thicknesses. Here, the punch is a 16d nail sharpened on a grinder and the anvil is a carriage bolt with a wing-nut soldered on to allow up and down adjustment. You simply put the plate in the center, against the anvil, and lower the upper arm to press holes to the proper depth.
As we get thinner, we can use light to look for uneveness.
It's a little-known fact that Stradivari invented the incandescent lightbulb for this very purpose. At least, that's what I've heard from some violinmakers, but further research has shed some doubt an that attribution. At the very least, bright light is a good tool on new wood. The two dark bands here are stripes of denser wood showing up more and more prominently as I proceed. Wood -- you never know exactly what to expect.
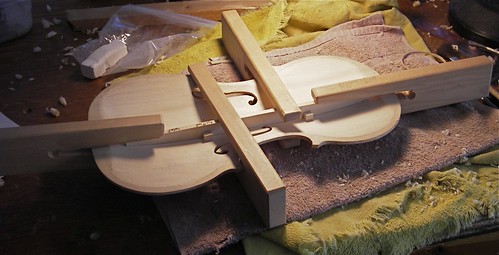
When the inside is finished, the bass-bar material is then fit to the surface. Once the fit is done, it is glued in place with hide glue. Here I am using simple, old-fashioned clamps to hold the bass bar in place.
After the glue has set, the bassbar profile can be shaped.
With that, the insides are done. Next is to shape the edges, then glue the top onto the rib assembly.
Wednesday, May 16, 2012
Refining the edge and arching
I spent time today cleaning up the edge and the arching. For the cross-arching, I am using curtate-cycloids, which seem to follow Cremonese arching fairly well and are at the very least a practical concept for the arching. I have the edges down to about 4.5 mm, so once the edges are adequate, I can put the purfling in. First, though, I will get the back to near the same state to get the corresponding edges and overhangs somewhat coherent.
Friday, May 11, 2012
Thursday, March 22, 2012
One small step -- joining a top.
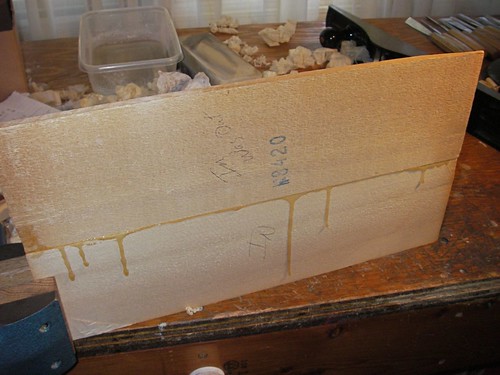
I have been so busy with work lately that I haven't had a breath of time to work on my own instruments. Today, I finally said to heck with it and joined a top. It has been since the end of November when I've done anything towards my Amati Bros. form -- so now I have a top to work with. Small victory, but still a victory.
Friday, April 29, 2011
A new top, pt 3

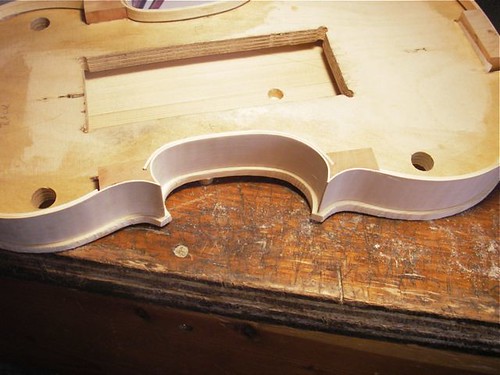
With gouge and fingerplanes, I'm working the edge down vertically, rasps and knife-work to bring the overhang under control.
Trying to keep the overhang fairly uniform, as well as trying to keep a nice flow to the curves.
I have a form that I made from a template of the Red Diamond Stradivari. I don't know how good the template was (though I assume it was reasonable) or what original Stradivari form was used. I have a small collection of Strad magazine posters of various instruments to use as inspiration. Here is the rough top on the 1715 "Messiah" poster.
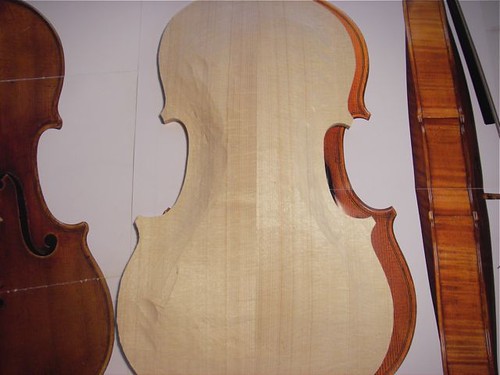
And here is the top on the 1709 "Viotti" poster. I guess I'm soon to make a new form, closer to the information I have at hand, so I can better understand violin design.

I modified the angle of the upper corners to more closely approximate what I saw on the posters, and will give it a rest for the day. I have customer instruments to tend to, and fresh eyes will be better for finalizing the outline.

Wednesday, April 27, 2011
A new top, pt 2
Using planes of various sizes to get the inside surface flat, which is pretty nice work on spruce -- much harder with maple.
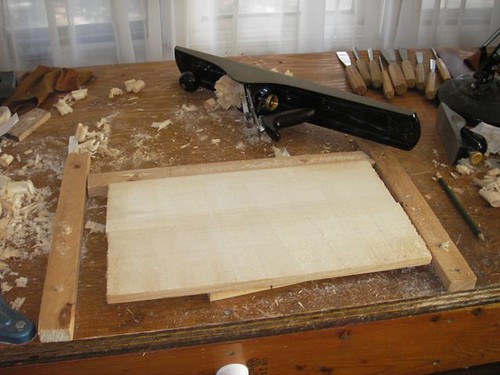
With the inside surface flat, I can lay the rib assembly against it and trace out the overhang.

Using a coping saw, I cut out the rough outline, except for the c-bouts. I'm not clever enough to get in there all in one pass, at least not yet, and I'd rather not break off a corner at this stage.
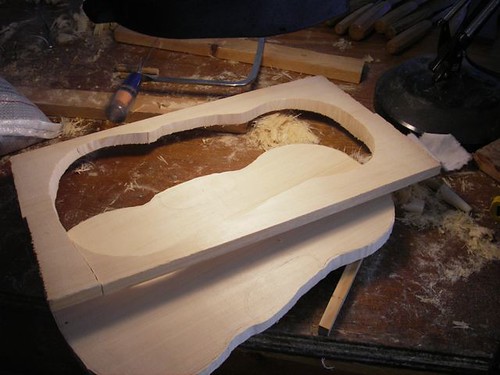
Using clamps and a bag of bird shot, I can finish cutting out the c-bouts and start to clean up the edges with a rough rasp.

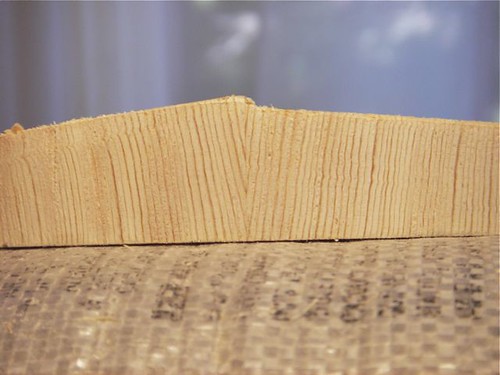
Following the advice of Michael Darnton, I flip one side of the spruce. The idea is that you get a stronger piece of wood, with the grain lines more perpendicular to the surface. I haven't actually measured this but I like the idea. Here, with the full thickness of the spruce, you can see the pattern --
\\\\\\\\\|//////// (the | is the glue joint)
--- that one gets with this method.
Without flipping, you get
//////|////// or \\\\\\|\\\\\\\ .
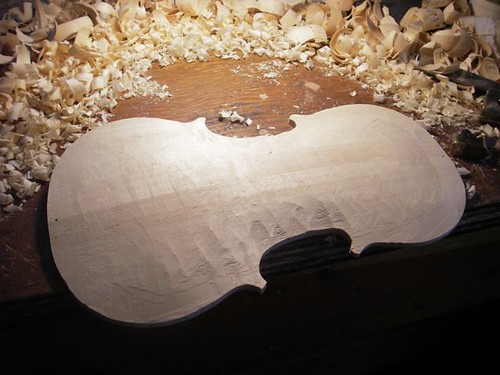
With a big gouge, it's great fun to remove big curls of spruce, getting down more to something violin shaped.

A little work with some thumb planes, and we start to get a nicer surface.

With the inside surface flat, I can lay the rib assembly against it and trace out the overhang.

Using a coping saw, I cut out the rough outline, except for the c-bouts. I'm not clever enough to get in there all in one pass, at least not yet, and I'd rather not break off a corner at this stage.

Using clamps and a bag of bird shot, I can finish cutting out the c-bouts and start to clean up the edges with a rough rasp.

Following the advice of Michael Darnton, I flip one side of the spruce. The idea is that you get a stronger piece of wood, with the grain lines more perpendicular to the surface. I haven't actually measured this but I like the idea. Here, with the full thickness of the spruce, you can see the pattern --
\\\\\\\\\|//////// (the | is the glue joint)
--- that one gets with this method.
Without flipping, you get
//////|////// or \\\\\\|\\\\\\\ .

With a big gouge, it's great fun to remove big curls of spruce, getting down more to something violin shaped.

A little work with some thumb planes, and we start to get a nicer surface.

Tuesday, April 26, 2011
A new top

I finished installing the purfling on both the top and back, and was disgusted by what I had created. As I had mentioned before, the corners here were an experiment, and after getting the purfling in, I realized that there is no way I could be happy with the result, particularly on the top. So, I broke it against the edge of the bench, to relieve myself of the pondering how to save it, and am off to make another top. I'm still contemplating the back.
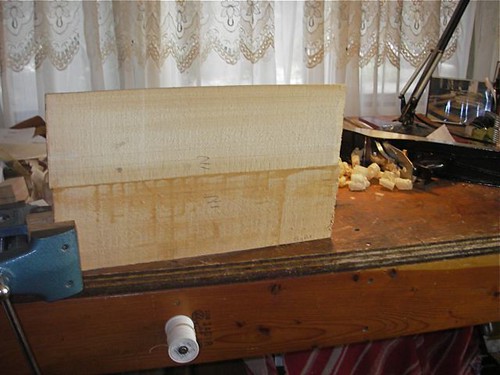
Here is the new top, planed to fit and glued with a rub joint.
Wednesday, December 8, 2010
Gluing the top on; Jackson-Sloan Stradivari
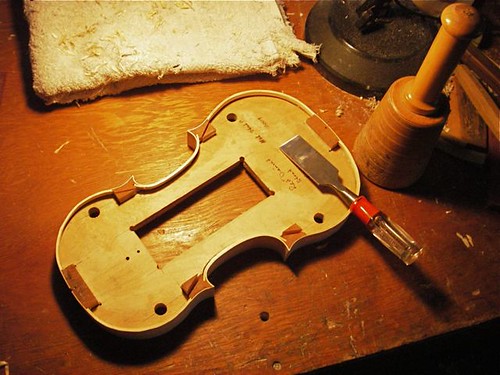
Following advice of Oded Kishony, I'm going to fit the neck to the body before gluing the back to the ribs. To glue the top to the ribs, though, I need to get the form out. I trimmed the linings last night, and this morning I took out the form. It appears to be a problem, but just split the corner blocks on the diagonal, knock the end and neck blocks loose, and you can spread the ribs taking the form out.
A word about the chisel with the plastic handle. It's cheap. I bought it over 30 years ago when I was doing carpenter work and carried it about in my leather work-apron. In my violin work, I find it pretty handy for scraping old hide glue and other destructive tasks. It takes a quick edge, though it doesn't last, and is the right size for splitting out blocks.
After the form is out, I trim the blocks to their final shape.
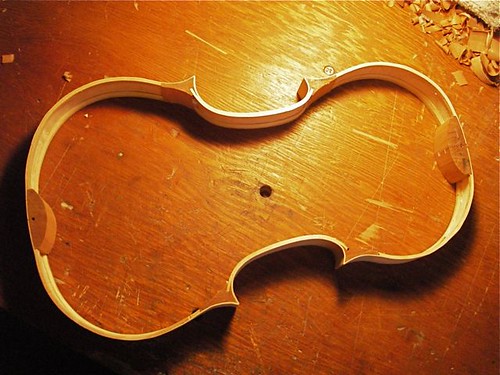
Here's the top glued to the ribs. Next step is to finish up the neck, then fit it.
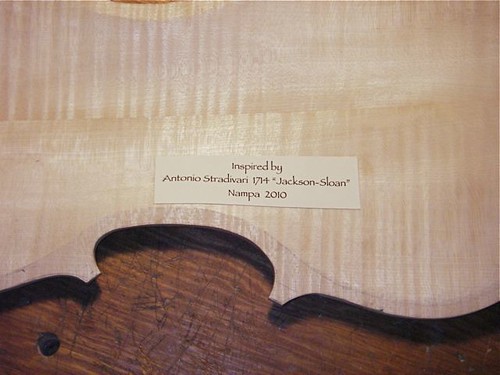
With the glue hot, I decided to add the label to the back. Here it reads: Inspired by Antonio Stradivari 1714 "Jackson-Sloan" Nampa 2010. Inspired here really means in the more artistic sense, and certainly not a copy.
This past June, at the Southern California Violin-Makers Workshop, I got to play the 1714 "Jackson" Strad, as well as a 1742 Guarneri del Gesu, both owned by Doc Bill Sloan. A tremendous experience, I was particularly taken by the Strad. I was also surprised by its appearance, being much higher arched than I would have expected out of a Stradivari. We were able to really look over these instruments, and estimated the Strad top arch at 18 mm, and what appeared to me to be very steep arching. The e-string on this Strad was simply amazing. Anyway, I tried to follow a similar arching concept, without having anything like arching diagrams, just my memory. Hence, "inspired by."
Labels:
arching,
ribs,
Southern California Violin Makers Workshop,
top
Tuesday, December 7, 2010
Shaping the bass bar
I fit the bass bar to the inside of the top yesterday, and glued it in place. Today, the fun part of trimming it down to shape. I get a kick out of running the thumbplane along the upper edge and taking off long curls of spruce.
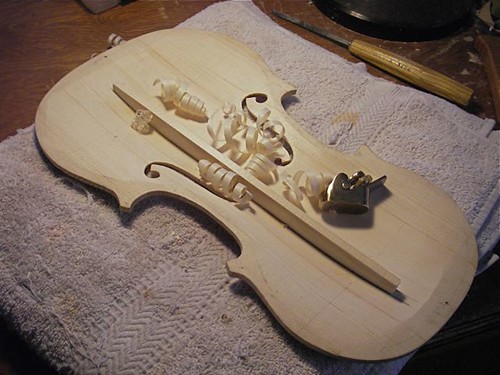
Here's the finished bassbar. This one has a somewhat higher arching than my last fiddle, which also shows up in the shape of the bar. After rounding the outer edge, I'll glue the top plate onto the rib assembly.


Here's the finished bassbar. This one has a somewhat higher arching than my last fiddle, which also shows up in the shape of the bar. After rounding the outer edge, I'll glue the top plate onto the rib assembly.

Saturday, November 27, 2010
Hollowing the top
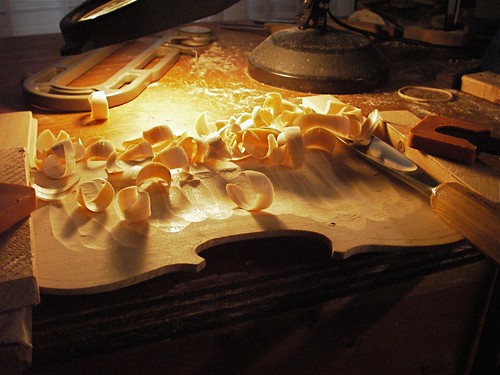
After messing about with the fine removal of wood on the outside arching, I find it great fun to gouge out big chips of wood, starting the hollowing on the top.
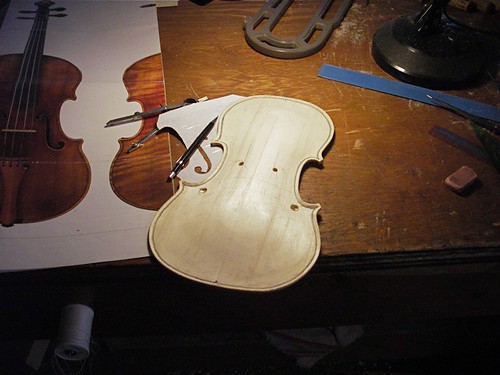
Before starting the hollowing, I layout the f-holes and drill the terminal holes on each end. This particular step takes me much more time than it should. I draw and redraw the f-holes several times before I get something I think will be ok. Once the holes are drilled, however, I'm committed.
I use a simple cradle to hold the top during hollowing.
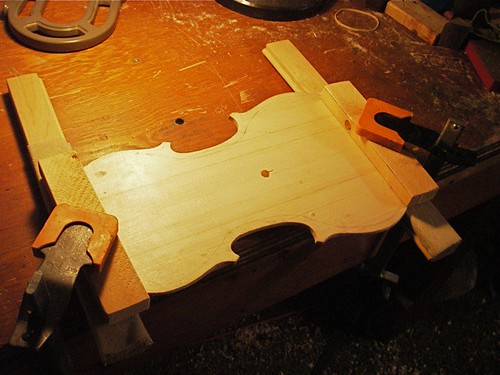
The hole drilled in the bench and the hole in the top match -- while arching, I use a 3/8-inch dowel in the bench to hold the top in place, yet allowing me to rotate the top easily.
After getting some of the 'meat' out of the center, I set up my drill press for a rough graduation thickness. In this case, I've set the drill to leave a thickness of about 4 mm.
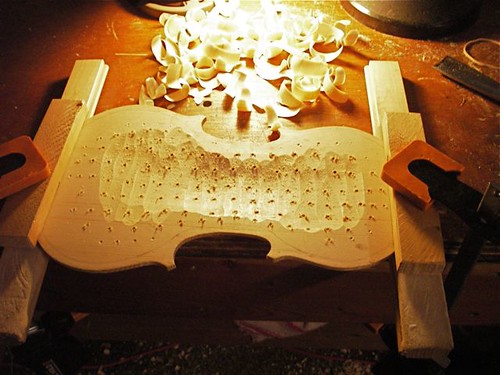
With the rough-graduation holes drilled, I can then again quickly scoop out most of the spruce, leaving just the 'tips' of the holes for reference. You can also see the previously drilled f-holes starting to be exposed, for example, on the lower hole next to the corner at the lower right, from this perspective.
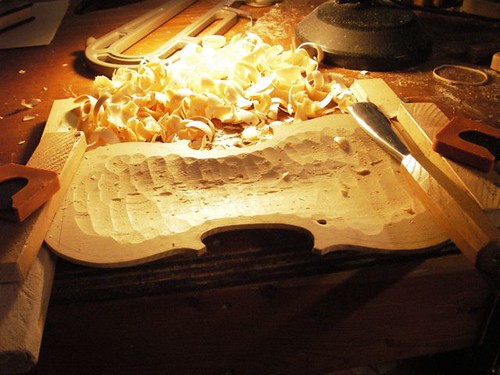
Switching over to the larger thumb plane, I start smoothing the rough gouging.
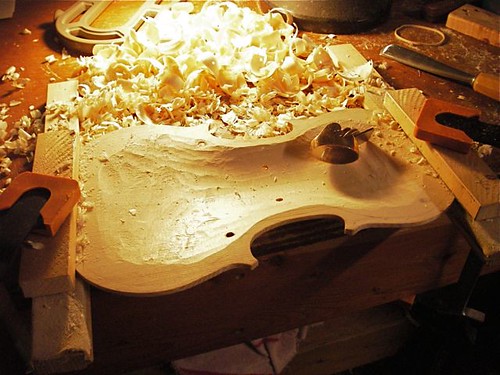

Before starting the hollowing, I layout the f-holes and drill the terminal holes on each end. This particular step takes me much more time than it should. I draw and redraw the f-holes several times before I get something I think will be ok. Once the holes are drilled, however, I'm committed.

I use a simple cradle to hold the top during hollowing.

The hole drilled in the bench and the hole in the top match -- while arching, I use a 3/8-inch dowel in the bench to hold the top in place, yet allowing me to rotate the top easily.
After getting some of the 'meat' out of the center, I set up my drill press for a rough graduation thickness. In this case, I've set the drill to leave a thickness of about 4 mm.

With the rough-graduation holes drilled, I can then again quickly scoop out most of the spruce, leaving just the 'tips' of the holes for reference. You can also see the previously drilled f-holes starting to be exposed, for example, on the lower hole next to the corner at the lower right, from this perspective.

Switching over to the larger thumb plane, I start smoothing the rough gouging.

Friday, November 19, 2010
arching and varnishing
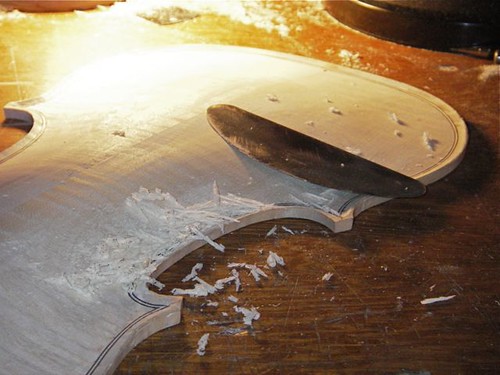
Down to the scraper, trying to get rid of all the little bumps and grooves on the back.
The arching is nearly finished (at least I'm thinking that now on Friday evening). Will look at them again in the morning, then turn them over and start hollowing.

Two varnished backs. The one on the left, the lighter color, is what I'm currently playing. The one on the right is currently being varnished -- in fact the varnish here is still tacky. I'll rub it down, then add another clear coat or two.

Thursday, November 4, 2010
"More and more about less and less"

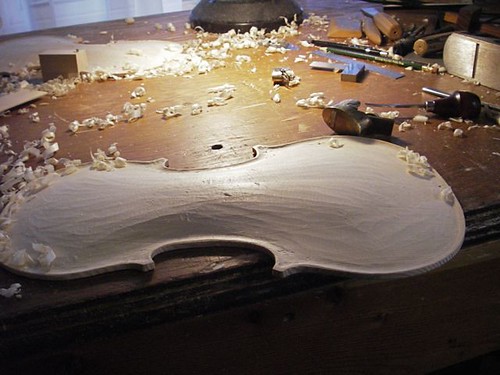
Working the arching down, at the same time working the channel -- the scoop around the edge. Still a ways to go on the arching, but it's starting to look like a fiddle.
Cutting the channel around the edge of the plate, it's hard to tell how deep you are. Since I cut my plate with it sitting flat on the bench, I built a very simple height gauge.
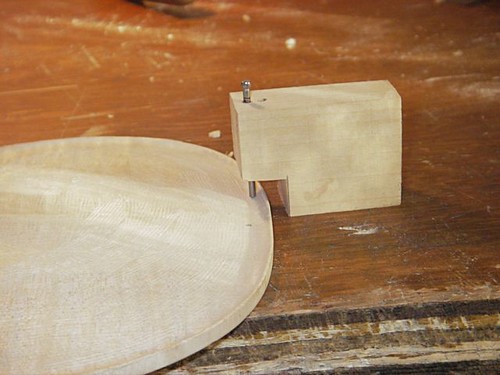
A blunt nail is the indicator, with little black stripes (at the top, near the head of the nail) marked at 3 and 4 mm above the bench surface. When I get in that range, I can be a little more careful, and go to a more accurate caliper to finish up.
The top is still quite high, about 18 mm in the center. I want to get as much as I can, reasonably, out of this one, but my back is at 16 right now, so I still have wood to remove here.
Wednesday, October 27, 2010
Channeling Stradivari
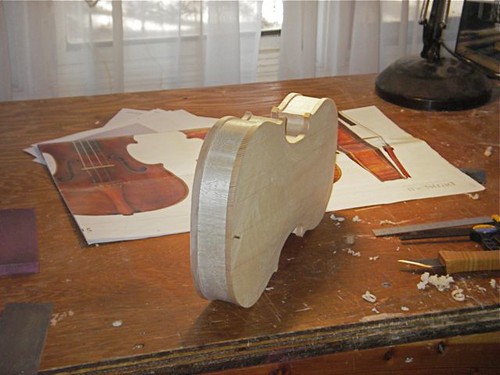
Here I am using the registration pins to attach the plates to the rib assembly. You can notice one pin sticking out of the spruce top-plate on the end facing us. Doing this allows me to see the overhang and make adjustments in an attempt to get it both uniform and flowing. At this point, the plates are still quite thick.
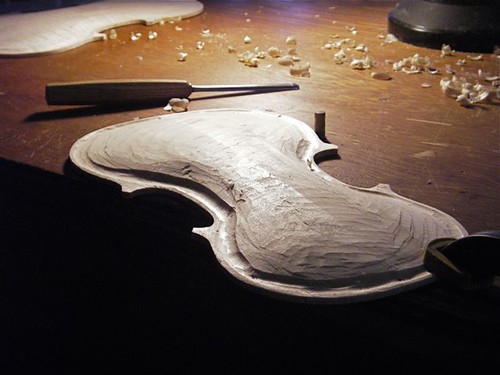
This is a time-consuming part for me. Here I have started to cut the channel in the maple back. Slow going, as I need to be careful as I bring the channel out to the edge. In this particular back plate, I have a particularly messy bit of grain in the central C-bout area, which is particularly entertaining to cut through.
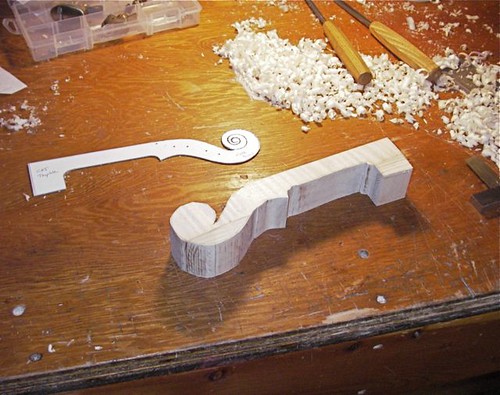
While giving my eyes a break from the channel cutting work, I squared up the neck block, traced out the template, and cut the block on my bandsaw, which is an older benchtop model, underpowered, from Sears. I have learned through experience that it is better on these necks to give a bit of clearance to the line. The blade is prone to wander a bit from vertical, lopping off wood I'd rather keep. I finish up the outline with gouges and rasps. The shavings on the bench are from work I was doing earlier on the spruce top plate.
Thursday, October 21, 2010
Cutting corners
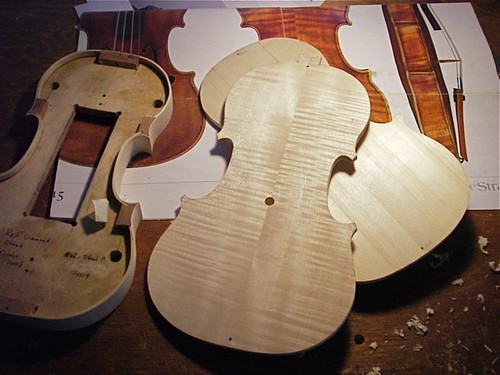
Spent a few hours today working on corners. Still not finished. Corners are picky spots, which really strain how clearly one can see. Is that the curve? No, more like this. No. Maybe a slice here.
And so on....
The hole in the plate is there so I can pivot the plate on the bench, rotating it this way and that, as I work on the arching. When I hollow the plate, it will be taken out.
Monday, October 18, 2010
Cutting the outline of the violin top
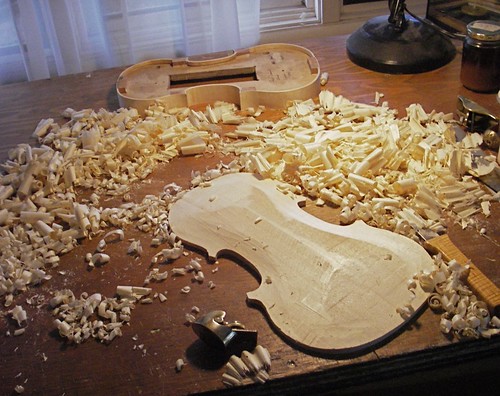
After getting the ribs leveled (they're still attached to the form) and leveling what will be the inside surface of the top, I clamped the two together and traced the outline. For the first time, I used a handheld power jig saw to cut the outline. In the past, I've used the bandsaw. It worked reasonably well, and quick, but you do have to be careful to cut in the proper direction for the grain, as it's easy to lift out little chunks of spruce if you're cutting 'uphill'.
Then it's onto rasps and knives to clean up the outline, a bit of pencil work to try to get the corners right, and one part I really enjoy, taking off wood with the planes as I start the arching (the outside shape).
Subscribe to:
Posts (Atom)

