
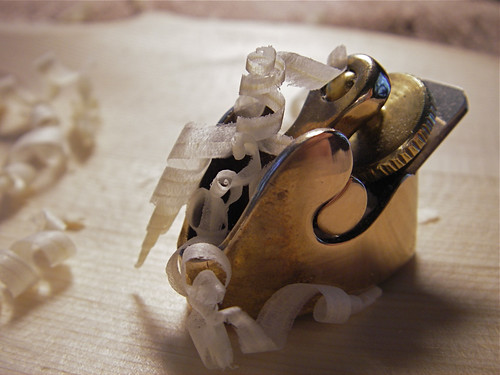
I use a graduation-punch modeled after the one in the Stradivari Museum in Cremona to mark the final thicknesses. Here, the punch is a 16d nail sharpened on a grinder and the anvil is a carriage bolt with a wing-nut soldered on to allow up and down adjustment. You simply put the plate in the center, against the anvil, and lower the upper arm to press holes to the proper depth.

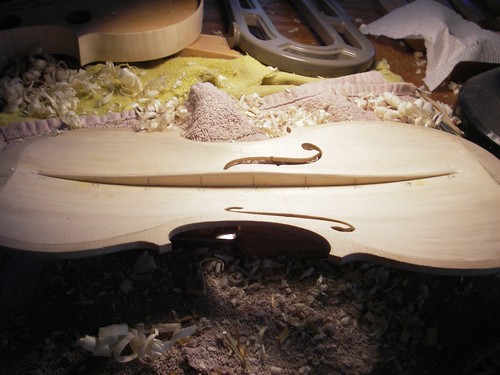
As we get thinner, we can use light to look for uneveness.

It's a little-known fact that Stradivari invented the incandescent lightbulb for this very purpose. At least, that's what I've heard from some violinmakers, but further research has shed some doubt an that attribution. At the very least, bright light is a good tool on new wood. The two dark bands here are stripes of denser wood showing up more and more prominently as I proceed. Wood -- you never know exactly what to expect.
When the inside is finished, the bass-bar material is then fit to the surface. Once the fit is done, it is glued in place with hide glue. Here I am using simple, old-fashioned clamps to hold the bass bar in place.
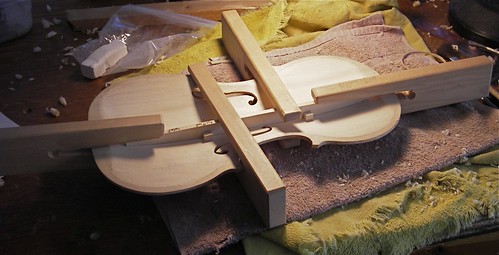
After the glue has set, the bassbar profile can be shaped.
With that, the insides are done. Next is to shape the edges, then glue the top onto the rib assembly.
No comments:
Post a Comment