Showing posts with label Linings. Show all posts

Thursday, July 5, 2012

Glueing the top to the ribs


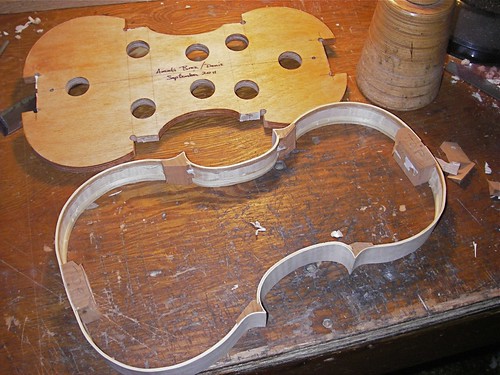
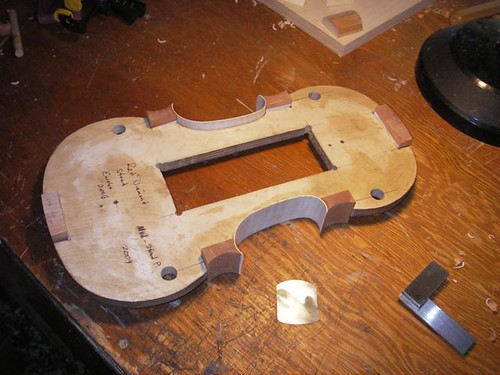
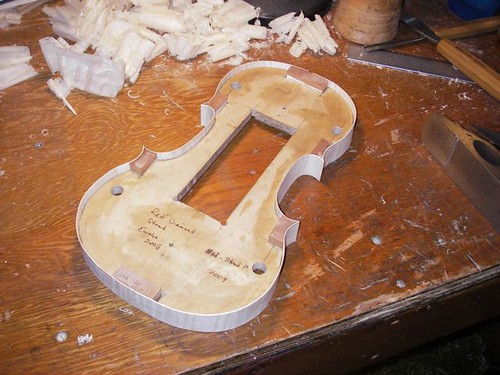
Getting ready to remove the form from the ribs, I clip the blocks with a chisel and mallet.  This gives me a little more wiggle room.

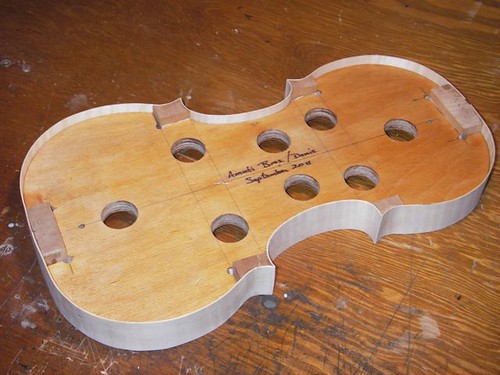
The rib assembly is flexible yet strong.  It only takes a few minutes to get the form out. I clean up the blocks most of the way before glueing the top on.


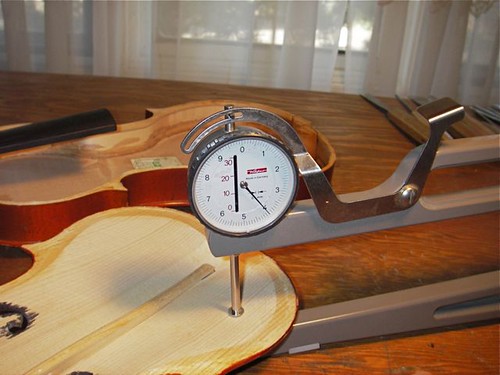
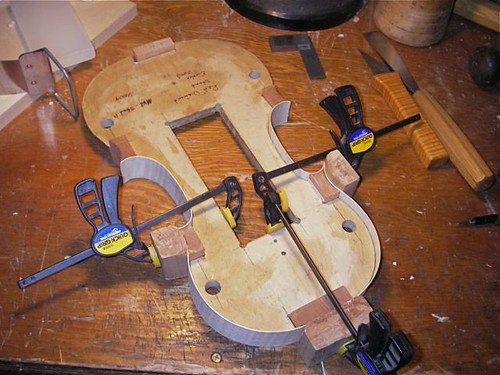
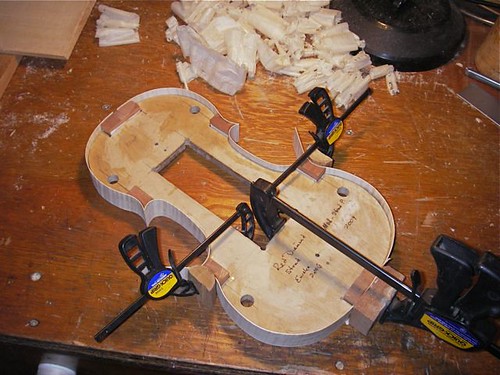
Hide glue and clamps, we starting to have a box.  Always a fun point in the process.  I spent some time carving the scroll today as well, and it is sitting in the background between the sharpening stone and the caliper.


Now a glass of wine is in order.

Tuesday, November 29, 2011

Linings, or slotting the hedgehog


With all the ribs bent and glued to the blocks, it's time to get the linings installed. Linings add strength to the ribs as well as increasing the gluing surface for the top and back seams.

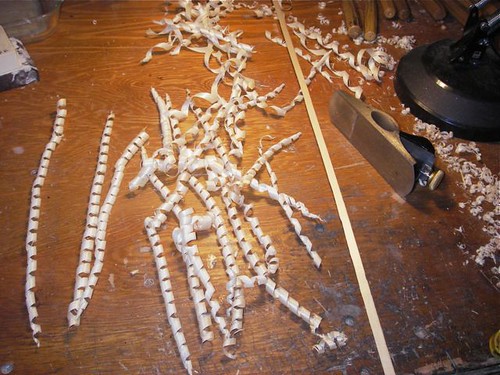
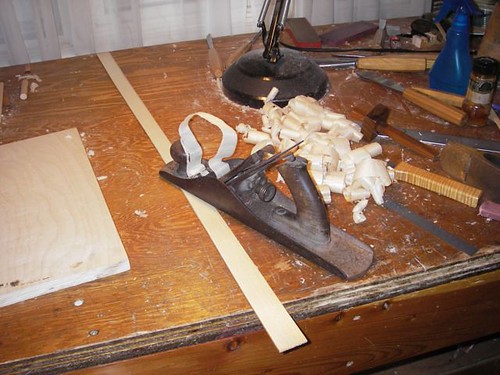
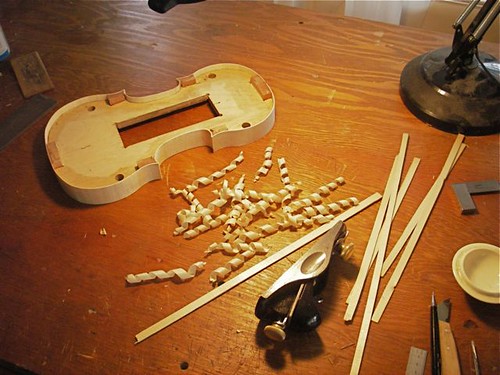
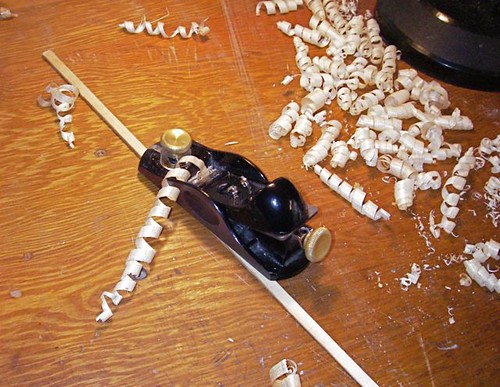
Working down willow for linings is cheap thrills indeed -- it's always fun to peal off some long shavings. The linings are thinned to about 2 mm, bent, and inlet in to the corner blocks at the c-bouts.


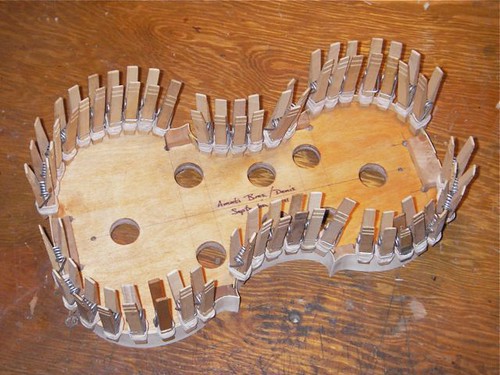
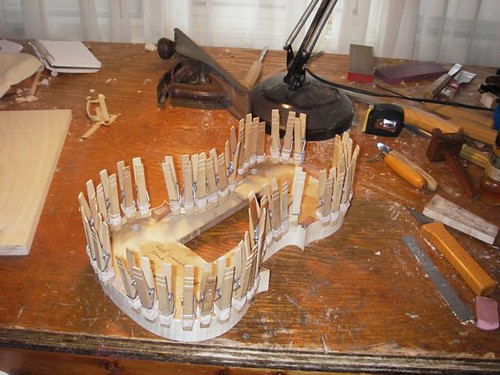
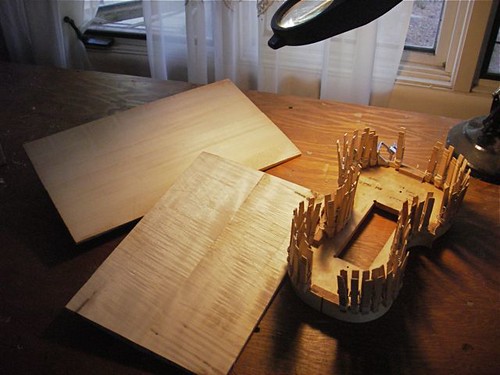
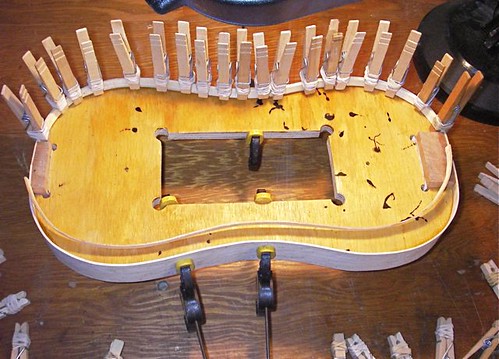
The linings glued in on the top edge of the ribs, held in place with clothes pins reinforced with rubber bands -- fancy stuff indeed. Looks something like a porcupine or hedgehog with all the clamps in place. "Slotting the hedgehog" -- an old obscure violin-makers' phrase, perhaps something like this, perhaps not.

After the glue sets up overnight, I'll have to do the same thing to the bottom of the ribs. It's not a terrible task at all.


Saturday, October 22, 2011

Loose and thick, a 1989 German factory fiddle


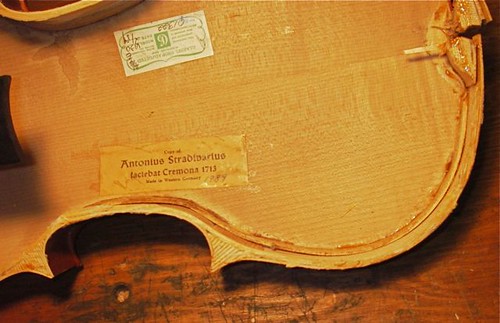
This is a violin I got in trade, and it had a cracked end block (upper right). I pulled the top off to replace the block, and also to see what else I could find that needed help.

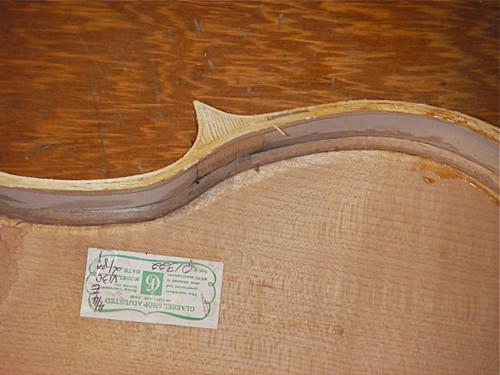
These late-20th-century German violins were built with great haste. The linings are continuous, running from end-block to neck-block, over the corner blocks, and not even touching the ribs in many places.


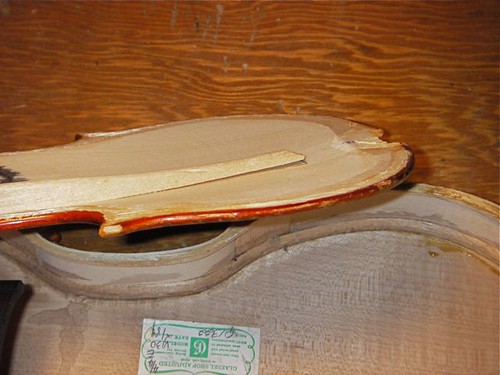
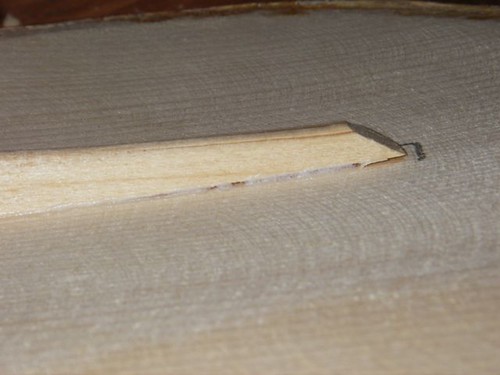
The bass bar was completely loose at the neck end, and appears to have never actually been in contact with the top.


At the other end, the bass bar does not contact the top either, except for a couple glue bridges.


Fortunately the top was stoutly made, so the instrument did not collapse. :-)

I'll take out the bass-bar, take a little thickness out of the top, and make a new bass-bar. It should sound better, though I don't know what it sounded like before (but I can guess!). At the very least I can sell it knowing that it will be in decent structural shape.

Friday, February 4, 2011

Ribs

With the center curves cut, the ribs are bent and glued into place. Then the outer curves on all 6 blocks get shaped.

IMGP1395cboutribs

Here the upper ribs are shown glued and clamped.

IMGP1427upperribs

And this is the lower ribs glued and clamped. Note that the ribs run long out the ends.

IMGP1444lowerribs

After all the glue has set, clamps can be removed and the corners trimmed to shape.

IMGP1446trimmedribs

Using the old No. 5 to take the thickness of the willow down to 2 mm. After that, I cut to about 10 mm, square down to 8 mm or so, then bend to shape for linings inside the ribs.

IMGP1449liningthickness

Clothes-pin-and-rubber-band clamps (just like Stradivari! :-) ) to hold the linings in place while the glue dries.

IMGP1456topliningsclamped

Saturday, December 11, 2010

Hollowing the peg-box

IMGP0897pegbox

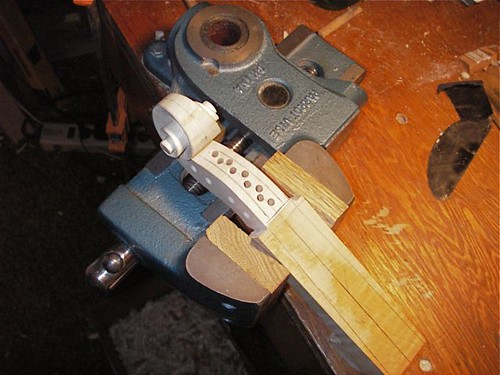
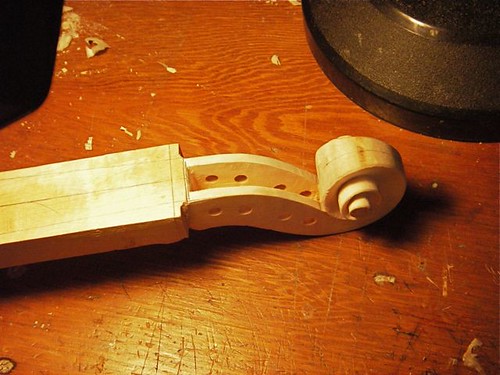
One method to start hollowing the peg-box is to drill a series of holes, with a stop to leave a minimum thickness at the bottom. I don't always do this, and don't know that it really saves much time, so I do it or not depending on my mood at the time. This is then followed by work with a gouge to remove the excess wood.
IMGP0902pegbox

The pegbox is mostly hollowed out, a little final trimming left to do, particularly at the nut end (on the left in this photo), where I'll take a bit more out after the nut is in place. Next step is to cut the fluting on the bottom and up & around the scroll.
IMGP0890linings

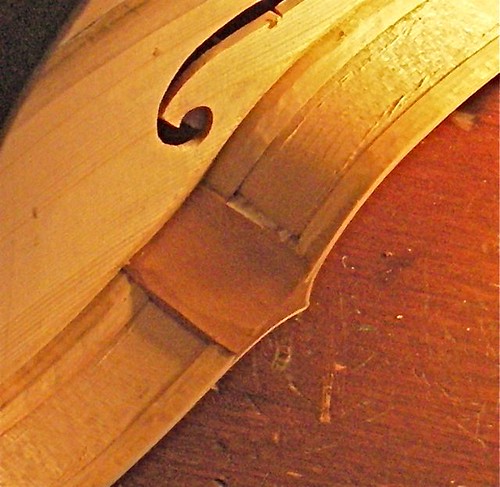
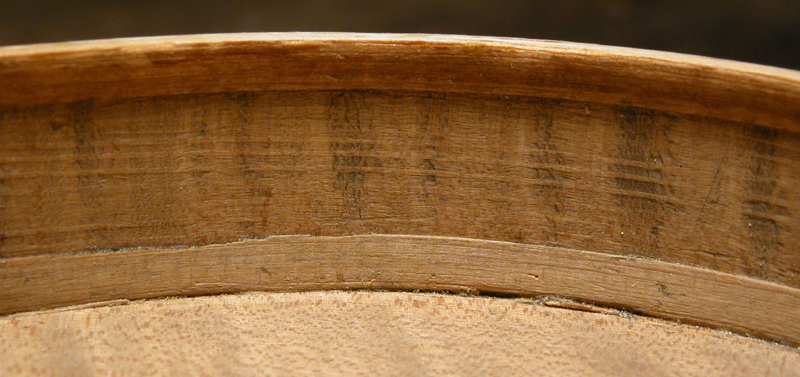
A look at the inside, with the top glued on. In part this is simply to show some of the internal geometry with the parts together, but also to show some of the tool marks. On this one, I'm just leaving them as is. Easiest to see, I think, are the knife cuts in the ribs when I trimmed the linings. Between those, on the c-bout rib, you can also see the toothed-plane grooves left when I thinned the wood down before bending. And you can see a few gouge marks in the corner block, where I worked it down to shape. These tool marks are removed from the outside, where they can be seen, but inside, I don't think they affect the instrument's tone or response.

Bruce Carlson has posted some nice photos of Guarneri del Gesu interiors on Maestronet, including this one, which shows some of the toothed-plane marks --


Source

.

Friday, October 15, 2010

A week into the new fiddle.

Having fit all the ribs to the blocks, I'm here planing the willow linings down to about 2 mm thickness. These will be bent and glued to the inside of the ribs, top and bottom, to give both strength and a bigger gluing surface for the front and back plates.

IMGP0188linings

I started this fiddle a week ago today. At the end of work today, I have the rib assembly made, with linings top and bottom, both plates joined, and a preliminary flattening of the inside surfaces.

IMGP0197ribsplates

This work was in addition to the repair work, private fiddle lessons, and other work that I've had. It's not breaking any record except my own -- my first fiddle took me 3 years to finish!

Friday, January 22, 2010

Fitting linings.

Spent a little time this afternoon cutting lining stock out of a thin willow board, then here thinning it down with a plane to a bendable thickness, about 2 mm.

IMGP3320MFLining

It's fun to see the curls coming out of the plane. I guess you could use them for a little doll's hair.

Below is one side of lining is glued into place, the other waiting for gluing. Clothespins reinforced with rubber bands make great lining clamps.

IMGP3328MFLining

The linings do a couple of things. They help make the ribs a bit stiffer, with out filling the whole width. They also create a wider edge than just the rib itself, giving a better gluing platform for the back, in this case, or the top, on the other side.