
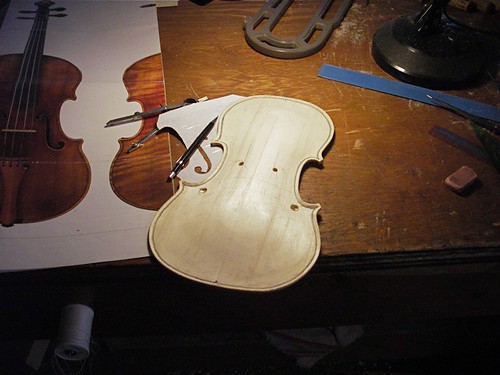
Before starting the hollowing, I layout the f-holes and drill the terminal holes on each end. This particular step takes me much more time than it should. I draw and redraw the f-holes several times before I get something I think will be ok. Once the holes are drilled, however, I'm committed.
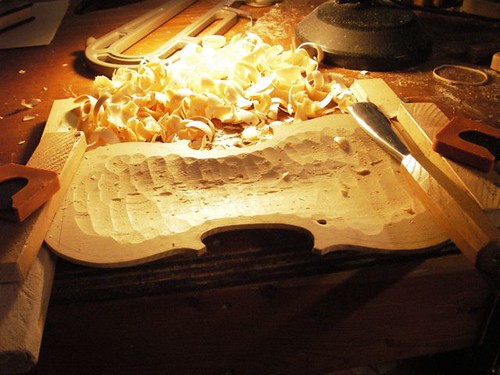
I use a simple cradle to hold the top during hollowing.
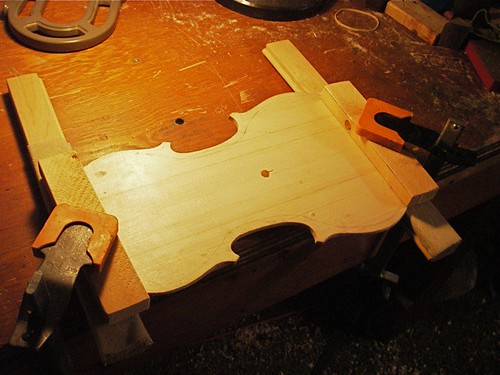
The hole drilled in the bench and the hole in the top match -- while arching, I use a 3/8-inch dowel in the bench to hold the top in place, yet allowing me to rotate the top easily.
After getting some of the 'meat' out of the center, I set up my drill press for a rough graduation thickness. In this case, I've set the drill to leave a thickness of about 4 mm.
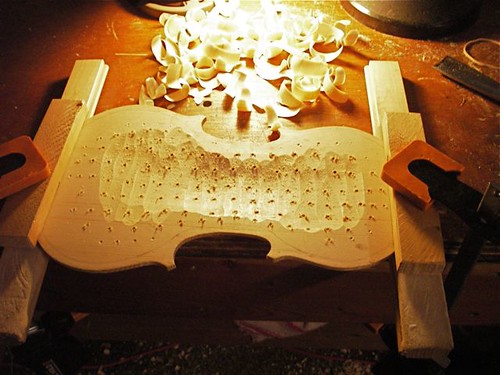
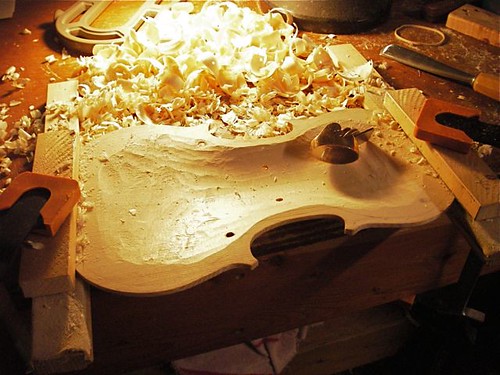
With the rough-graduation holes drilled, I can then again quickly scoop out most of the spruce, leaving just the 'tips' of the holes for reference. You can also see the previously drilled f-holes starting to be exposed, for example, on the lower hole next to the corner at the lower right, from this perspective.
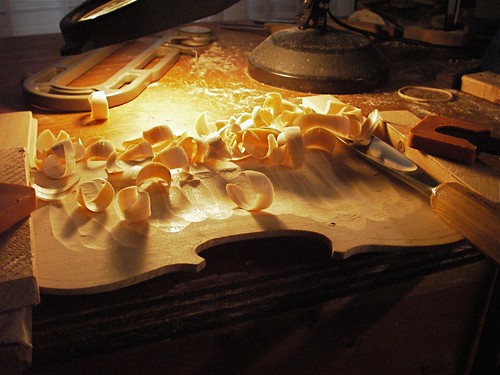
Switching over to the larger thumb plane, I start smoothing the rough gouging.
No comments:
Post a Comment