Monday, May 31, 2010

Party damage

A fiddle belonging to one of our band-member's son. He's just graduated from high school, they were having a graduation party at their home. The son, who had been playing his fiddle -- a great jam session, I'm sure -- put his fiddle on his bed for a moment. A friend, not seeing the fiddle, plopped down on the bed, broke the fingerboard, cracked the top, popped the neck out.

IMGP3928

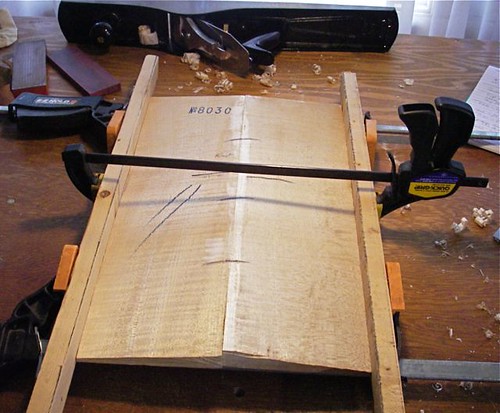
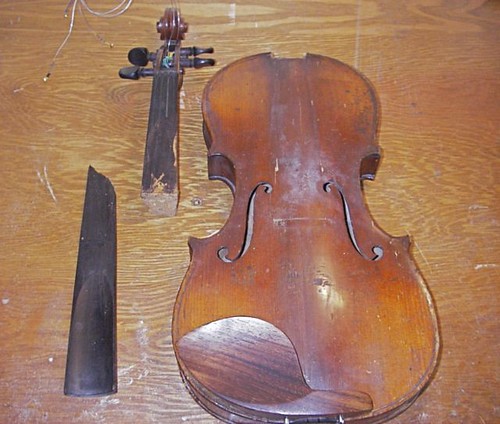
Here's the neck mortise and neck. It is an older fiddle that has been repaired probably several times over its life. You can note one of the top cracks running from the neck mortise down towards the bridge area. It's a light line you see startig about 1/3 in from the left side of the mortise.

IMGP3933

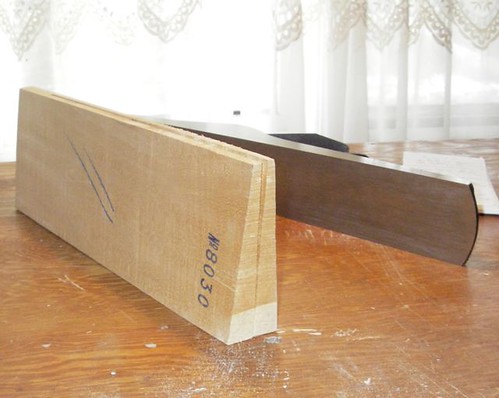
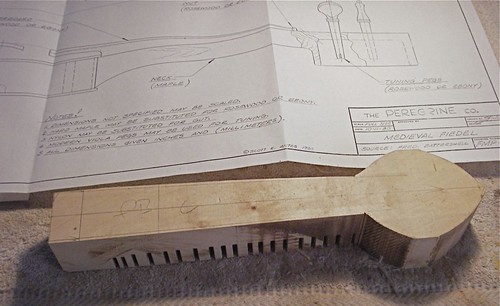
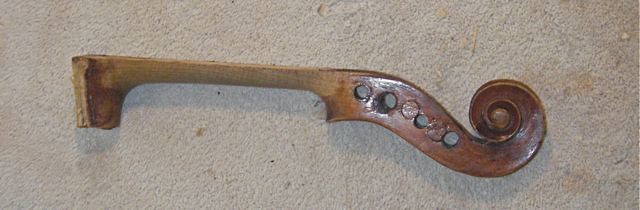
A side view of the neck after the fingerboard stub has been removed. Note the multiple bushings and re-drilling of pegholes in the pegbox.

IMGP3953

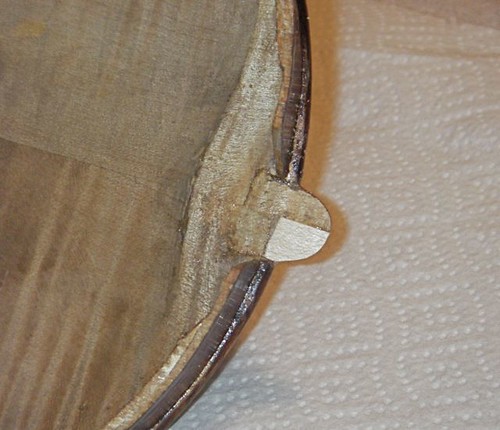
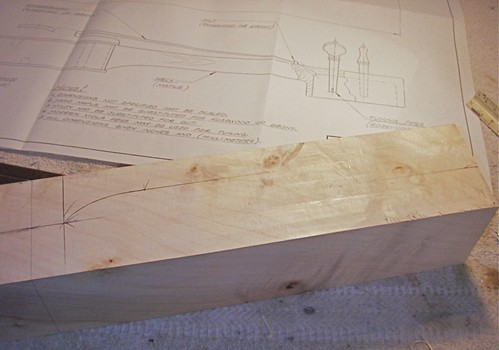
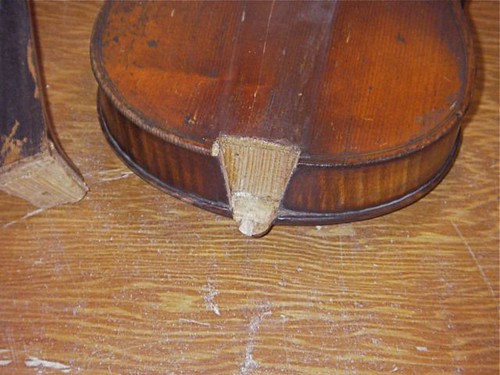
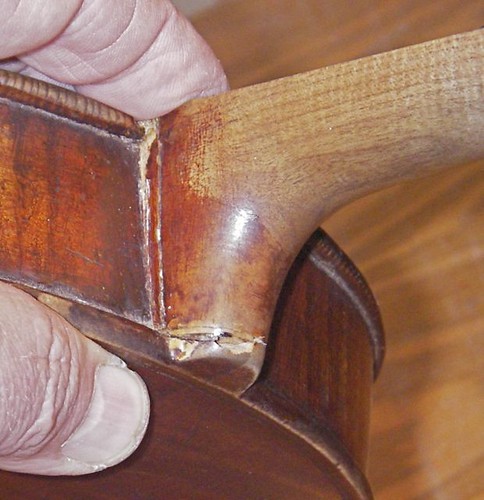
I'm holding the neck in the mortise. Note the missing wood at the end of the button, also notice the fill (some sort of putty) where the button meets the edge. There's also a strange scribe line down the edge of the heel, just a bit out from the rib.* This neck root has a slab of wood added to the inside edge, to extend it out a bit, as well as the shim at the bottom that shows here. (* On later cleaning of old glue and debris, it turns out that these 'scribe lines' are actually the edge of a shim that has been added to each side of the neck. )

IMGP3938

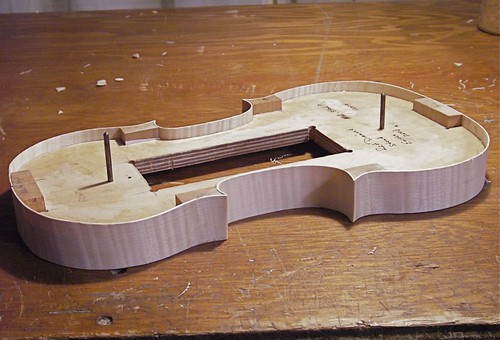
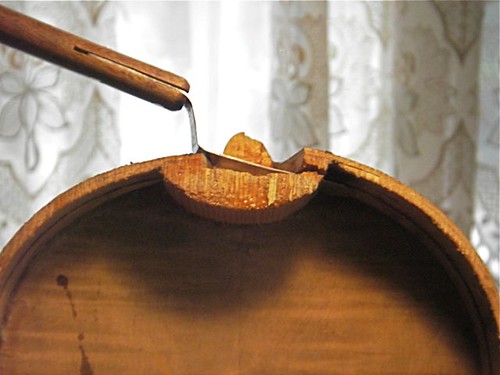
Using a palette knife to hold open the break in the neck block. This is actually an old break that had been glued back together. Time for a new block.

IMGP3959

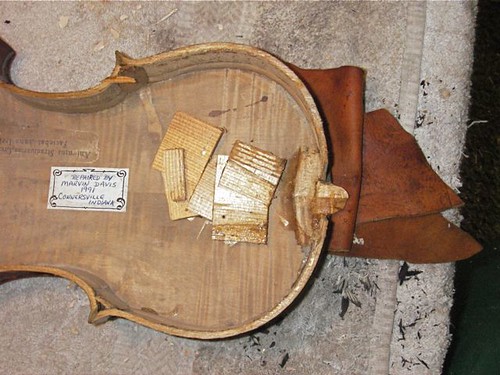
Out comes the block. Note the old repair label. I don't use them, myself. I will pencil in the year on some repairs, more for a way to monitor how something works over time. When I first started, the fellow who was directing me thought repair labels were a good idea, that one should do it, as a way of documenting what's happened to the fiddle. And I do admit they're interesting to see. But right now, they seem like grafitti to me -- not to mention you get blamed for all the bad repairs that might take place after it leaves your shop!

IMGP3960

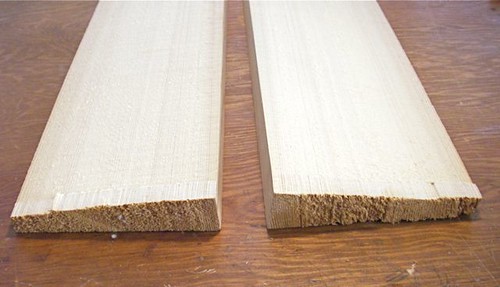
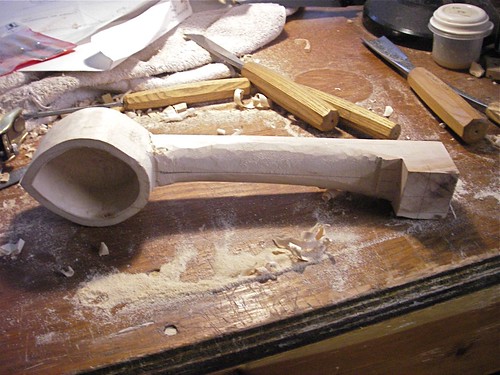
After removing old wood and putty, I fit a new piece of maple to the button.

IMGP3976

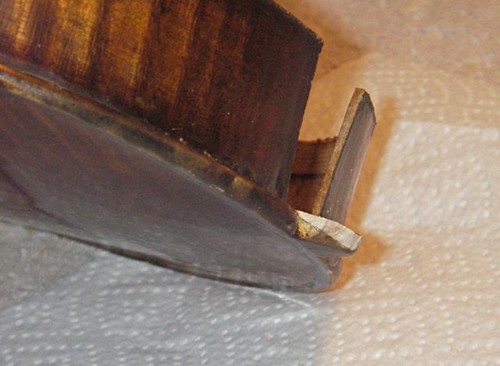
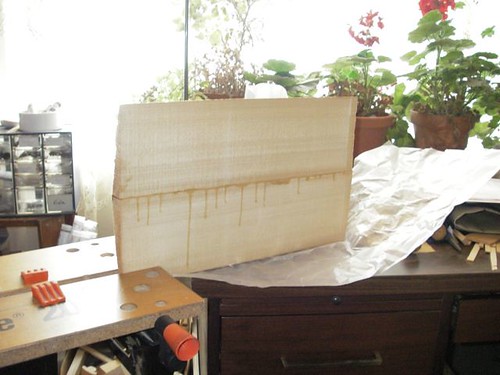
The new wood applied to the button damage; the edge is still a bit proud to be later fit to the installed neck-heel. Oddly, this plate has been previously chiseled out, perhaps to seat the neck -- very unusual. You can see the step-up edge just inside the rib line. One would like to keep the plate full thickness here, as it is a weak spot.

IMGP3977

Tuesday, May 11, 2010

Joining the top & back on the Strad-pattern violin

Aged spruce, cut down the center, but not yet split apart. Looks like a piece of firewood. And if things don't go right, it still could be!

IMGP3797top

Here's the two pieces of the top, now split. The process is to make perfectly square edges at the joint, using a long, sharp plane.

IMGP3800top

The top glued together. Here I used a rub joint -- heat the wood with a hair-dryer, apply the warm hide-glue, then rub the joint together until it 'catches'. Clamping on one end to avoid creating any tension. My geraniums, in the background, really want to be outside. I hope it warms up soon.

IMGP3805top

Joining the back is basically the same process. My jointer plane is partly hidden behind it here.

IMGP3811

Here's the back, glued together. A rub-joint, as with the top, then held in clamps. I tried to line up the flame by planing away a bit of the joint prior to gluing, then doing an eyeball match. It's tough, because the flame is not consistently vertical, so it may not match up at the height of the arching anyway. I don't worry about it too much.

IMGP3816back

Medieval fiddle, making the neck & pegbox.

Laying out the lines for the neck on this chunk of local maple. It's about 3-1/2 inches square in the cross-section, a little narrower than the plans call for. It's all approximate!

IMGP3773MFnecklayout

I cut the neck to rough shape on the table saw and my small, bench-top bandsaw (for the curvy parts!).

IMGP3776MFneckcut

After a fair amount of gouge and rasp work, the basic shape of the neck is starting to show.

IMGP3786MFneckrough

Wednesday, May 5, 2010

Ribs bent and installed

IMGP3764Ribs

The ribs bent and installed on the form. I still need to add internal linings both top and bottom, then trim everything for height -- for example, you can see a the close c-bout rib rising above the left corner block -- but the basic shape is there.