Tuesday, July 27, 2010

Starting the neck

Here's the block of maple as purchased from the vendor -- not quite rectangular in cross-section, but lots of curl in the wood.

IMGP0439neck

I've glued a temporary piece of pine to one side of the maple and planed it parallel to the opposite side. Here, I am taking the top down to be square to the other two sides, which will also put the grain in a better orientation. You might be able to make out the horizontal line under the plane -- that's where I'm headed.

IMGP0487neck

Ripping the maple to thickness (42 mm). This is a good workout on a summer day.

IMGP0530neck

Here's the block after planing the newly sawn side. As you can see, even here, little of the temporary pine remains behind. I might have gotten by without it all together, had I been more clever. Now to lay-out the neck.

IMGP0536neck

I really agonized over this template, finally settling on the neck root as in the Johnson & Courtnall book, with the "Viotti" Strad scroll.

IMGP0544neck

After adjusting my cheap, old, benchtop bandsaw, I was actually able to cut out the neck fairly well. Here it is after cleaning it up to square and drilling the 4 pegholes.

IMGP0551neck

This evening, I have roughed in the turns of the scroll. Still a lot of detail work to do on the scroll, not to mention the pegbox and neck, but at least it's starting to look like part of a violin.

IMGP0559neck

Friday, July 16, 2010

Closing the box

While fitting the bass-bar, I have glued in some temporary studs to help in placing the bass-bar in the same place each time. After the bar is glued in place, I'll remove the studs. Using chalk-dust to check the fit. I'm using a simple cradle to hold the top, which I liked for hollowing the plate, but I'm not sure about for this operation. To finish the fit, I finally went to just holding the plate by hand.

IMGP0388medmed

When the bass-bar is fit, it needs to be glued in place. 4 traditional bass-bar clamps and one deep-mouthed clamp. My simple bass-bar frame, a rectangular piece of cheap plywood made of as an experiment, has warped. I decided to go back to the 'old-fashioned' method of clamping a bass-bar today.

IMGP0391medmed

I use a thumb-plae to take the bass-bar down to final dimensions. It makes nice twisty shavings.

IMGP0398medmed

Here's the bass-bar at nearly its final shape -- just a little clean-up to do.

IMGP0410medmed

I've drilled a preliminary hole for the end-pin and glued in a label. Next step is to glue it all together.

IMGP0419medmed

The box closed.

IMGP0426medmed

Monday, July 12, 2010

Gluing the ribs to the back.

With the back basically finished (a little external clean-up to do), it's time to glue the ribs to the back. First step is to loosen up the blocks from the form. A few taps with the hammer break the weak glue joint. Then, split out the excess portions of the blocks to give some 'wiggle-room'.

IMGP0352medmed

With just a little flexing, the rib assembly slides out.

IMGP0354medmed

Now, I can clean up the linings, which I roughly shaped with a knife prior to removal from the form, and trim the blocks down to their final shape. With that done, a little fresh hide-glue and a quick clamping.

IMGP0362medmed

Starting to see a box here! Now to finish the top and get it glued into place.

Friday, July 9, 2010

Making Friday

I'm trying to keep the discipline of dedicating Fridays to my new making, and was relatively successful today. Hoped to glue the back onto the ribs by the end of the day, but I still have the edgework to do, on the ledge next that will be next to the ribs, so maybe will do that when I'm fresh. Later.

So here's the mess on the bench at the end of the day.

IMGP0222Titian3

Party damage 3

Fitting a fingerboard to a well-loved, and well-used, neck presents challenges different than new making. A violin neck and fingerboard have more or less standard dimensions, proportions, curves. A violin that has been played is worn. In this one, for example, the thumb-side of the neck is much more worn than the other, finger, side. Rather than being straight, it deviates inward about a millimeter, and not perfectly even, either. The fingerside has similar wear, though not as dramatic.

When I fit the fingerboard, I want to get the top curvature even, which aids in positioning notes, the longwise length with some relief, to make it feel easier to play, and I'd like to get the sides gently curved in the vertical direction, which also aids in the feel, but relatively straight along the sides, which helps in accuracy. A new fingerboard on an old neck is something like putting a new clutch in a car. The driver is accustomed to working with the old feel, and will often kill the engine leaving the mechanics' shop. Of course, one can adjust the clutch, or the fingerboard, to the owner's desire, but there usually is a little retraining that takes place. Hopefully, it is short, and the owner will soon enjoy the new set-up.

IMGP0195neck

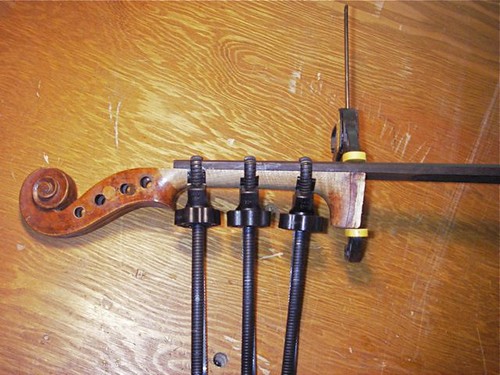
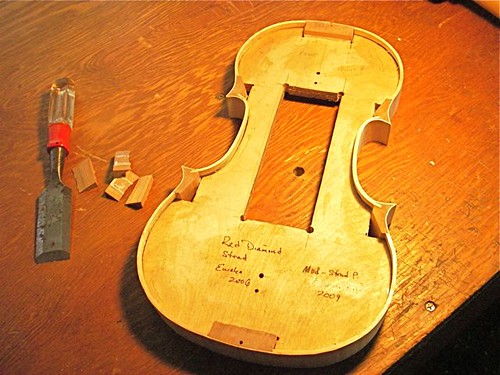
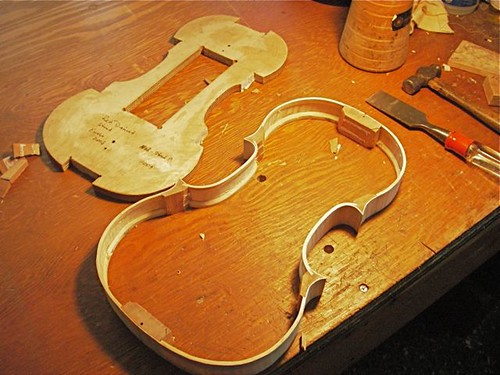
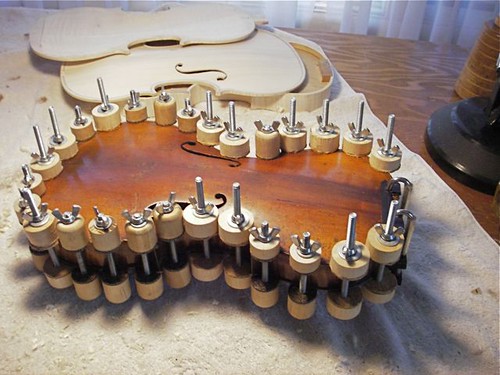
Fitting the old neck heel to the new block involves cutting out a mortise, then fitting all the edges tightly. It is a time-consuming task, because you must constantly check the various angles involved -- side to side, up and down, and the angle relative to the plane of the ribs. This old neck-heel was particularly challenging. It has been modified over the years, with bits added on, and actually not much of a dovetail shape to the edges along the ribs. Furthermore, at some time, the neck itself was planed to give a significant tilt towards the e-string side. This was fashionable a few decades back, but most makers now keep the top of the neck parallel with the rib-plane. Just one more thing to keep in mind.

When it's all fit, I make a new batch of hide glue and glue the neck in place.

IMGP0203Party

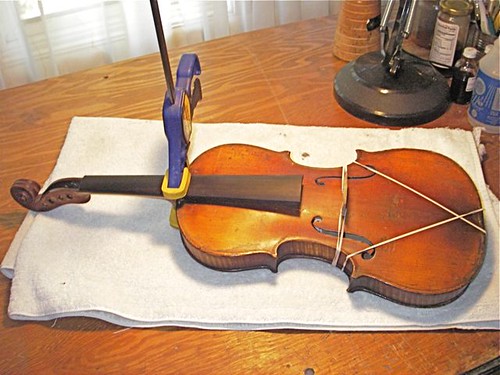
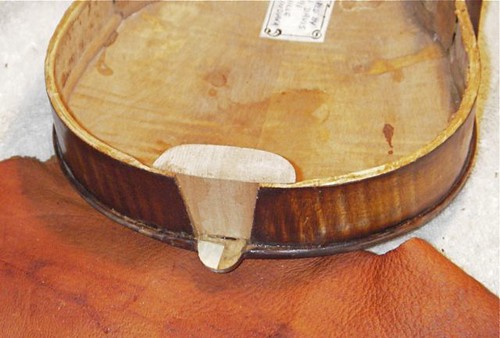
At the same time, I glue the saddle, at the tailpiece end, in, clamped with rubber-bands here.

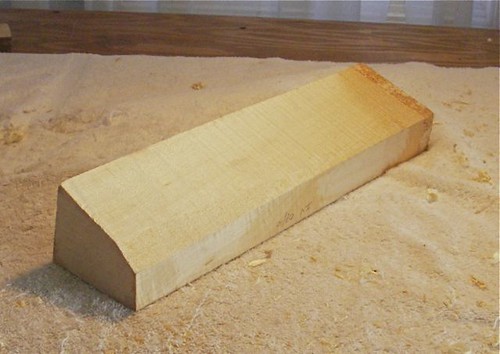
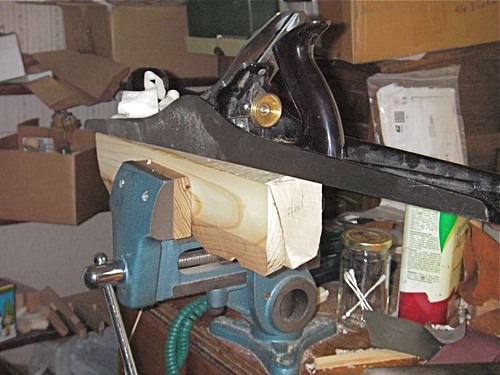
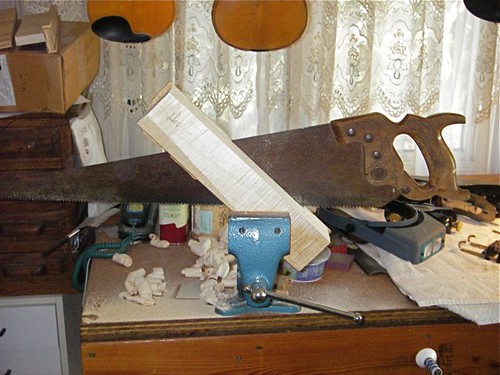
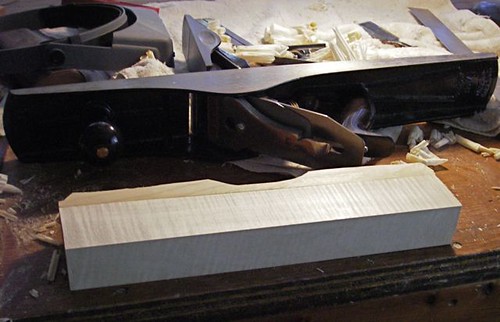
With a new fingerboard, a new nut is in order.

IMGP0211party

Finally, time to do a set-up. Put the soundpost in place, find a replacement G-string (the old one was damaged in the accident), string it up, and make some adjustments. Make sure everything works under tension. I still have cosmetic touch-up work to do in this before it goes back to the owner.

IMGP0215party

Saturday, July 3, 2010

Party damage, part 2

IMGP0116repair

After getting all the old glue, splinters, and dirt cleaned out, it's time to fit a new neck block. This one is made from willow, a tree that blew over some 10 years ago. Sections of it had been saved, with wax applied to the end grain, and then I was given a few chunks, when the owner realized he didn't really know what to do with all that willow.

With the block securely glued to the back and ribs, it's time to glue to top back in place. I glued & cleated the cracks, and have applied the initial layers of touch-up varnish.

IMGP0134repair

Thursday, July 1, 2010

After the workshop, after Weiser, back to reality...

Finally catching up on sleep after 3 weeks of long, but good, hours.

The Southern California Violin Makers Workshop was terrific, as usual. I spent 2 weeks there, at the campus of Pomona College in Claremont, California. Basically a fantasy world for violin makers. One of the high points for me was that I was able to play a 1714 Stradivari violin and a 1742 Guarneri del Gesu violin, one after the other. Of the two, the Strad was my favorite. I generally hate my tone on the e-string, but on this Strad, I liked it. People use the word 'silvery' or 'shimmering' to describe these Strad e-strings, and it always sounded a bit overblown to me. I was wrong. There really is something there, hard to describe.

In addition to those two, one of the bow-maker students brought his 1733 Bergonzi violin, another classic Cremonese instrument. He has owned it for 61 years, and according Michael Darnton, it was in amazing shape. Lots of varnish, excellent edges, well-tended after.

But the most important part of the workshop is that many of us have become good friends. We share a common interest, and enjoy learning from each other. Michael Darnton is an excellent teacher, with a tremendous amount of knowledge. I spent most of the time experimenting with edgework, though I did get my two plates in fairly decent shape by the end. You can compare these to their state in my previous post, "pre-workshop rush!"

It's hard to pick among the photos I took, but if you want to see more, please go to my flickr set here The grounds of the campus are beautiful as well.

After two weeks at the workshop, I flew home, loaded up the shop, and took it up to the National Old-time Fiddlers' Contest in Weiser, Idaho. Again as usual, Phil (my bow-maker friend) and I had a great time with wonderful folks. Plenty of good fiddlers played my two fiddles, making them sound pretty, and giving me good feedback. I hope to have several more to offer at next year's contest.

Now, back to work.