Showing posts with label graduation. Show all posts

Monday, October 31, 2011

Under the top of the 1989 fiddle


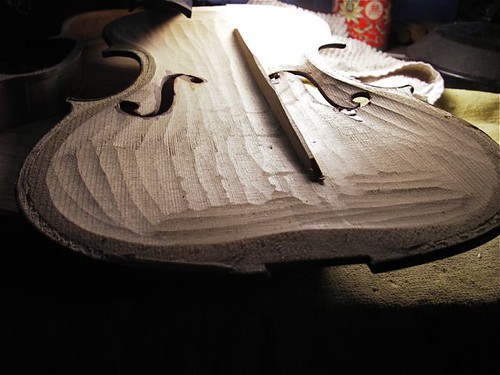
The results of repeatedly adjusting a soundpost that doesn't fit -- damage to the spruce top. I've removed the bass-bar, here on the right side of the photo. You can also see the pattern of the sander/router marks left when the plate was hollowed at the factory, as well as the staining around the edges of the f-hole during blacking. These instruments were fit with cleats at the factory at each wing, to help prevent cracking, on would assume.

The router or sander marks are part of a tradition in these low-end student instruments. Before the machines were cheap and manageable, folks used gouges, quickly.

Thursday, December 2, 2010

Dang it!

I had started the hollowing of the back, as with the front, and then got down to the point of using my drill press to map out the basic graduation scheme. I had just seen a photo of another fellow doing the same thing, except with about a 1/4 inch drill-bit. I always had used a 1/16 or 3/32. Had a 1/8th bit in place, so left it there.


Here's my basic set-up.

GraduationDrillpress

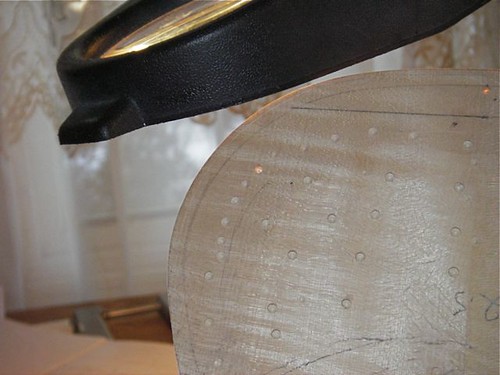
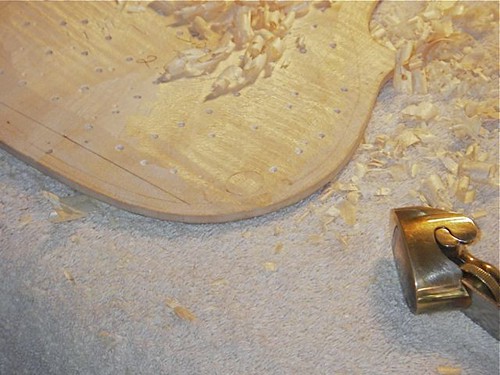
Going around the edge, I felt the stop slip, and the drill just broke through the outside. It's the hole at about 10:30, with light showing through. The hole at the top, almost out of the photo, is the registration pin hole, and meant to be there. I think the thinner drill bit requires less downward pressure, and is therefore less likely to cause the stop setting to slip.

IMGP0761Hole

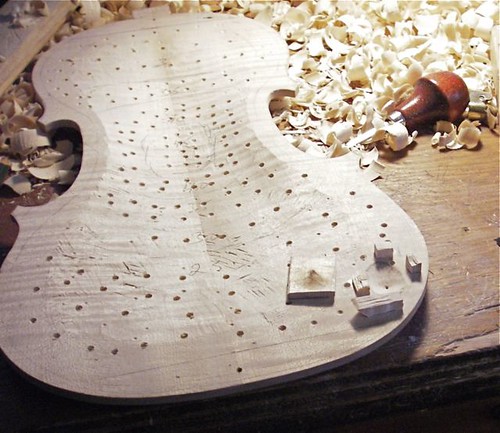
So, my first thought was to fill the hole with a dowel. Then I started thinking (a dangerous thing, really) that I wanted wood that matched better, particularly the direction of the grain. A dowel would have the grain perpendicular to the grain of the back. So I evacuated a roughly oval shaped area, found a piece of maple that had been cut-off from this back, and started to shape it to fit. The four little blocks are glued around the hole to make sure I put the patch down exactly the same way each time.

IMGP0767Fitting

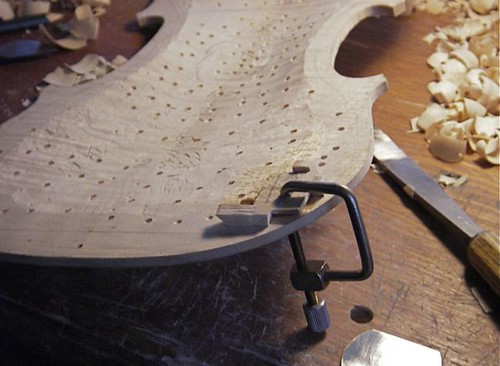
After spending way too much time fitting this patch, using chalk dust to see where it touched and where it didn't, I finally got to the point that I thought it might work. Fired up the glue pot and used fresh, thick hide glue.

IMGP0778Clamp

Here's the area with blocks removed and the overhead of the patch removed. You can see the outline of the patch, but it appears solid. I didn't worry about matching the grain exactly -- the outside hole is about the diameter of a pencil lead -- but at least it's the same wood.

IMGP0788Trim

Actually, in retrospect, I might have been just as well to use a dowel.

With all that nonsense out of the way, I am now back to getting the top to its proper thickness.

IMGP0792ContinueGraduation

Saturday, November 27, 2010

Hollowing the top

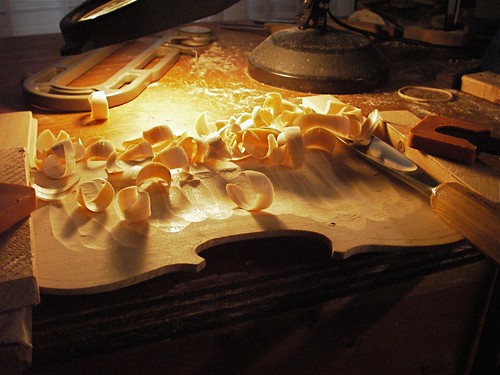
After messing about with the fine removal of wood on the outside arching, I find it great fun to gouge out big chips of wood, starting the hollowing on the top.

IMGP0731hollowing

Before starting the hollowing, I layout the f-holes and drill the terminal holes on each end. This particular step takes me much more time than it should. I draw and redraw the f-holes several times before I get something I think will be ok. Once the holes are drilled, however, I'm committed.

IMGP0712f_hole

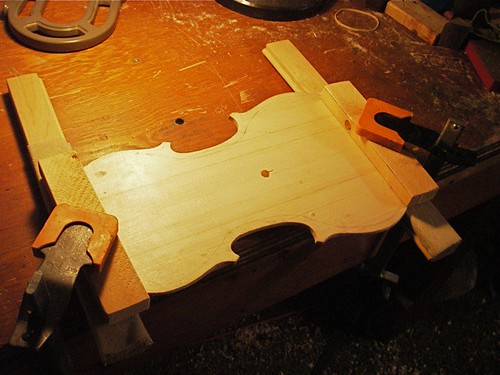
I use a simple cradle to hold the top during hollowing.

IMGP0714cradle

The hole drilled in the bench and the hole in the top match -- while arching, I use a 3/8-inch dowel in the bench to hold the top in place, yet allowing me to rotate the top easily.

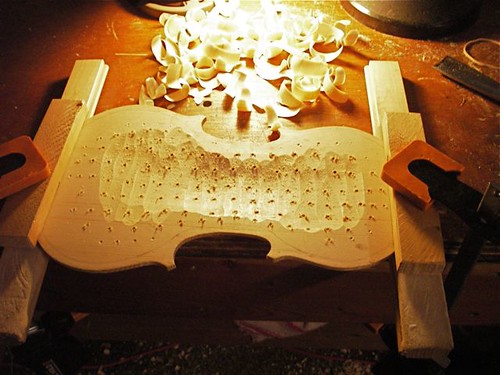
After getting some of the 'meat' out of the center, I set up my drill press for a rough graduation thickness. In this case, I've set the drill to leave a thickness of about 4 mm.

IMGP0735RoughGradDepth

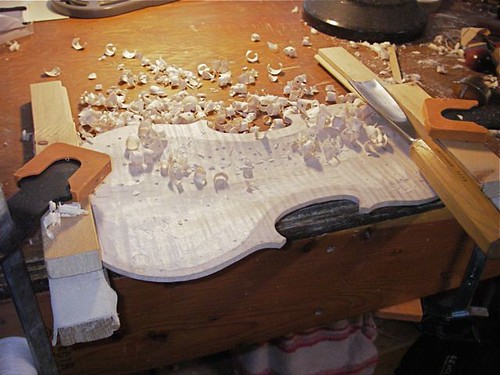
With the rough-graduation holes drilled, I can then again quickly scoop out most of the spruce, leaving just the 'tips' of the holes for reference. You can also see the previously drilled f-holes starting to be exposed, for example, on the lower hole next to the corner at the lower right, from this perspective.

IMGP0739RoughGrad

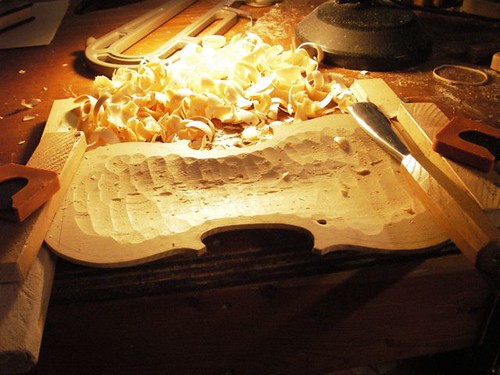
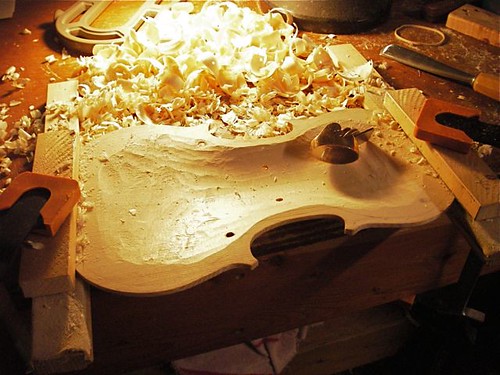
Switching over to the larger thumb plane, I start smoothing the rough gouging.

IMGP0740RoughGrad

Thursday, October 22, 2009

Graduation of the top

Following a similar procedure, I drilled small holes to leave about 4 mm of thickness and started scooping out with a large gouge. Spruce is so easy to cut after maple. Takes about 15 minutes to get rid of 95% of the wood. Here we are a few minutes into the process.

IMGP2075TopInitialScoop

After cleaning it up a bit with the large thumb-plane, I turn it back over and start laying out the f-holes. Doing it now allows for a little drill tear-out on the other side, which will be removed in the final graduation.

IMGP2082f-holesketch

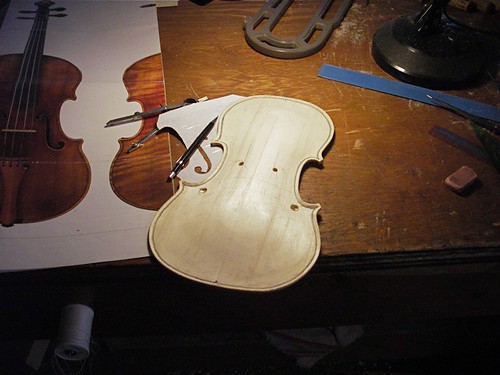
I'm using a mathematical method to lay-out the f-holes, modified by the location of the f-holes in the 1715 Stradivari "Titian", a photocopy of that area shown to the left. For something that looks relatively simple, it takes some juggling. You have to look at the sketched-out f-holes from all angles, just to get it where you think you want it. In this photo, I have the upper eyes 42 mm apart, which is a modern dimension. The "Titian" f-holes are 40 mm apart. I'd like to keep them at 42, to compare more directly with my previous violin, but finally decide to place them at 40, closed my eyes, and drilled the holes.

IMGP2086fhole

Discovered I didn't have any reasonable saw blades to cut the stems. Not willing to wait, I decided to use a plunge knife, cutting inside the pencil lines. When I get closer to the final graduation, I hope to be able to drop these stems out, and clean up the edges with a knife (which is what I'd have to do with saw-cuts anyway).

Friday, October 16, 2009

Graduation of the back

With the arching to a reasonable point, I turn the back plate over and start scooping out wood.

Following Michael Darnton's advice, I am trying to be a bit more intuitive, a little less concerned about precise measurement -- the Picasso light-drawing concept . To begin with, I drilled a roughly random series of holes so that I have a 5 mm shell. My depth gauge is a makeshift device that looks like this.
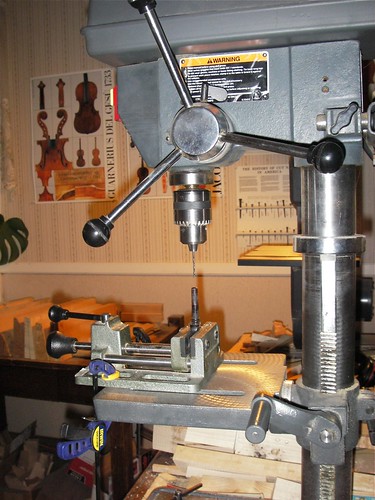
GraduationDrillpress

The drill press is set to stop at a position above the tip of the ebony peg, in this case, 5 mm. After drilling holes, the back looks like this.

IMGP1996_5mmRandomBack

The large, 3/8" hole in the center is one I used in arching. A 3/8" inch dowel protrudes from my bench-top, which allows me to swivel the plate around to any position.

Using a gouge, I start removing wood down to the 5 mm depth.

IMGP2008Back1stHollowing

Without worrying about everything being exactly 5 mm, but close, I pencil in a graduation scheme, and drill new holes to match those thicknesses.
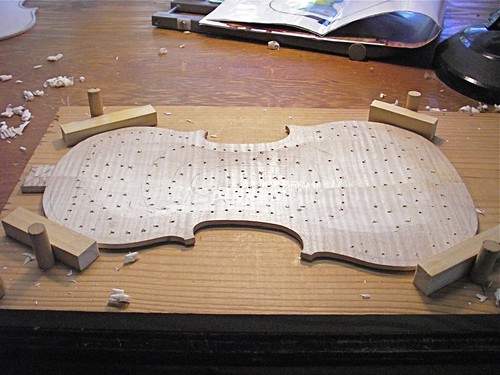
IMGP2013BackGrad

I am using the Strad magazine poster of the Stradivari 1715 Titan as my inspiration, as well as a grad scheme that was used at the now-defunct Eureka, California, workshop. Basically I have about 4.5 mm in the center, out to 2.5 mm in the bouts.

By the end of the day, between dealing with customers and a high-school age son who found a flat bicycle tire after school, I have gotten down to the finger-plane stage.

IMGP2017BackGrad

This maple is far harder, and with much more figure, than my previous fiddle, and is one tough son-of-a-gun. My fingers are sore tonight.