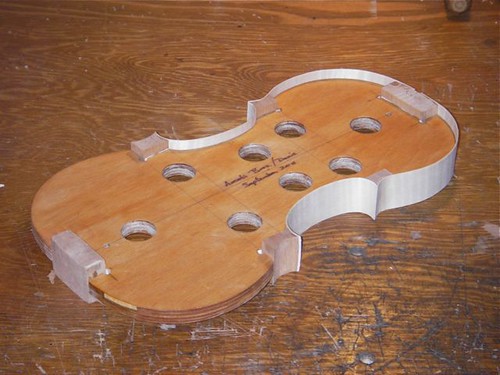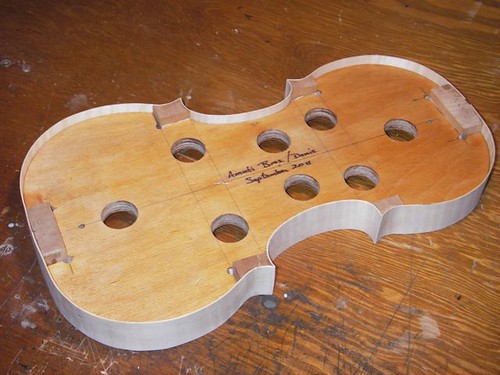
With all the ribs bent and glued to the blocks, it's time to get the linings installed. Linings add strength to the ribs as well as increasing the gluing surface for the top and back seams.
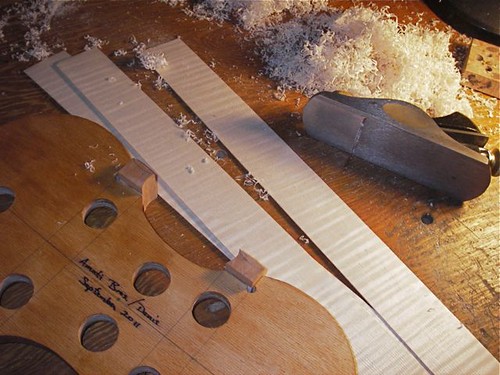
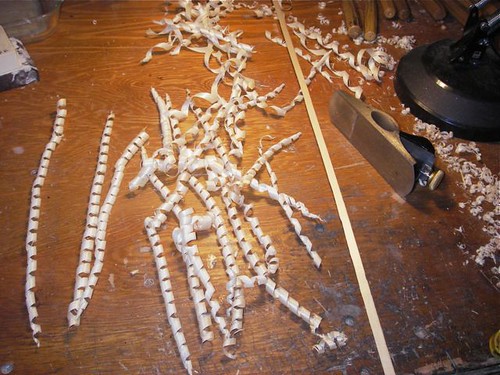
Working down willow for linings is cheap thrills indeed -- it's always fun to peal off some long shavings. The linings are thinned to about 2 mm, bent, and inlet in to the corner blocks at the c-bouts.
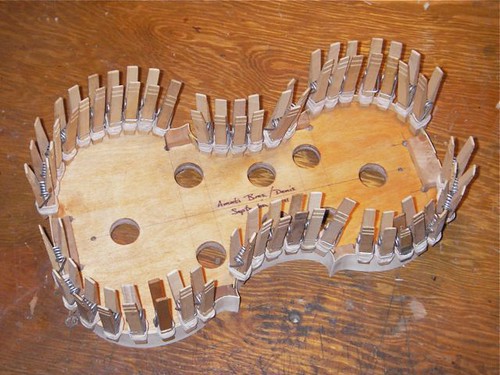
The linings glued in on the top edge of the ribs, held in place with clothes pins reinforced with rubber bands -- fancy stuff indeed. Looks something like a porcupine or hedgehog with all the clamps in place. "Slotting the hedgehog" -- an old obscure violin-makers' phrase, perhaps something like this, perhaps not.
After the glue sets up overnight, I'll have to do the same thing to the bottom of the ribs. It's not a terrible task at all.