Friday, January 28, 2011

Number 4 in the white, cutting blocks on number 5

Here is the front and back of my 4th Titian-esque fiddle. I'm sunning it in whatever weak sun can be found these days -- this is after the first day.

IMGP1366Titian4back

IMGP1363Titian4front

And a little more progress on number 5. With the glue dried to hold the blocks in place, I start by laying out the corners. Here I am squaring off the cut-outs, and I will use this to locate the tip of my corner.

IMGP1343corner

First curves I cut in the blocks are those to receive the c-bout ribs.

IMGP1347ccurves

Some things are easier to make than violins, but satisfying as well.

IMGP1339bread

Thursday, January 27, 2011

Starting another violin

Splitting out block material with the maul and cheap chisel, squaring them with the block plane, is the first step in building a new violin -- on a previously built form!

IMGP1324blocks

My attempt to get a 'shaving' shot. This shaving, which I stood up on the block it came from, is endgrain. I'm using a standard Stanley block plane, though I've tuned it up a bit, with a Hock blade. The machinist's square is used to check the squareness of the block.

IMGP1321Endgrain

The blocks are tacked into place on the form with hide glue. They will later be shaped to to hold the ribs.

IMGP1334blocksform

Thinning down rib-stock with a toothed-blade in the block plane. Before doing this, I scraped the other side clean with a flexible scraper; that side will be facing out on the violin.

IMGP1333ribs

Thursday, January 20, 2011

Gourd banjo, part 2, and Closing the Box

With the neck glued-up and dried, we started doing a bit of preliminary shaping to the heel. Here she is cutting in at an angle to free up the material.

IMGP1161GourdBanjo

After making the cuts, we knock out the wood with a chisel and mallet. Then we clean up the sides with the chisel by hand and using a plane.

IMGP1162GourdBanjo

We used the lid of a small jar to mark out about a quarter-circle for the heel, sawed out similar to the method used on the sides of the heel, and here she is cleaning up the profile with a #7-sweep gouge.

IMGP1164GourdBanjo

Meanwhile, on the fiddle-making bench, after trimming and fitting the heel, I glued the back on this fiddle, closing it up as a box. Tomorrow, on to finishing the button on the back and heel of the neck. In this photo, the bridge (actually a blank) is simply standing in place. I had used it to double-check my neck elevation.

IMGP1159BackGlued

A story on these type of closing clamps was recently put out by the National Music Museum .

Tuesday, January 18, 2011

Neck set

IMGP1132Neckset

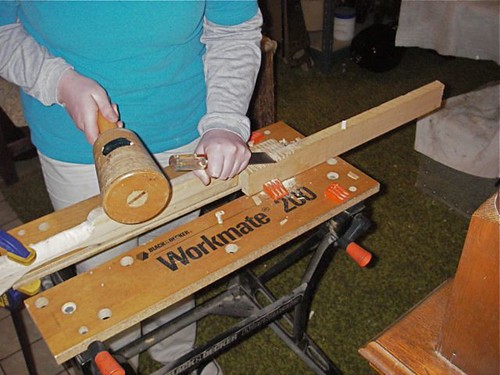
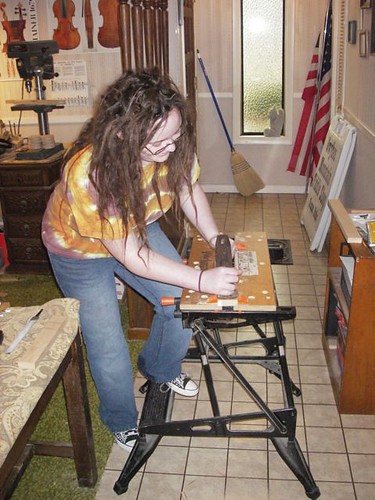
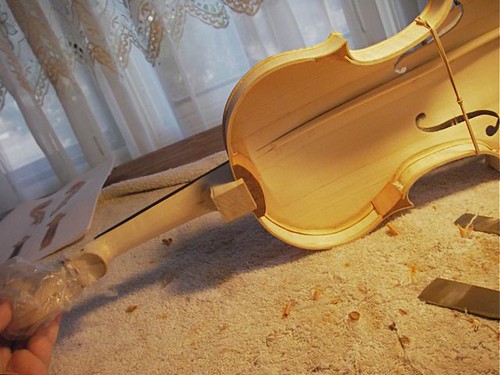
Fitting the neck to the body is a picky chore. You have to get different angles, elevations, distances to work out as you fit the heel of the neck into the neck block. In my previous violins, I have fit the neck to a totally enclosed body, top and back glued to the ribs. Following the advice of a good maker I know through e-mail and the internet, I am fitting this one before gluing the back in place.

I have to say it is much faster , so far. I haven't fit the back yet, but getting the angles, seeing what I was doing, all was much easier.

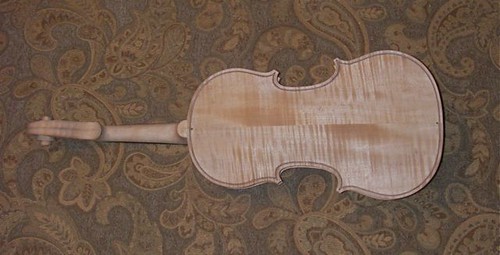
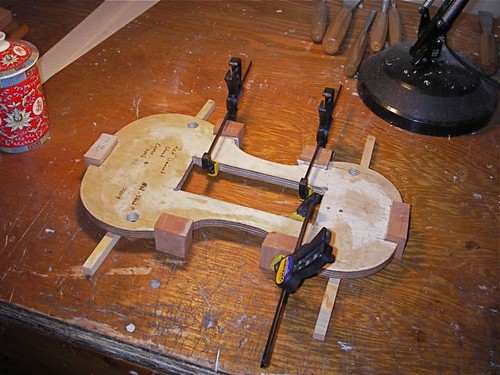
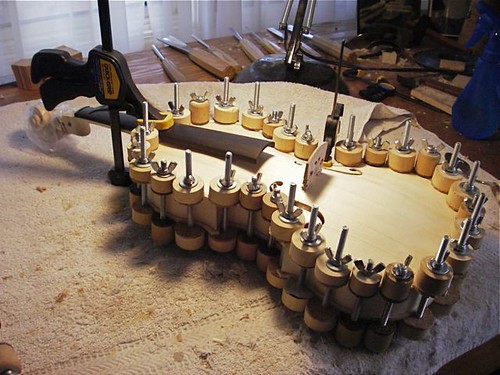
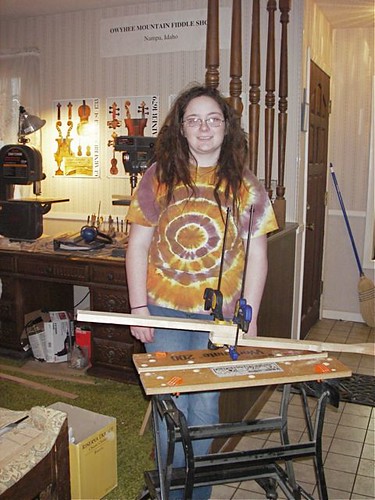
Here you can see a rubber-band around the body. It's holding a bridge blank in place, a target for my angles and elevations.

IMGP1143Neckset

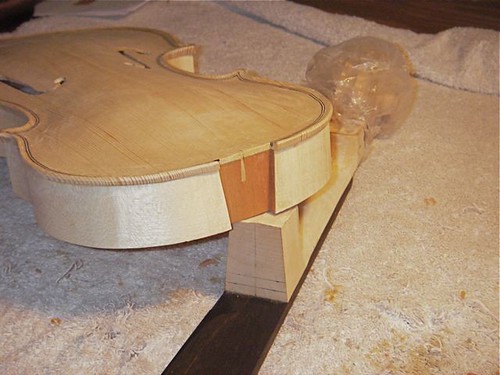
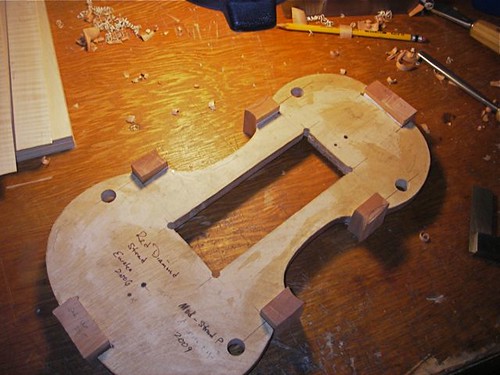
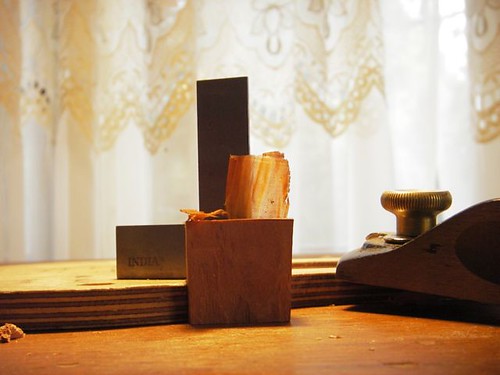
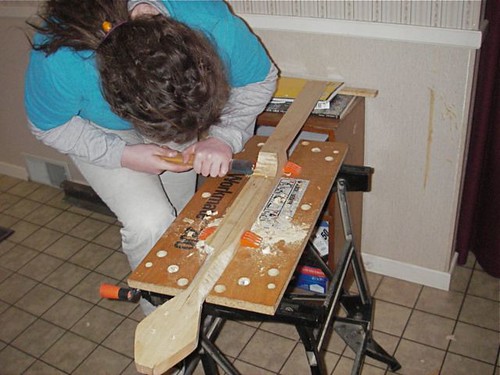
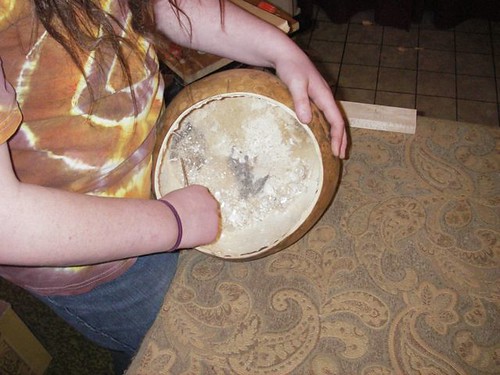
Here is the mortise cut and ready for gluing. The neck block, is the redder piece of wood, and you can see the compound angle cut of the mortise. The whiter stripe in the upper-middle of the block is the plug I used to fill the registration holes.

IMGP1152Neckset

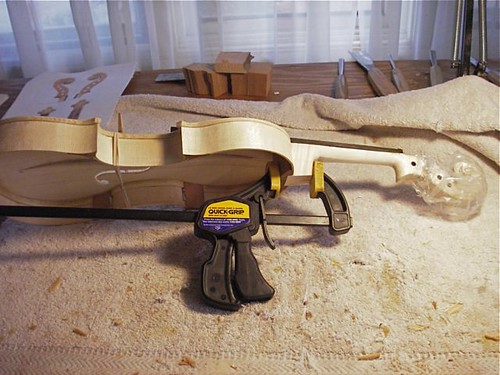
Gluing the neck was very straight-forward. In the past, I've had some difficulty keeping the elevation at the right height while clamping. Here, with my 'target' bridge in place, I can see that the fingerboard is aimed where I want it.

Thursday, January 13, 2011

Gourd banjo, part 1

One of the projects I have going on now is the building of a gourd banjo -- or at least standing back and directing someone else who is actually doing the work! :-) A local high-school student, who is taking clawhammer banjo lessons from me, decided she'd like to build a gourd banjo as her class project. Here she is cutting a neck to length.

IMGP1102Gourd

Learning how to use hand-tools takes lots of practice and time. Even learning where to stand takes some experimentation. We need to build a composite neck, and here she is using an old Stanley jack plane to smooth some stock.

IMGP1104Gourd

Here's the neck blank, glued together.

IMGP1105Gourd

We've trimmed the top of the gourd, one of many I grew in the garden a couple years ago, and one of the last steps is to scrape the inside clean.

IMGP1106Gourd

Lumpy and papery, the inside is a chore to clean up.

IMGP1108Gourd