Friday, October 30, 2009

Closing up the box

With the plates done, it's time to put the box together. First thing to do is knock the ribs free of the form. It is shown here, as it was at the end of the June workshop.

DividerCenter

By splitting out the blocks, and some finagling with the ribs, you can get it free.

IMGP2172ribs

The next step is to glue it to the back.

IMGP2173ribstoback

After the glue has set-up, the assembly can be taken out of the clamps. The blocks are trimmed to their final state, and if you're going to add a label, now is a good time to do it.

IMGP2185OpenBox

With that done, the top is glued in place.

IMGP2191ClosedBox

Now it's time to work on the neck, pegbox, and scroll. Starting to look like a fiddle.

Thursday, October 29, 2009

Fitting the bass bar

With the top to its final graduation, it's time to fit the bass bar. To keep the top from flexing, I clamp it onto a simple frame made of plywood.

IMGP2143BBframe

Prior to clamping it on the frame, I laid out the position of the bass bar, and glued temporary studs to help me put the bar down in the same place each time. It needs to be fit to the curvature of the top.

IMGP2147BBframe

After planing the bass-bar blank to its final thickness, I start out fitting by eye, then use carbon paper (ink-side up), then go to chalk for the final fit. Once it is fit, I glue it into place with hide glue. I'd like to have a few more clamps, and will have to get serious about making some -- more of them, and smaller. But for now, this works.

IMGP2150BBframe

After letting the glue dry overnight, I take the clamps off, trim off the temporary studs, and layout the profile.

IMGP2158BBflat

Using a large flat gouge to clear off most of the overhead -- needed with the clamps and frame I use, I then go to fingerplanes and finally scrapers to shape the bass bar.

IMGP2170BBfinal

Thursday, October 22, 2009

Graduation of the top

Following a similar procedure, I drilled small holes to leave about 4 mm of thickness and started scooping out with a large gouge. Spruce is so easy to cut after maple. Takes about 15 minutes to get rid of 95% of the wood. Here we are a few minutes into the process.

IMGP2075TopInitialScoop

After cleaning it up a bit with the large thumb-plane, I turn it back over and start laying out the f-holes. Doing it now allows for a little drill tear-out on the other side, which will be removed in the final graduation.

IMGP2082f-holesketch

I'm using a mathematical method to lay-out the f-holes, modified by the location of the f-holes in the 1715 Stradivari "Titian", a photocopy of that area shown to the left. For something that looks relatively simple, it takes some juggling. You have to look at the sketched-out f-holes from all angles, just to get it where you think you want it. In this photo, I have the upper eyes 42 mm apart, which is a modern dimension. The "Titian" f-holes are 40 mm apart. I'd like to keep them at 42, to compare more directly with my previous violin, but finally decide to place them at 40, closed my eyes, and drilled the holes.

IMGP2086fhole

Discovered I didn't have any reasonable saw blades to cut the stems. Not willing to wait, I decided to use a plunge knife, cutting inside the pencil lines. When I get closer to the final graduation, I hope to be able to drop these stems out, and clean up the edges with a knife (which is what I'd have to do with saw-cuts anyway).

Friday, October 16, 2009

Graduation of the back

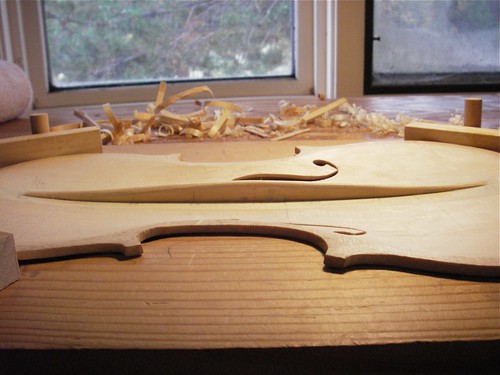
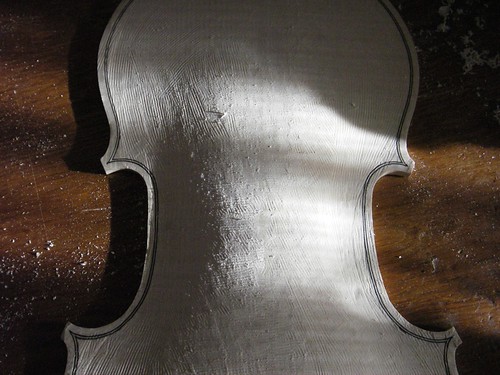
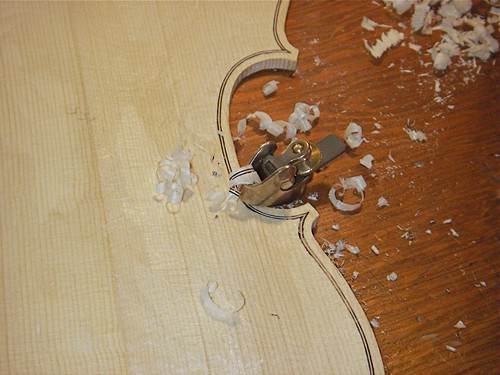
With the arching to a reasonable point, I turn the back plate over and start scooping out wood.

Following Michael Darnton's advice, I am trying to be a bit more intuitive, a little less concerned about precise measurement -- the 
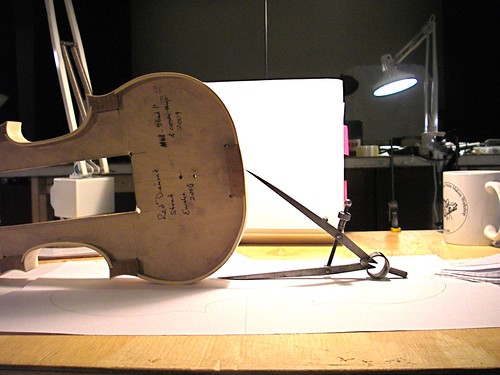
Picasso light-drawing concept . To begin with, I drilled a roughly random series of holes so that I have a 5 mm shell. My depth gauge is a makeshift device that looks like this.

GraduationDrillpress

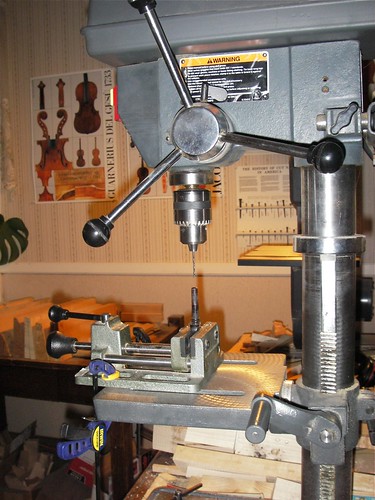
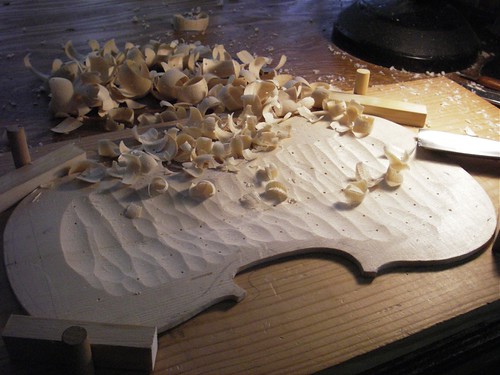
The drill press is set to stop at a position above the tip of the ebony peg, in this case, 5 mm. After drilling holes, the back looks like this.

IMGP1996_5mmRandomBack

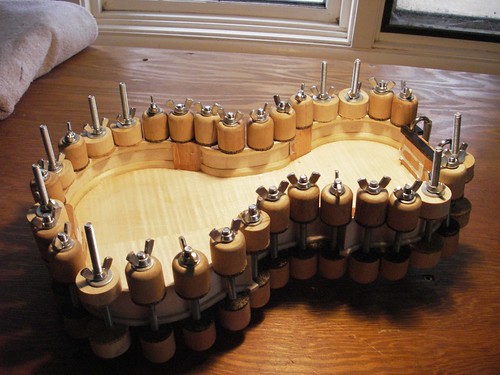
The large, 3/8" hole in the center is one I used in arching. A 3/8" inch dowel protrudes from my bench-top, which allows me to swivel the plate around to any position.

Using a gouge, I start removing wood down to the 5 mm depth.

IMGP2008Back1stHollowing

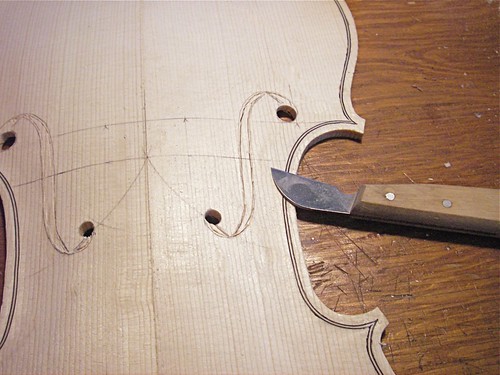
Without worrying about everything being exactly 5 mm, but close, I pencil in a graduation scheme, and drill new holes to match those thicknesses.

IMGP2013BackGrad

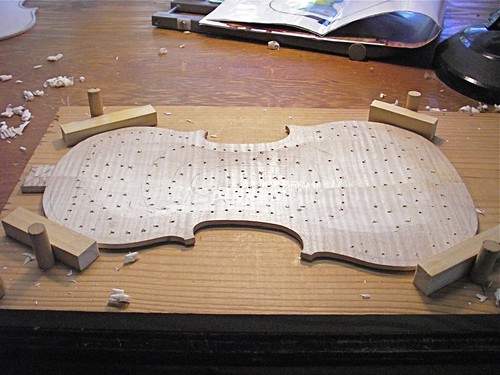
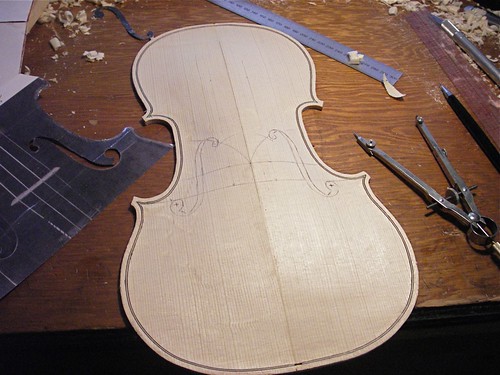
I am using the Strad magazine poster of the Stradivari 1715 Titan as my inspiration, as well as a grad scheme that was used at the now-defunct Eureka, California, workshop. Basically I have about 4.5 mm in the center, out to 2.5 mm in the bouts.

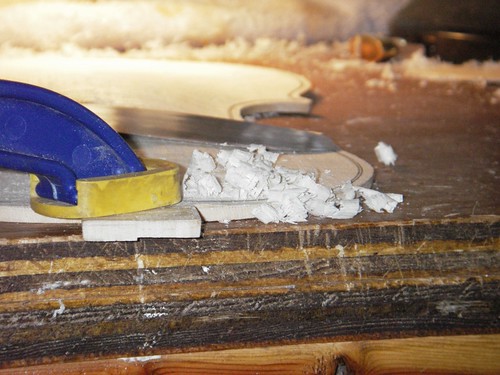
By the end of the day, between dealing with customers and a high-school age son who found a flat bicycle tire after school, I have gotten down to the finger-plane stage.

IMGP2017BackGrad

This maple is far harder, and with much more figure, than my previous fiddle, and is one tough son-of-a-gun. My fingers are sore tonight.

Friday, October 9, 2009

More arching work

The back of this violin has fairly nice figure, which means the grain direction is a mess. To avoid tear-out while using my finger plane, I switched to a toothed-blade. In the morning sun through the east window this morning, it is easy to see the tracks from this blade.


Once the arching is to a point I think is reasonable, I switch to a scraper to clean up all the tooth tracks. A scraper is a thin piece of steel, cut to shape, and then sharpened. I sharpen on one side only. A good edge will raise shavings like a plane or gouge.


With a glancing light, you just keep working until all the 'offending bumps' are gone.

Tuesday, October 6, 2009

Cleaning up the arching

With the purfling in, I now start on getting the arching to its final, or at least nearly final, state. I use templates, based on the original instrument, in this case the Stradivari 1715 "Titian", but cleaned up with curtate cycloids. Curtate cycloids are similar to what people of my age might remember as a spirograph, and are an old mathematical form, certainly known in the time of Stradivari and Amati. To draw a curtate cycloid, you can take a button. Put a pencil through one of the thread holes, run the button rim along a ruler, and trace out the pattern on paper.

While planing down to the final arching, it is satisfying to pull up a fine strip of the purfling as you go.

Friday, October 2, 2009

Purfling

Purfling is the black-white-black strip that runs around the edge of the top and back of a violin. It is typically made of three pieces of wood, dyed black (or nearly) for the two outside strips and dyed white (or nearly) for the inside strip. The violinmaker cuts a little channel all the way around the plate, then bends and fits pieces of purfling, which is then glued into place.

I just finished gluing the purfling on my latest --


The arching is incomplete here, as is the purfling, which still needs to be blended into the profile.

Purfling is a picky job. Because of a competition I'll mention later in this post, a friend sent me a quote from Biddulph's book on the maker Guarneri del Gesu. I received it just this morning, after I had cut and bent the purfling and channel, but was dissatisfied with my job, wondering what to do to clean it up. --

"The slot for the purfling is frantically cut. The knife slashed roughly along its intended route, leaving marks which career over the finished edge. The mitres are only approximately formed; the large gaps were sometimes quickly filled with paste, or simply left open. The purfling pursues a hesitant course, stopping short of the end of the corner, and meandering across the wide channel..."

Guarneri del Gesu is considered by most to be among the top two violin-makers, the other being Stradivari. This quote is in reference to the instrument named "Ole Bull" after the famous Norwegian violinist who owned it. It is reportedly a very nice instrument, and there is currently underway plans for an exhibition in 2010, featuring violins made on this model by living makers. You can read more about that here.