Thursday, October 28, 2010

Roughing the pegbox and scroll

IMGP0271neck

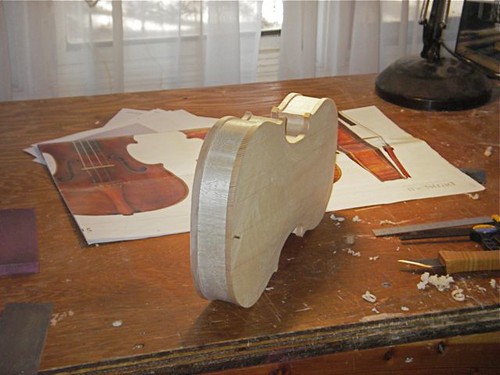
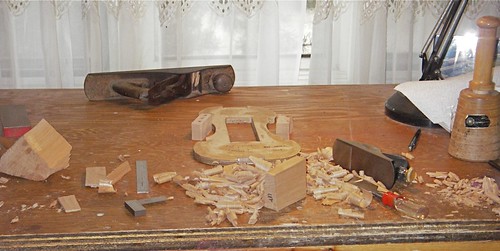
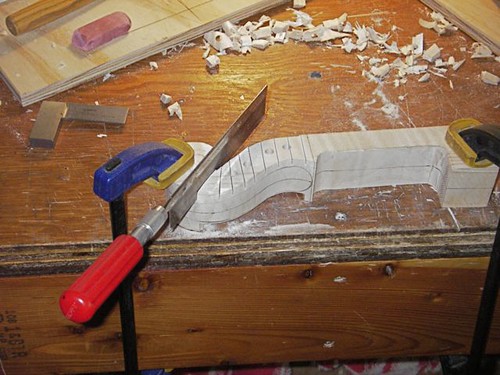
After laying out the lines of the neck and scroll in pencil, I start cutting away some of the excess wood. Note that the peg-holes are drilled prior to this, while the neck is still square. Here the saw is nearly done cutting the bass-side of the peg-box. It has already cut the wood from the treble side, and the gouge and rasp cleaned out the stuff. You can see the gap on the side next to the bench. It sure is handy having handtools that can work on their own with minimal direction! :-)

IMGP0280neck

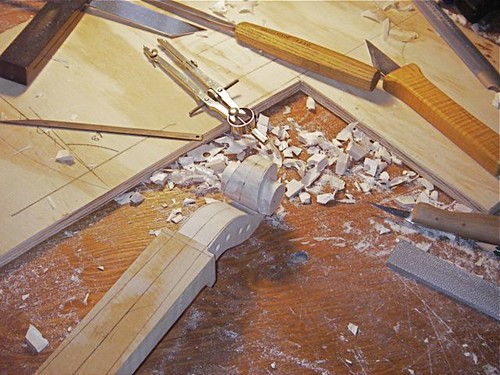
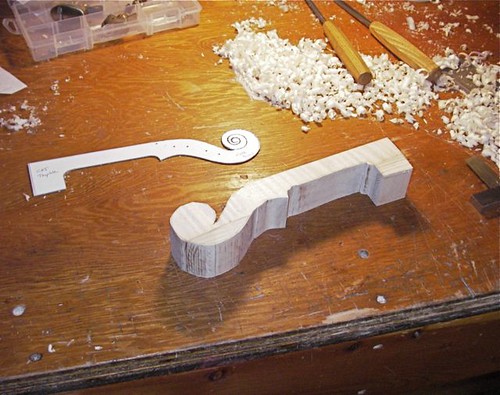
Here we have the first turn in the scroll rough cut and chipped out. I then use the rasp, looking from side to side, trying to get things even. I'll call it a day, and finish up the rest later.

Wednesday, October 27, 2010

Channeling Stradivari

IMGP0238body

Here I am using the registration pins to attach the plates to the rib assembly. You can notice one pin sticking out of the spruce top-plate on the end facing us. Doing this allows me to see the overhang and make adjustments in an attempt to get it both uniform and flowing. At this point, the plates are still quite thick.

IMGP0244back

This is a time-consuming part for me. Here I have started to cut the channel in the maple back. Slow going, as I need to be careful as I bring the channel out to the edge. In this particular back plate, I have a particularly messy bit of grain in the central C-bout area, which is particularly entertaining to cut through.

IMGP0252neck

While giving my eyes a break from the channel cutting work, I squared up the neck block, traced out the template, and cut the block on my bandsaw, which is an older benchtop model, underpowered, from Sears. I have learned through experience that it is better on these necks to give a bit of clearance to the line. The blade is prone to wander a bit from vertical, lopping off wood I'd rather keep. I finish up the outline with gouges and rasps. The shavings on the bench are from work I was doing earlier on the spruce top plate.

Thursday, October 21, 2010

Cutting corners

IMGP0236corners

Spent a few hours today working on corners. Still not finished. Corners are picky spots, which really strain how clearly one can see. Is that the curve? No, more like this. No. Maybe a slice here.

And so on....

The hole in the plate is there so I can pivot the plate on the bench, rotating it this way and that, as I work on the arching. When I hollow the plate, it will be taken out.

Wednesday, October 20, 2010

Cutting the outline of the violin back

IMGP0228back

Flattened the inner surface of the back with a combination of planes -- block and jointer -- and then traced the rib outilne. Again cut with the jig-saw, with a new blade. The combination of new blade and hard wood was quite nice. Here I am doing some preliminary arching with a toothed blade in the block plane. I think this is a particularly attractive piece of maple, and hope I do justice by it.

Monday, October 18, 2010

Cutting the outline of the violin top

IMGP0208spruce

After getting the ribs leveled (they're still attached to the form) and leveling what will be the inside surface of the top, I clamped the two together and traced the outline. For the first time, I used a handheld power jig saw to cut the outline. In the past, I've used the bandsaw. It worked reasonably well, and quick, but you do have to be careful to cut in the proper direction for the grain, as it's easy to lift out little chunks of spruce if you're cutting 'uphill'.

Then it's onto rasps and knives to clean up the outline, a bit of pencil work to try to get the corners right, and one part I really enjoy, taking off wood with the planes as I start the arching (the outside shape).

Friday, October 15, 2010

A week into the new fiddle.

Having fit all the ribs to the blocks, I'm here planing the willow linings down to about 2 mm thickness. These will be bent and glued to the inside of the ribs, top and bottom, to give both strength and a bigger gluing surface for the front and back plates.

IMGP0188linings

I started this fiddle a week ago today. At the end of work today, I have the rib assembly made, with linings top and bottom, both plates joined, and a preliminary flattening of the inside surfaces.

IMGP0197ribsplates

This work was in addition to the repair work, private fiddle lessons, and other work that I've had. It's not breaking any record except my own -- my first fiddle took me 3 years to finish!

Monday, October 11, 2010

Scraping and rubbing

Cut the curves in the corner blocks for the C-bout ribs, as well as trimmed up the neck and end-blocks. Before bending the ribs, I get the outside fairly clean & smooth with a scraper. This photo shows a short section of rib that will be fit to the treble c-bout.

IMGP0140ribscraper

Also managed to join the spruce for the top this afternoon -- a rub-joint with hide glue.

IMGP0153top

Hot hide glue is applied to both sides, then the upper piece is rubbed back and forth along the lower a few times. It's a satisfying way to glue a joint, and no clamps required.

Sunday, October 10, 2010

Thinning ribs prior to bending

Thinning down curly-maple rib-stock with a toothed-blade in my block-plane. And getting a lot of use out of my hyphen-button.

IMGP0126ribs

The toothed blade allows one to cut through the curly maple, which has grain in all directions, with a minimum of tear-out. I actually like this part, and it is easy to build a nice pile of tight, curled shavings in a few minutes.

Friday, October 8, 2010

Fitting the blocks to the violin form.

While I'm still sunning the last one (in between rain storms), I cleaned up the form and started another violin. This photo shows some of the raw material I use for blocks, from a willow tree that blew down nearby more than 10 years ago.

IMGP0004blocks

I split it along the grain with mallet and large chisel, then square it up with the Stanley block plane on the right. I need 4 corner blocks, a neck block, and an end-block.

IMGP0012blocks

Here are the 4 corner blocks glued into place on the form. I need to add another clamping cut-out or two for the end and neck blocks, but then I would have to buy a couple more of these small clamps! As it is, I'll let these set in a while, then glue in the upper and lower blocks.