Showing posts with label varnish. Show all posts

Tuesday, July 5, 2011

The Moment You Walked In the Door...


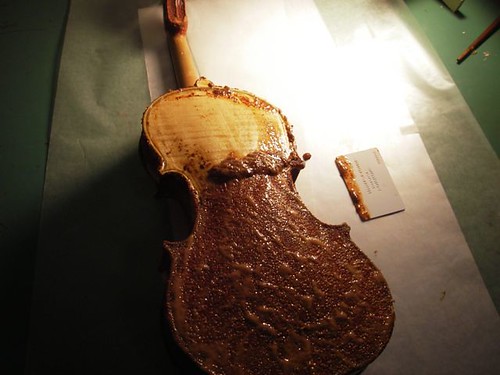
Stripping no. 3, the one with the heavy red varnish, finished in December. Never did like the way it turned out, so now to do something about it. Citristrip takes the varnish off well, though there is plenty of detail work to get it out of the nooks and crannies, as they say.

Here are Chinese white (varnished) and previously varnished No 3, now stripped, both in my specially made UV box, catching a few rays.
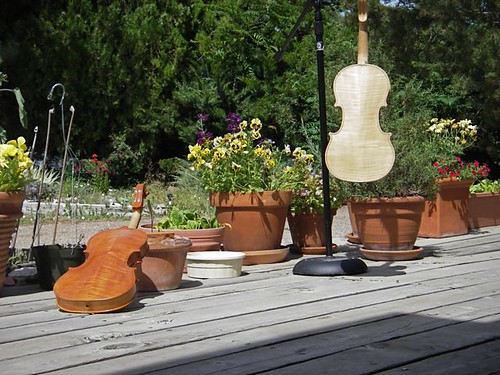


Here is the recently stripped violin with some ground on it. I polished it down with a little varnish and pumice, stained with a little tea, then a little more varnish and pumice, followed by diluted amber shellac. To dilute it, I used alcohol to which I had added madder root -- a tincture -- a few weeks prior. It did change the alcohol to a reddish color, but didn't seem to have much effect on the overall amber shellac color.

Tuesday, May 31, 2011

Varnish experimenting, a different light

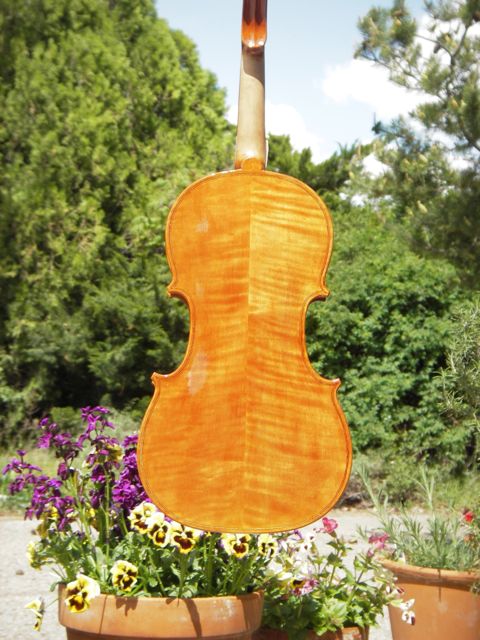
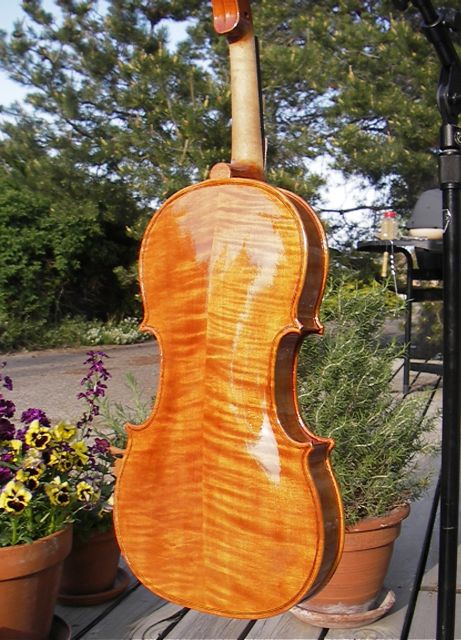
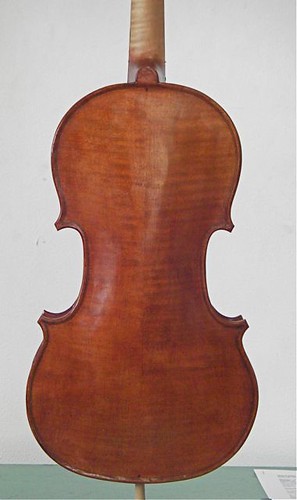
An update on the inexpensive Chinese white being varnished with the home-made varnish. Here it is yesterday.


And here it is later in the same day.


It's hard to anticipate how photos will appear on others' screens, and I have an old one, but I like the looks of the second one far better.

What's the difference? The light. I've done nothing to the violin in the intervening hours. The first was taken mid-day, under full-spectrum sunlight. The second was taken in the evening, with the sun low in the sky (note the shadows). At that time of day, the sunlight is redder, cutting through more atmosphere, with more of the blue light scattered out of its path.

It's good to remember to be careful evaluating varnish, or colors, based on photos. Just as it's good to remember to be careful evaluating sound from recordings. But at least it's something.

Wednesday, May 11, 2011

Varnish experimenting


I applied the first coat of varnish to a 'white' violin this morning. The varnish is some that we made last month, and when I say "we made" I mainly mean that I sat around and watched while Ruston did all the work. But it is pretty cool stuff and I hope it works out. This is much different than other varnish I've worked with -- the rest of that being commercial violin and spar varnish. This is like a thick syrup. I put it on with my fingers, patted it around, leaving fingerprints and such, but after several minutes, all that flowed out. It dries to the touch within a few hours when exposed to sunlight, though will stay tacky for a couple days if left inside. I've done experiments with sample strips of wood.

This is the first violin I've varnished with it, but it is not a violin I built. It is an inexpensive 'white' violin, meaning it was built but not finished. I had wanted a second-level instrument, but Howard Core was out of those, so we substituted for a bottom-tier instrument. I asked for something with interesting figure on the back, and I think they did a good job picking one out for me.

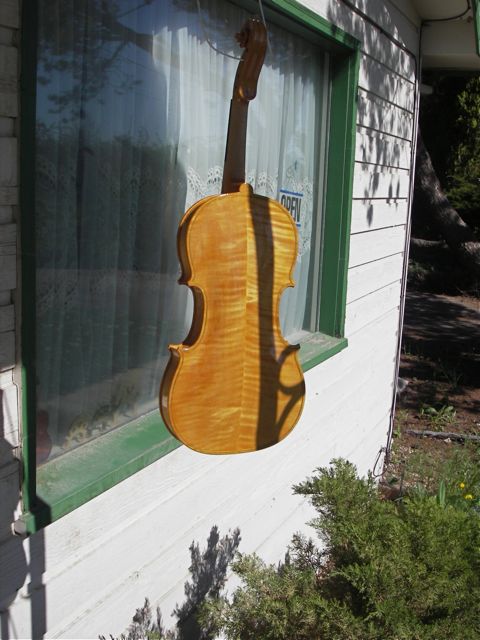
This has my usual tea stain followed by watered-down amber shellac for the ground. Trying to be like the old-time Cremonese, I hung this outside shortly after varnishing. It promptly attracted a floating dandelion seed, but that will come out easy enough when I buff it down later. And there will be a couple more coats of varnish to go, so more chance for floating debris. It's all organic!

Wednesday, March 2, 2011

Varnish on Titian #4, Gourd banjo part 3

I've managed to get a couple of coats of varnish on Titian #4 and grabbed a quick snapshot of it, similar setting to the ground photo in my previous post.

IMGP1778varnish


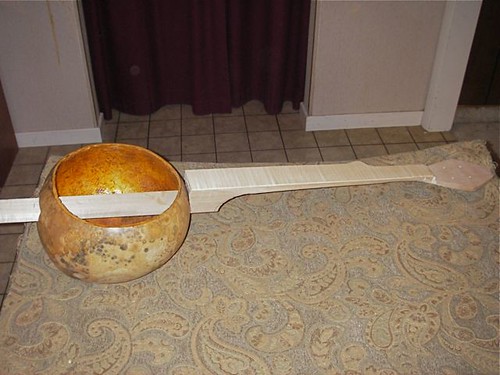
We've also made some progress on the gourd banjo. Fit the neck to the gourd.

IMGP1702banjo

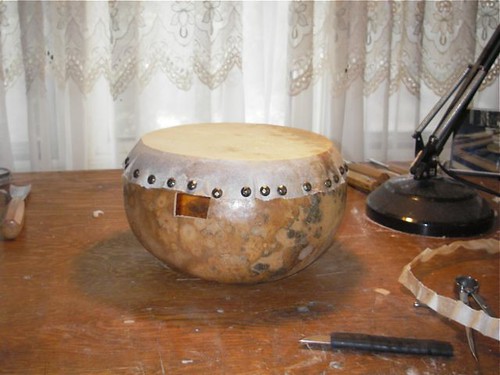
And then got the skin on the gourd itself, held in place with hide glue and tacks.

IMGP1769banjo

Wednesday, February 16, 2011

Applying the ground coat

IMGP1591ground

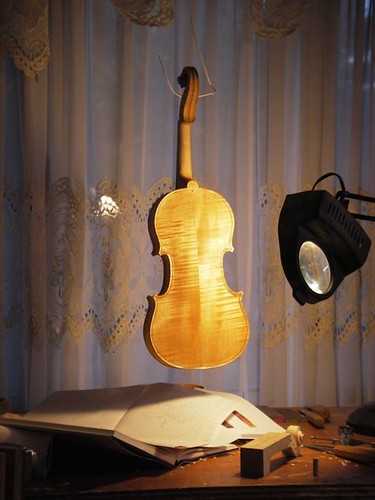
Threw a ground coat on my Titian #4 this evening, right before shutting down. Just hanging in front of an incandescent light over the bench. I used sunshine and over-brewed tea to darken the wood prior to this.

Beneath is a new scroll, and the Rogeri poster I'm using for inspiration (it's a skinny one). Rehearsal tonight.

Friday, November 19, 2010

arching and varnishing

IMGP0659back

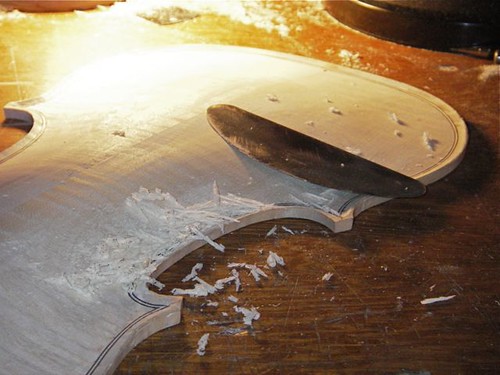
Down to the scraper, trying to get rid of all the little bumps and grooves on the back.

The arching is nearly finished (at least I'm thinking that now on Friday evening). Will look at them again in the morning, then turn them over and start hollowing.

IMGP0665Plates

Two varnished backs. The one on the left, the lighter color, is what I'm currently playing. The one on the right is currently being varnished -- in fact the varnish here is still tacky. I'll rub it down, then add another clear coat or two.

IMGP0641backs

Friday, November 12, 2010

Arching on one, varnish on the other

With the purfling in, I'm now to finishing up the arching, using smaller tools, taking less wood as I go. If there is any secret in violin-making, there's a good chance it's in the shape of the arching. Incidental light makes 'problems' easier to see, such as the groove at the upper end of the right C-bout -- need to take care of that!

IMGP0588back

My previously built fiddle in the varnish process. Here the layer is just on, still wet, and will be set aside for a day or two to dry before the next coat.

IMGP0573

Friday, November 5, 2010

Cutting the scroll on one, ready for varnish on the other

My prior fiddle had gotten to the first coat of varnish, but then I really didn't like the way it was going. I stripped it, then started over again. Here it is, with the ground restored, ready to varnish again.

IMGP0514ground

On my current building project, I cut the second turn in the scroll, then started cleaning it up -- apply a chamfer, undercut, adjust.....

IMGP0507scroll

Monday, August 16, 2010

The Faded Red Violin

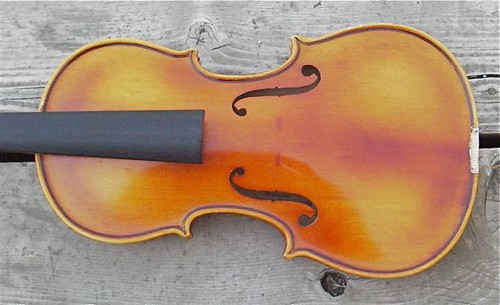
A ca. 1983 3/4-sized student violin, made in Hungary. Not really an extraordinary instrument at all, except that it does show some indication of faded color change over the past 27 years.

IMGP0787Fade

The yellow highlights and the reddish edges are probably part of the original antiquing scheme. What I thought was interesting was the footprints of the bridge, part of the varnish that was hidden from light. To a lesser extent, you can see the "shadow" of the tailpiece and some of the chinrest, on the bass, or left, side of the tailpiece. Most likely, this fiddle was far redder when it was new.

Friday, February 19, 2010

Watching varnish dry.

Varnishing is slow work this time of year. I really need to build an artificial Italy, a UV light box, but I haven't yet. So I let the varnish dry with whatever exposure to the sun I can get, often through the glass door -- minimal at best. This morning, the sun is out, the temperature is above freezing, just, and I have a little sheltered spot to catch a few rays.

IMGP3416BackColor

Sunday, January 31, 2010

Ground coat

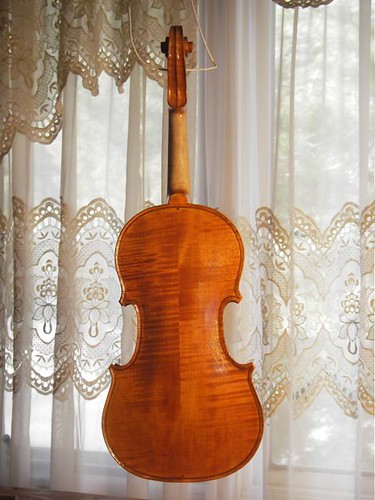
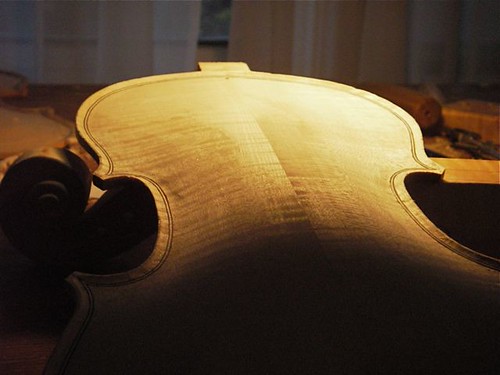
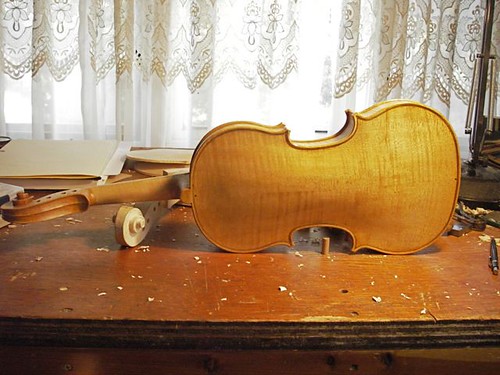
A non-standard photo of my latest violin with couple of 'watered-down' coats of amber shellac for a ground. The varnish will be applied on top of this, the ground isolating the wood from the varnish.

IMGP3390Titian2grnd

The ground is a commercial shellac, available from hardward and builders supply stores -- Zinnser Bulls-eye, amber. It is 'watered down' with alcohol, in this case, 4 parts shellac to 1 part alcohol. Learned this from Michael Darnton. It's most likely not what was done in the old days, but it does have interesting properties, and the gold color is pleasing. I used it on my previous violin as well.

We have such great sun in Idaho, that I have not yet built a UV-box for varnishing. This time of year, however, we have clouds, wind, rain, snow, varying throughout the day, so I'm hanging the fiddle in the sunlight of our south-facing bedroom window. Pathetic UV, but better than nothing. The black rectangular areas on the back of this fiddle are actually shadows of tape used to plug holes in the screen. Also, our tender herbs, such as this lavender, are inside. Just outside the photo frame are oregano and rosemary. Perhaps the herb fragrance will help with the violin tone. :-)