Showing posts with label ribs. Show all posts

Wednesday, November 16, 2011

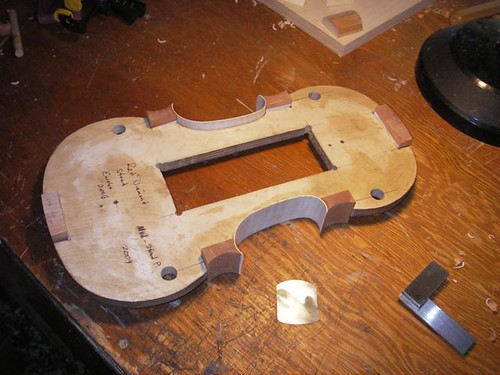
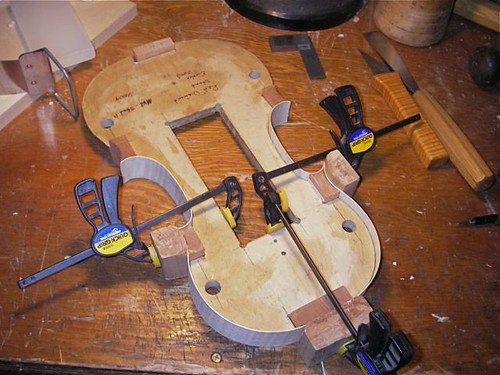
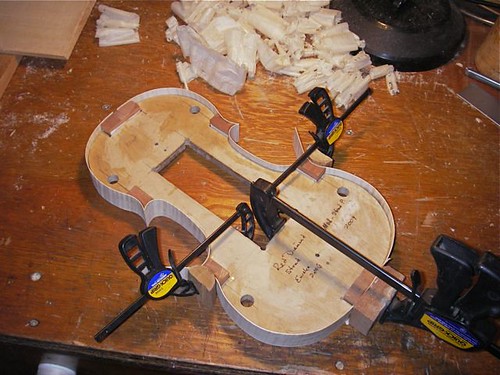
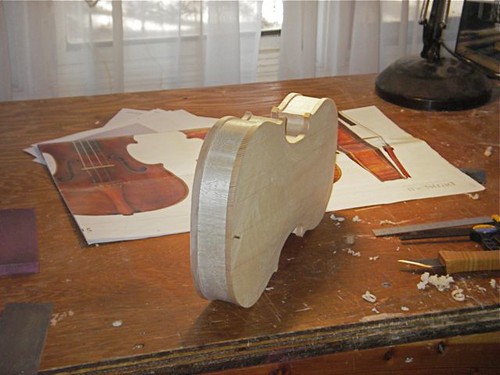
Two-thirds of the ribs in place.


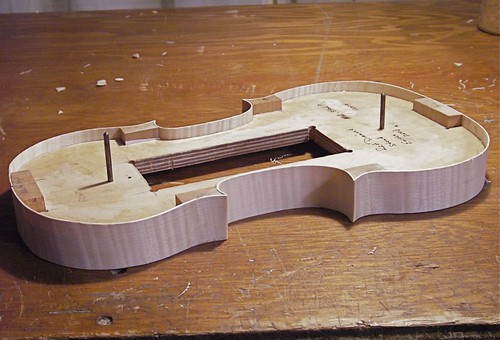
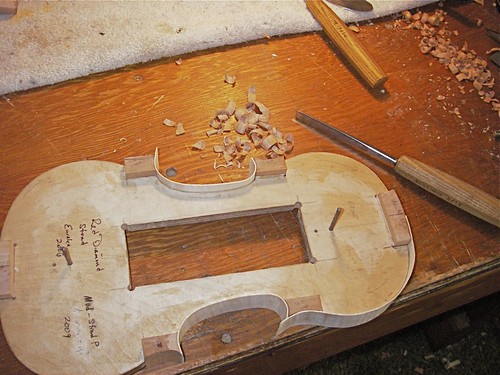
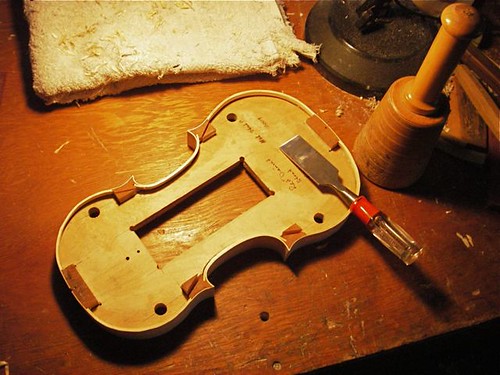
I put the c-bouts in, then the upper bouts. This is the first time I'm seeing ribs on this form, and the compass arcs (from the drawing) really show up in the upper ribs, nice and round. I'm curious to see what the lower bouts look like with ribs in place.

If you didn't see it before and are wondering about the drawing of the form, my blog posts on that start here.

Saturday, November 12, 2011

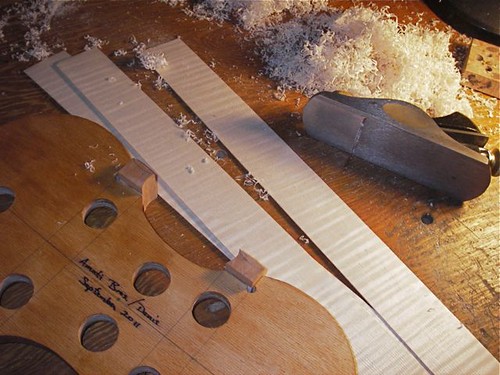
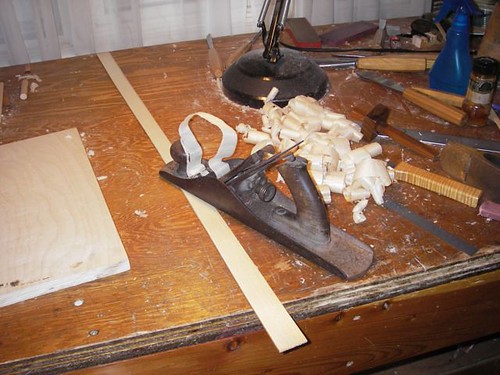
Planing rib-stock to thickness


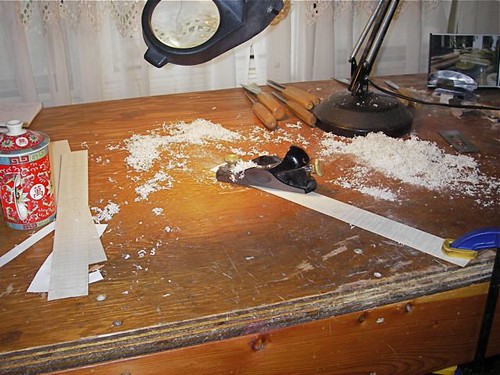
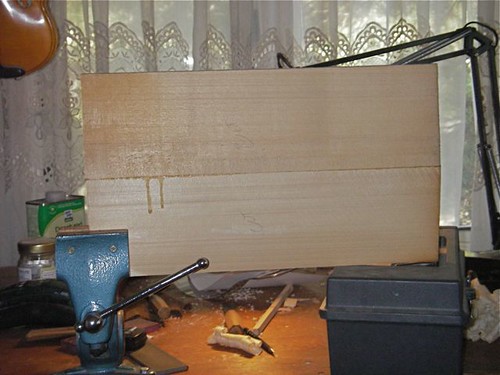
Nothing terribly exciting -- thicknessing some rib stock. I use a toothed-blade in my block plane for this job. Next step is to cut them to width, then bend in the c-bouts.

Friday, February 4, 2011

Ribs

With the center curves cut, the ribs are bent and glued into place. Then the outer curves on all 6 blocks get shaped.

IMGP1395cboutribs

Here the upper ribs are shown glued and clamped.

IMGP1427upperribs

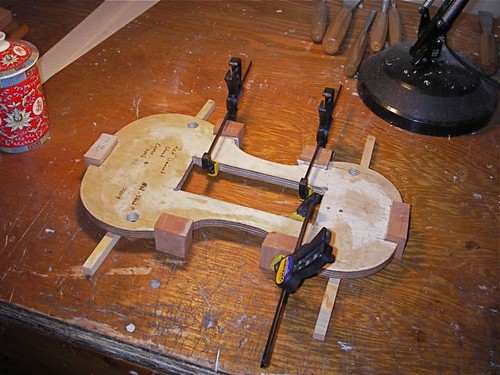
And this is the lower ribs glued and clamped. Note that the ribs run long out the ends.

IMGP1444lowerribs

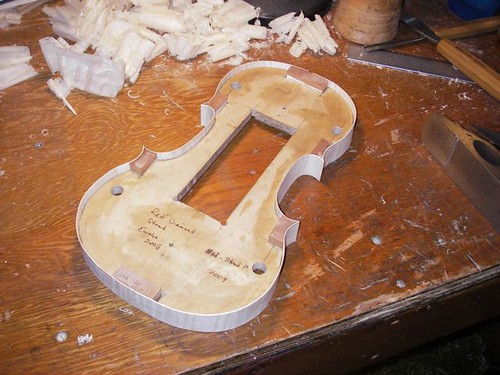
After all the glue has set, clamps can be removed and the corners trimmed to shape.

IMGP1446trimmedribs

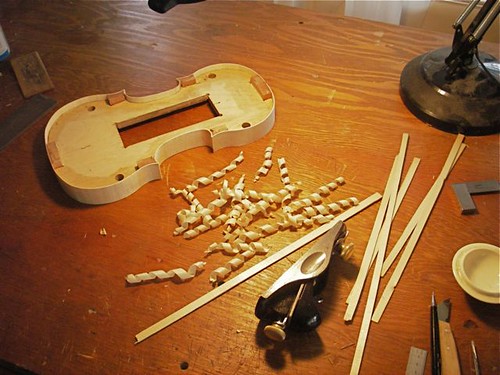
Using the old No. 5 to take the thickness of the willow down to 2 mm. After that, I cut to about 10 mm, square down to 8 mm or so, then bend to shape for linings inside the ribs.

IMGP1449liningthickness

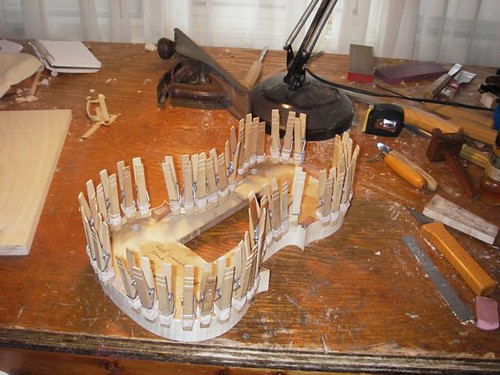
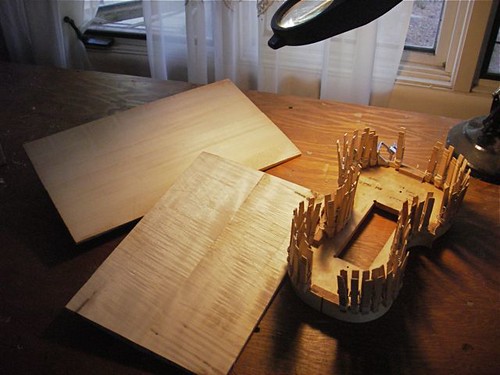
Clothes-pin-and-rubber-band clamps (just like Stradivari! :-) ) to hold the linings in place while the glue dries.

IMGP1456topliningsclamped

Thursday, January 27, 2011

Starting another violin

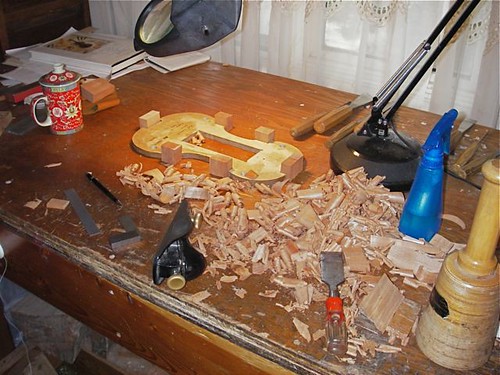
Splitting out block material with the maul and cheap chisel, squaring them with the block plane, is the first step in building a new violin -- on a previously built form!

IMGP1324blocks

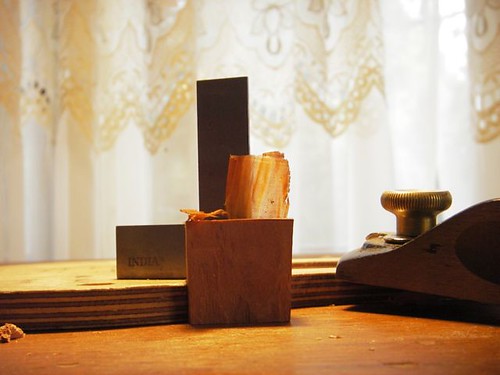
My attempt to get a 'shaving' shot. This shaving, which I stood up on the block it came from, is endgrain. I'm using a standard Stanley block plane, though I've tuned it up a bit, with a Hock blade. The machinist's square is used to check the squareness of the block.

IMGP1321Endgrain

The blocks are tacked into place on the form with hide glue. They will later be shaped to to hold the ribs.

IMGP1334blocksform

Thinning down rib-stock with a toothed-blade in the block plane. Before doing this, I scraped the other side clean with a flexible scraper; that side will be facing out on the violin.

IMGP1333ribs

Wednesday, December 8, 2010

Gluing the top on; Jackson-Sloan Stradivari

IMGP0865formRemoval

Following advice of Oded Kishony, I'm going to fit the neck to the body before gluing the back to the ribs. To glue the top to the ribs, though, I need to get the form out. I trimmed the linings last night, and this morning I took out the form. It appears to be a problem, but just split the corner blocks on the diagonal, knock the end and neck blocks loose, and you can spread the ribs taking the form out.

A word about the chisel with the plastic handle. It's cheap. I bought it over 30 years ago when I was doing carpenter work and carried it about in my leather work-apron. In my violin work, I find it pretty handy for scraping old hide glue and other destructive tasks. It takes a quick edge, though it doesn't last, and is the right size for splitting out blocks.

After the form is out, I trim the blocks to their final shape.
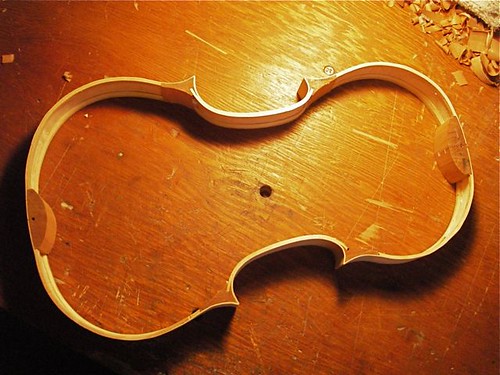
IMGP0872ribs

Here's the top glued to the ribs. Next step is to finish up the neck, then fit it.
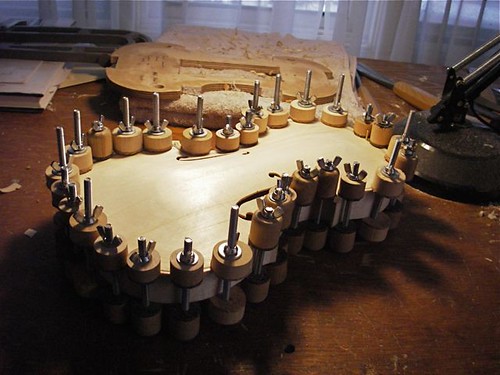
IMGP0873glueTop

With the glue hot, I decided to add the label to the back. Here it reads: Inspired by Antonio Stradivari 1714 "Jackson-Sloan" Nampa 2010. Inspired here really means in the more artistic sense, and certainly not a copy.
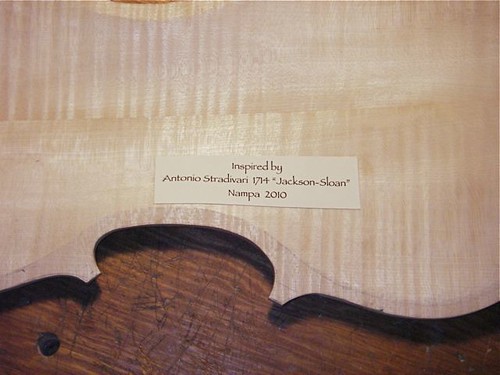
IMGP0876label

This past June, at the Southern California Violin-Makers Workshop, I got to play the 1714 "Jackson" Strad, as well as a 1742 Guarneri del Gesu, both owned by Doc Bill Sloan. A tremendous experience, I was particularly taken by the Strad. I was also surprised by its appearance, being much higher arched than I would have expected out of a Stradivari. We were able to really look over these instruments, and estimated the Strad top arch at 18 mm, and what appeared to me to be very steep arching. The e-string on this Strad was simply amazing. Anyway, I tried to follow a similar arching concept, without having anything like arching diagrams, just my memory. Hence, "inspired by."
Wednesday, October 27, 2010

Channeling Stradivari

IMGP0238body

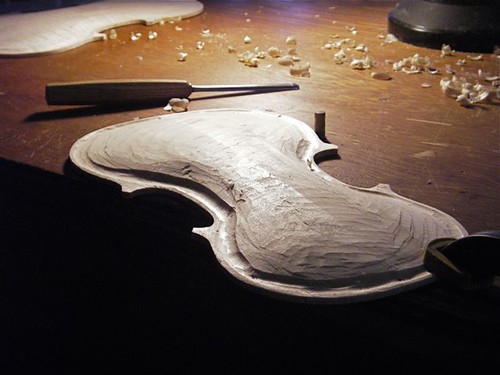
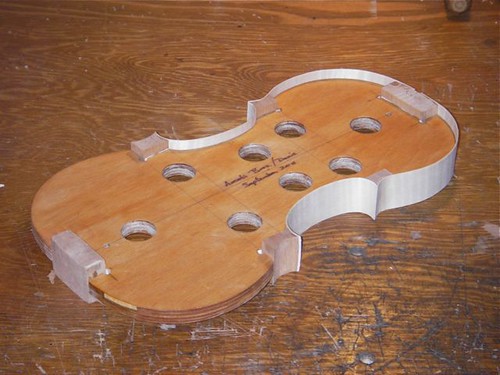
Here I am using the registration pins to attach the plates to the rib assembly. You can notice one pin sticking out of the spruce top-plate on the end facing us. Doing this allows me to see the overhang and make adjustments in an attempt to get it both uniform and flowing. At this point, the plates are still quite thick.

IMGP0244back

This is a time-consuming part for me. Here I have started to cut the channel in the maple back. Slow going, as I need to be careful as I bring the channel out to the edge. In this particular back plate, I have a particularly messy bit of grain in the central C-bout area, which is particularly entertaining to cut through.

IMGP0252neck

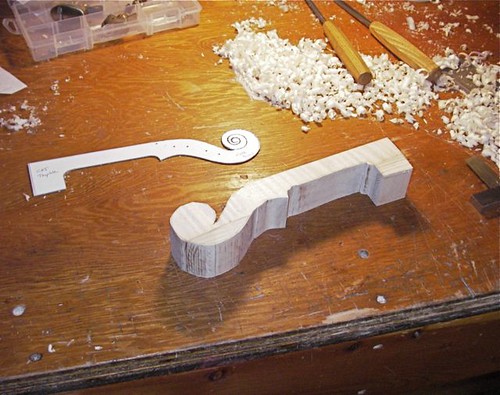
While giving my eyes a break from the channel cutting work, I squared up the neck block, traced out the template, and cut the block on my bandsaw, which is an older benchtop model, underpowered, from Sears. I have learned through experience that it is better on these necks to give a bit of clearance to the line. The blade is prone to wander a bit from vertical, lopping off wood I'd rather keep. I finish up the outline with gouges and rasps. The shavings on the bench are from work I was doing earlier on the spruce top plate.

Friday, October 15, 2010

A week into the new fiddle.

Having fit all the ribs to the blocks, I'm here planing the willow linings down to about 2 mm thickness. These will be bent and glued to the inside of the ribs, top and bottom, to give both strength and a bigger gluing surface for the front and back plates.

IMGP0188linings

I started this fiddle a week ago today. At the end of work today, I have the rib assembly made, with linings top and bottom, both plates joined, and a preliminary flattening of the inside surfaces.

IMGP0197ribsplates

This work was in addition to the repair work, private fiddle lessons, and other work that I've had. It's not breaking any record except my own -- my first fiddle took me 3 years to finish!

Monday, October 11, 2010

Scraping and rubbing

Cut the curves in the corner blocks for the C-bout ribs, as well as trimmed up the neck and end-blocks. Before bending the ribs, I get the outside fairly clean & smooth with a scraper. This photo shows a short section of rib that will be fit to the treble c-bout.

IMGP0140ribscraper

Also managed to join the spruce for the top this afternoon -- a rub-joint with hide glue.

IMGP0153top

Hot hide glue is applied to both sides, then the upper piece is rubbed back and forth along the lower a few times. It's a satisfying way to glue a joint, and no clamps required.

Sunday, October 10, 2010

Thinning ribs prior to bending

Thinning down curly-maple rib-stock with a toothed-blade in my block-plane. And getting a lot of use out of my hyphen-button.

IMGP0126ribs

The toothed blade allows one to cut through the curly maple, which has grain in all directions, with a minimum of tear-out. I actually like this part, and it is easy to build a nice pile of tight, curled shavings in a few minutes.

Wednesday, May 5, 2010

Ribs bent and installed

IMGP3764Ribs

The ribs bent and installed on the form. I still need to add internal linings both top and bottom, then trim everything for height -- for example, you can see a the close c-bout rib rising above the left corner block -- but the basic shape is there.

Sunday, April 25, 2010

ribs, bent not broken

The title is a bad attempt to parody James Bond...

Between repair work and yard work -- it's spring! -- I haven't put as much time into making as I would like. Here I have the c-bout ribs bent and glued into place, the upper treble rib, and I am in the process of shaping the curve on the upper bass-side rib. This maple has more curl than what I've used before, so bending the tight curves on the c-bouts was a challenge. Easy to crack a rib.

IMGP3622blockshaping

The ribs are glued to the block surfaces but not, hopefully, to the mould. Previously, I had run a layer of shellac around the edge of the mould, and actually a bit of the upper and lower surfaces. This catches the camera flash much differently than the bare plywood, and doesn't look so good. After I get this rib garland off, I might have to just shellac the whole thing so it looks better in photos!