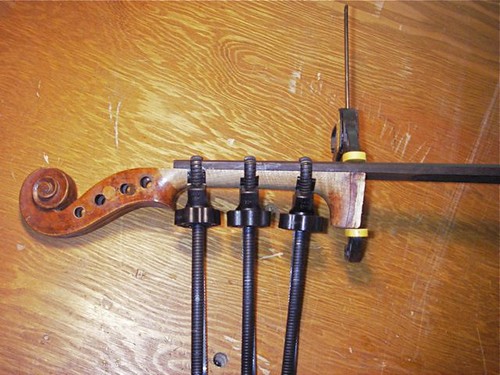
When I fit the fingerboard, I want to get the top curvature even, which aids in positioning notes, the longwise length with some relief, to make it feel easier to play, and I'd like to get the sides gently curved in the vertical direction, which also aids in the feel, but relatively straight along the sides, which helps in accuracy. A new fingerboard on an old neck is something like putting a new clutch in a car. The driver is accustomed to working with the old feel, and will often kill the engine leaving the mechanics' shop. Of course, one can adjust the clutch, or the fingerboard, to the owner's desire, but there usually is a little retraining that takes place. Hopefully, it is short, and the owner will soon enjoy the new set-up.

Fitting the old neck heel to the new block involves cutting out a mortise, then fitting all the edges tightly. It is a time-consuming task, because you must constantly check the various angles involved -- side to side, up and down, and the angle relative to the plane of the ribs. This old neck-heel was particularly challenging. It has been modified over the years, with bits added on, and actually not much of a dovetail shape to the edges along the ribs. Furthermore, at some time, the neck itself was planed to give a significant tilt towards the e-string side. This was fashionable a few decades back, but most makers now keep the top of the neck parallel with the rib-plane. Just one more thing to keep in mind.
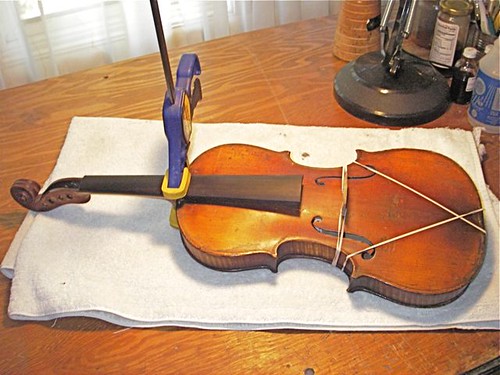
When it's all fit, I make a new batch of hide glue and glue the neck in place.

At the same time, I glue the saddle, at the tailpiece end, in, clamped with rubber-bands here.
With a new fingerboard, a new nut is in order.

Finally, time to do a set-up. Put the soundpost in place, find a replacement G-string (the old one was damaged in the accident), string it up, and make some adjustments. Make sure everything works under tension. I still have cosmetic touch-up work to do in this before it goes back to the owner.


No comments:
Post a Comment