
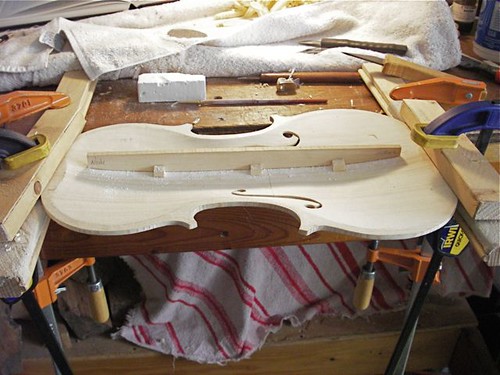
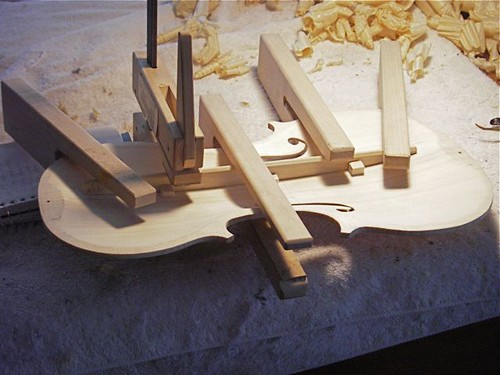
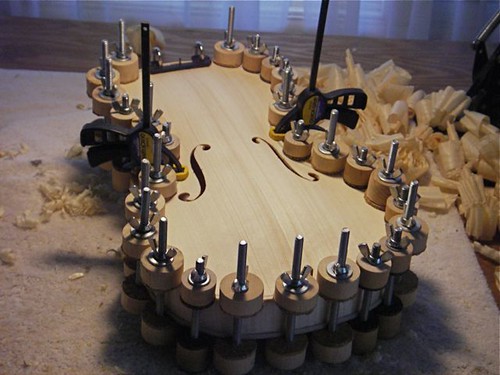
When the bass-bar is fit, it needs to be glued in place. 4 traditional bass-bar clamps and one deep-mouthed clamp. My simple bass-bar frame, a rectangular piece of cheap plywood made of as an experiment, has warped. I decided to go back to the 'old-fashioned' method of clamping a bass-bar today.
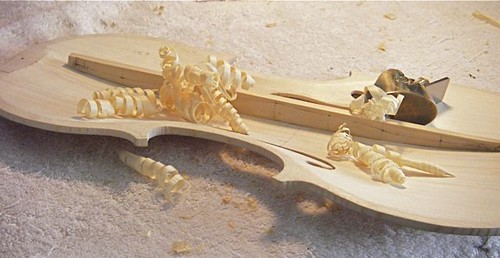
I use a thumb-plae to take the bass-bar down to final dimensions. It makes nice twisty shavings.
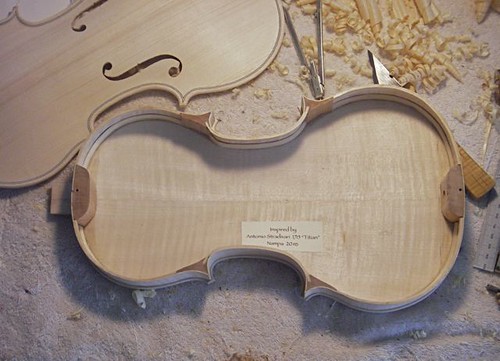
Here's the bass-bar at nearly its final shape -- just a little clean-up to do.
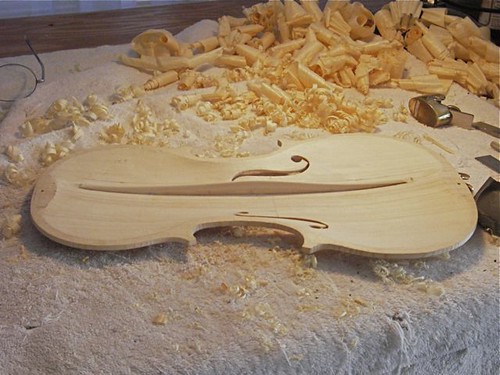
I've drilled a preliminary hole for the end-pin and glued in a label. Next step is to glue it all together.
The box closed.
No comments:
Post a Comment