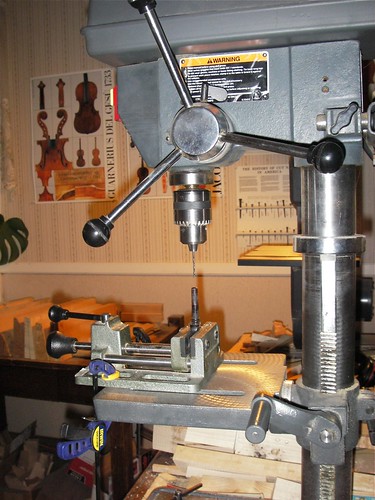
Following Michael Darnton's advice, I am trying to be a bit more intuitive, a little less concerned about precise measurement -- the Picasso light-drawing concept . To begin with, I drilled a roughly random series of holes so that I have a 5 mm shell. My depth gauge is a makeshift device that looks like this.

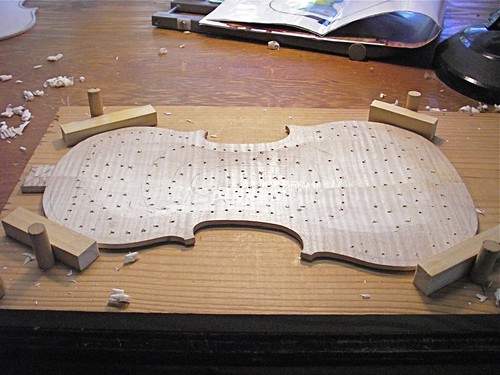
The drill press is set to stop at a position above the tip of the ebony peg, in this case, 5 mm. After drilling holes, the back looks like this.

The large, 3/8" hole in the center is one I used in arching. A 3/8" inch dowel protrudes from my bench-top, which allows me to swivel the plate around to any position.
Using a gouge, I start removing wood down to the 5 mm depth.

Without worrying about everything being exactly 5 mm, but close, I pencil in a graduation scheme, and drill new holes to match those thicknesses.

I am using the Strad magazine poster of the Stradivari 1715 Titan as my inspiration, as well as a grad scheme that was used at the now-defunct Eureka, California, workshop. Basically I have about 4.5 mm in the center, out to 2.5 mm in the bouts.
By the end of the day, between dealing with customers and a high-school age son who found a flat bicycle tire after school, I have gotten down to the finger-plane stage.

This maple is far harder, and with much more figure, than my previous fiddle, and is one tough son-of-a-gun. My fingers are sore tonight.

No comments:
Post a Comment