
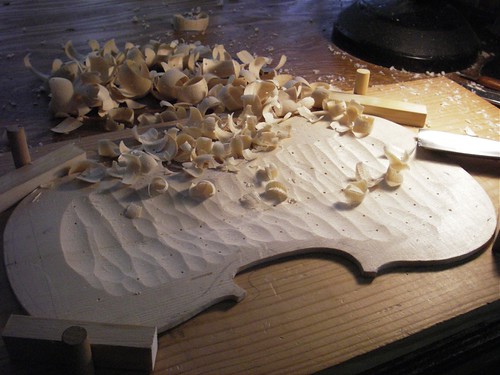
After cleaning it up a bit with the large thumb-plane, I turn it back over and start laying out the f-holes. Doing it now allows for a little drill tear-out on the other side, which will be removed in the final graduation.
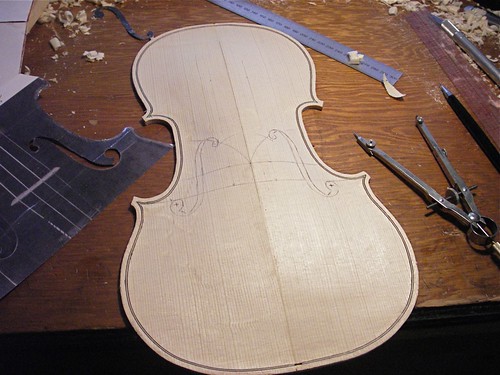
I'm using a mathematical method to lay-out the f-holes, modified by the location of the f-holes in the 1715 Stradivari "Titian", a photocopy of that area shown to the left. For something that looks relatively simple, it takes some juggling. You have to look at the sketched-out f-holes from all angles, just to get it where you think you want it. In this photo, I have the upper eyes 42 mm apart, which is a modern dimension. The "Titian" f-holes are 40 mm apart. I'd like to keep them at 42, to compare more directly with my previous violin, but finally decide to place them at 40, closed my eyes, and drilled the holes.
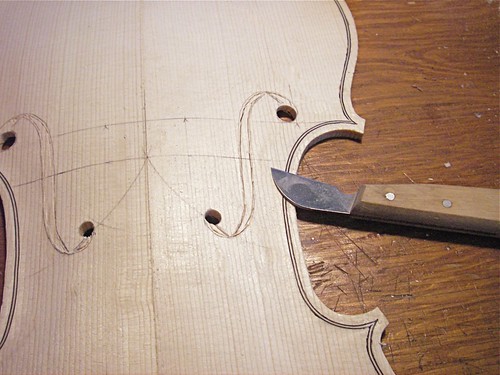
Discovered I didn't have any reasonable saw blades to cut the stems. Not willing to wait, I decided to use a plunge knife, cutting inside the pencil lines. When I get closer to the final graduation, I hope to be able to drop these stems out, and clean up the edges with a knife (which is what I'd have to do with saw-cuts anyway).
No comments:
Post a Comment