Monday, October 11, 2010

Scraping and rubbing

Cut the curves in the corner blocks for the C-bout ribs, as well as trimmed up the neck and end-blocks. Before bending the ribs, I get the outside fairly clean & smooth with a scraper. This photo shows a short section of rib that will be fit to the treble c-bout.

IMGP0140ribscraper

Also managed to join the spruce for the top this afternoon -- a rub-joint with hide glue.

IMGP0153top

Hot hide glue is applied to both sides, then the upper piece is rubbed back and forth along the lower a few times. It's a satisfying way to glue a joint, and no clamps required.

Sunday, October 10, 2010

Thinning ribs prior to bending

Thinning down curly-maple rib-stock with a toothed-blade in my block-plane. And getting a lot of use out of my hyphen-button.

IMGP0126ribs

The toothed blade allows one to cut through the curly maple, which has grain in all directions, with a minimum of tear-out. I actually like this part, and it is easy to build a nice pile of tight, curled shavings in a few minutes.

Friday, October 8, 2010

Fitting the blocks to the violin form.

While I'm still sunning the last one (in between rain storms), I cleaned up the form and started another violin. This photo shows some of the raw material I use for blocks, from a willow tree that blew down nearby more than 10 years ago.

IMGP0004blocks

I split it along the grain with mallet and large chisel, then square it up with the Stanley block plane on the right. I need 4 corner blocks, a neck block, and an end-block.

IMGP0012blocks

Here are the 4 corner blocks glued into place on the form. I need to add another clamping cut-out or two for the end and neck blocks, but then I would have to buy a couple more of these small clamps! As it is, I'll let these set in a while, then glue in the upper and lower blocks.

Monday, September 27, 2010

Getting a sun-tan

Finally to the point where I can put the fiddle out in the sun, to get a tan -- adds contrast to the wood. Here it is just out. I have used a little strong coffee -- Italian roast, of course! -- to lightly stain the wood. We're expecting the rest of the week to be sunny and unseasonably warm, so I'll try to take advantage of it.

IMGP1147Sun

Friday, September 24, 2010

Violin Button

Laying out the button. It's a bit bigger than I'll end up with, but it's a place to start.

IMGP1112button

I find it tough to get the button round, follow that upwards towards the fingerboard, expanding, along the neck heel, then blending it into the neck. I have a couple templates, but much of it is done by looking at the shadows, and feeling the neck with my left hand, as if playing it.

Here is where I'm leaving it tonight. Not finished, but I want to look at it with fresh eyes next time. After this, I'll clean up the wood, then put it out to suntan a while.

IMGP1115button

Thursday, September 23, 2010

Fitting the violin neck.

Set the neck today. I think this is one of the toughest jobs in fiddle-making. You have to get the angles right in three-dimensions, with no flat surfaces to measure from. A sharp gouge, taking a little wood at a time. And, I set the angle just a little high, I hope, to account for some dropping with string tension.

IMGP1109neckglue

Also set the saddle in place, the little piece of ebony at the other end, which supports the tail-loop that holds the tailpiece (which holds the one end of the strings).

I'll let it set in the clamp overnight, then work on finishing the button -- the extension of the back under the heel -- as well as the final neck profile.

Sunday, September 19, 2010

Violin neck, shaping prior to fitting.

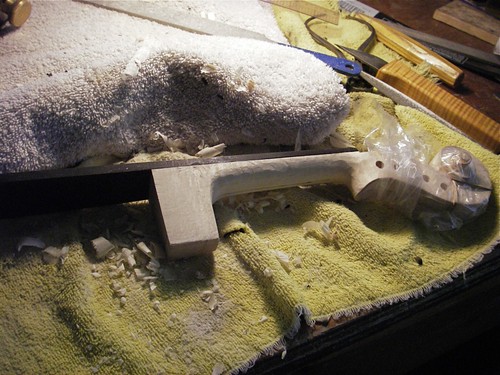
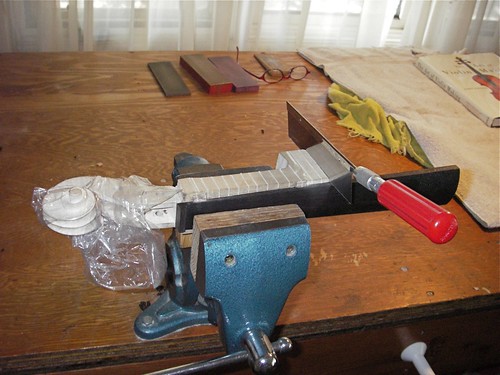
With the neck in the vise, I make a series of cuts to remove wood from the side. Someday I'd like to get a really nice saw, but right now I have a cheap Xacto saw, and it works. The plastic bag is around the scroll to keep it from getting so dirty.

IMGP1059neck

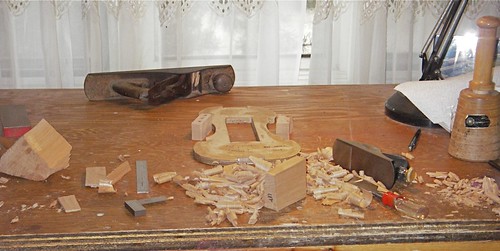
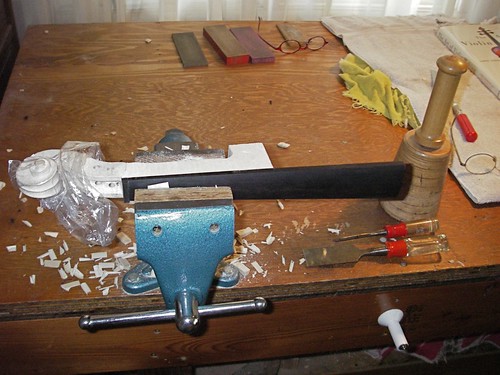
With another couple of cheap tools -- the flat chisels with plastic handles, though well-sharpened, I remove the excess wood from the side. Turn it over and do the same on the other side.

IMGP1060neck

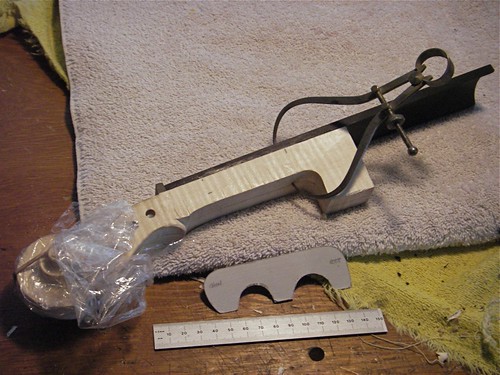
Using calipers and a ruler, I measure the thickness of the neck with the fingerboard. I'll mark a safe line running along the side to show how much wood I can remove. The small grey template between the ruler and neck is to show me both the shapes of the chin and heel (outside edges) as well as the finished thickness of the neck itself (inner arched cutouts).

IMGP1064neck

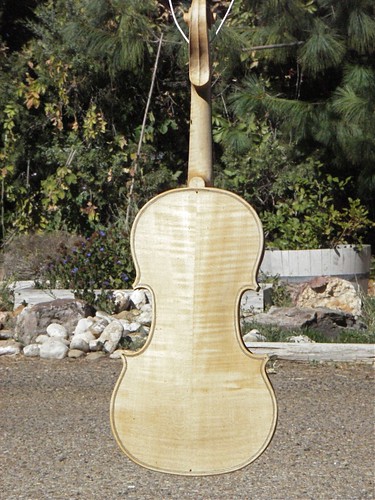
Clamping the neck in place, I again make a series of cuts to remove some excess wood.

IMGP1067neck

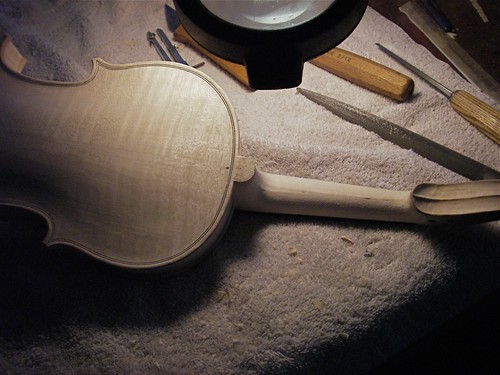
Using rasp and knife, I whittle the neck down to a reasonable, though still oversized, shape. I want to spend good time on the heel end of the neck, getting the angle and lines right before cutting the mortise in the body.

IMGP1077neck