Thursday, September 9, 2010

Cello hairball

Although many musicians find it hard to believe, hairballs are common in instruments, particularly violins and violas.

IMGP0999vchairball

Musicians shed, small debris falls in, and over time, a quiet little ball is formed, rolling around inside the instrument. This one is a little unusual, being from a student-level cello, and measures about an inch in diameter. For metric folk, that's about 2-1/2 cm .

Thursday, September 2, 2010

Finding a new old tool I already had

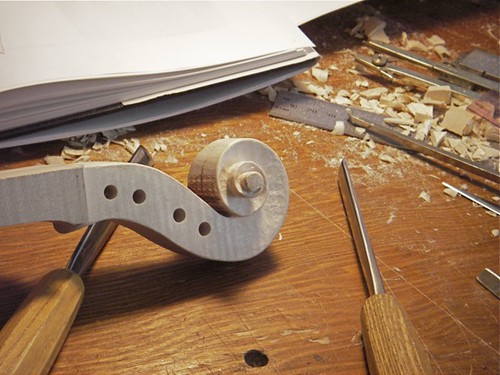
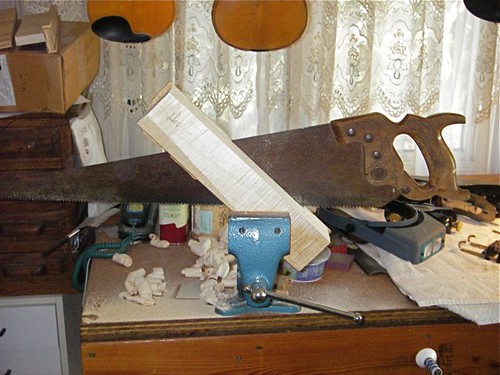
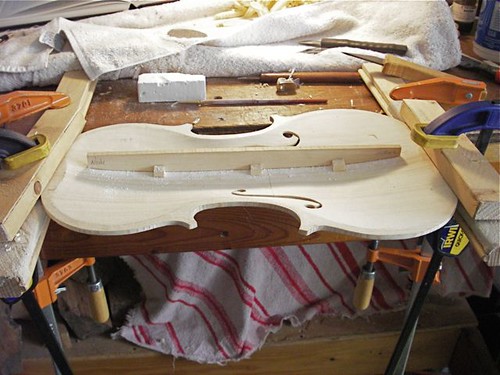
I had a bass in the shop for repair. It had a couple cracks in the heel and a fingerboard that had been reglued in place, or almost in place, with some unknown glue. An amateur repair, the fingerboard had slipped after it was glued, but before the glue had set. Basically a mess. I was able to get the fingerboard off, but did not recognize the glue. It was still plastic, and a dark brown in color. To further complicate matters, a small chunk of the fingerboard had been left glued to the neck prior to the application of this brown glue.

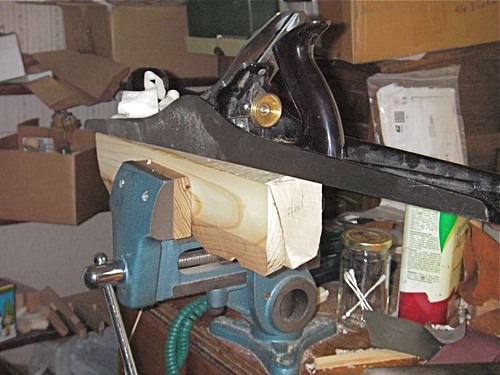
I managed to lift off the small chunk of fingerboard attached to the neck, but none of my known methods of glue removal had much effect on this soft but stubborn glue. In desperation, I tried an old plane I had lying about. I got it several years ago at an antique shop for $20. Hadn't done anything with it, and it was in rough shape.

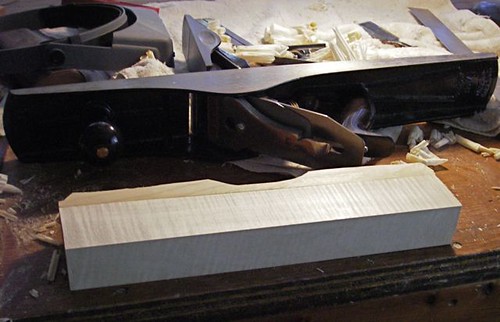
It actually worked fairly well. I was able to plane the glue from the fingerboard, and then from the neck. And the plane felt pretty nice in my hand.

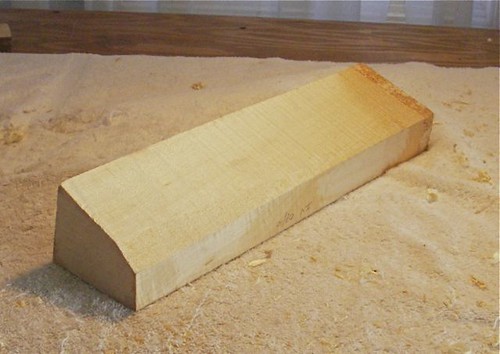
So, I took the plane apart, cleaned up the blade and the cap, flattened the sole a little bit with a sanding board, and sharpened the blade. This is it in the photo. An old No. 5. It is resting on a piece of poplar about 16 inches long. The shaving is from the first stroke I took with the newly cleaned up plane, a full-length shaving, about 0.011-inch thick -- sometimes it's nice to move a little wood.

IMGP0897No5Plane

I'd been wanting a jack plane, and I just might have something here that works in that capacity.

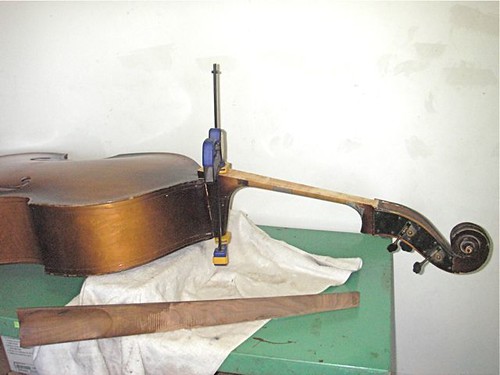
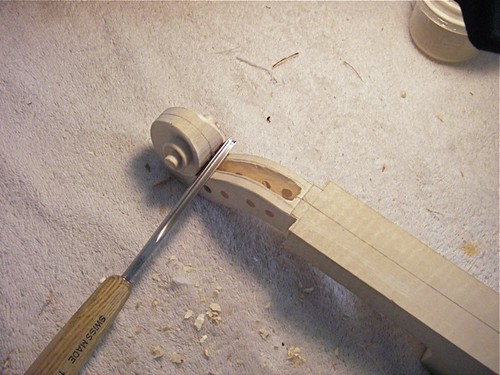
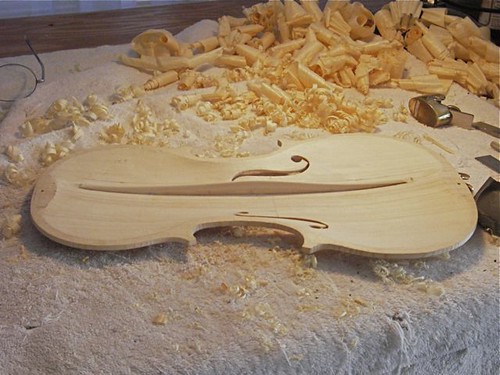
Here's the bass with the neck and fingerboard newly cleaned of plastic glue. I have used hide glue to glue the cracks in the heel, held by the clamp, but will actually resort to a carriage bolt down through the heel to hold it together. On the fingerboard, you might be able to see the small chunk of wood I had to remove from the neck and glue back in; it's about 1/3 the way from the left end, on the lower edge.

IMGP0899bass

Friday, August 27, 2010

Fitting the fingerboard

Took a couple hours this afternoon from the back-to-school rush of instrument repairs to work on my fiddle. Here is the result, a fingerboard glued to the neck.

IMGP0876fingerboard

An almost-nasty piece of ebony -- a little chippy, a bit of swirl in the grain. Simple in concept, make the bottom of the fingerboard and the top of the the neck flat, glue them together.

IMGP0881fingerboard

Once everything is flat, I lay the fingerboard on the neck, find the center, and clamp the fingerboard in place. Then I glue a couple little blocks on each side, to locate the fingerboard, and to keep it from sliding when I do glue it in place. You can see one of these little blocks below the left-most clamp in the photo above. This is not my concept, but straight from Johnson and Courtnall's The Art of Violin Making.

I'll leave the fingerboard in clamps overnight, then the next step is to start shaping the neck and root prior to fitting it to the body.

Monday, August 16, 2010

The Faded Red Violin

A ca. 1983 3/4-sized student violin, made in Hungary. Not really an extraordinary instrument at all, except that it does show some indication of faded color change over the past 27 years.

IMGP0787Fade

The yellow highlights and the reddish edges are probably part of the original antiquing scheme. What I thought was interesting was the footprints of the bridge, part of the varnish that was hidden from light. To a lesser extent, you can see the "shadow" of the tailpiece and some of the chinrest, on the bass, or left, side of the tailpiece. Most likely, this fiddle was far redder when it was new.

Monday, August 9, 2010

Carving the scroll

Here I am undercutting the turns of the scroll, to give it that sculptural look. I tend to like a little more depth, so that's what I do.

IMGP0579scroll

Next step is to hollow out the peg-box. Previously, I have drilled a series of holes in the area to be evacuated, but I have heard that some think this is unnecessary and doesn't really save time. I used a small U-shaped gouge, and it did go along quickly.

IMGP0710scroll

With the peg-box hollowed out, the next step is the fluting on the outside of the scroll. First on cuts out along the edges, then complete the fluting. I'll still clean it up a bit with a scraper, but now it really starts to look like a scroll.

IMGP0721scroll

Tuesday, July 27, 2010

Starting the neck

Here's the block of maple as purchased from the vendor -- not quite rectangular in cross-section, but lots of curl in the wood.

IMGP0439neck

I've glued a temporary piece of pine to one side of the maple and planed it parallel to the opposite side. Here, I am taking the top down to be square to the other two sides, which will also put the grain in a better orientation. You might be able to make out the horizontal line under the plane -- that's where I'm headed.

IMGP0487neck

Ripping the maple to thickness (42 mm). This is a good workout on a summer day.

IMGP0530neck

Here's the block after planing the newly sawn side. As you can see, even here, little of the temporary pine remains behind. I might have gotten by without it all together, had I been more clever. Now to lay-out the neck.

IMGP0536neck

I really agonized over this template, finally settling on the neck root as in the Johnson & Courtnall book, with the "Viotti" Strad scroll.

IMGP0544neck

After adjusting my cheap, old, benchtop bandsaw, I was actually able to cut out the neck fairly well. Here it is after cleaning it up to square and drilling the 4 pegholes.

IMGP0551neck

This evening, I have roughed in the turns of the scroll. Still a lot of detail work to do on the scroll, not to mention the pegbox and neck, but at least it's starting to look like part of a violin.

IMGP0559neck

Friday, July 16, 2010

Closing the box

While fitting the bass-bar, I have glued in some temporary studs to help in placing the bass-bar in the same place each time. After the bar is glued in place, I'll remove the studs. Using chalk-dust to check the fit. I'm using a simple cradle to hold the top, which I liked for hollowing the plate, but I'm not sure about for this operation. To finish the fit, I finally went to just holding the plate by hand.

IMGP0388medmed

When the bass-bar is fit, it needs to be glued in place. 4 traditional bass-bar clamps and one deep-mouthed clamp. My simple bass-bar frame, a rectangular piece of cheap plywood made of as an experiment, has warped. I decided to go back to the 'old-fashioned' method of clamping a bass-bar today.

IMGP0391medmed

I use a thumb-plae to take the bass-bar down to final dimensions. It makes nice twisty shavings.

IMGP0398medmed

Here's the bass-bar at nearly its final shape -- just a little clean-up to do.

IMGP0410medmed

I've drilled a preliminary hole for the end-pin and glued in a label. Next step is to glue it all together.

IMGP0419medmed

The box closed.

IMGP0426medmed