
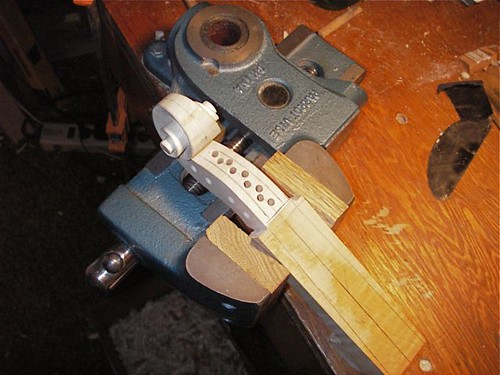
One method to start hollowing the peg-box is to drill a series of holes, with a stop to leave a minimum thickness at the bottom. I don't always do this, and don't know that it really saves much time, so I do it or not depending on my mood at the time. This is then followed by work with a gouge to remove the excess wood.
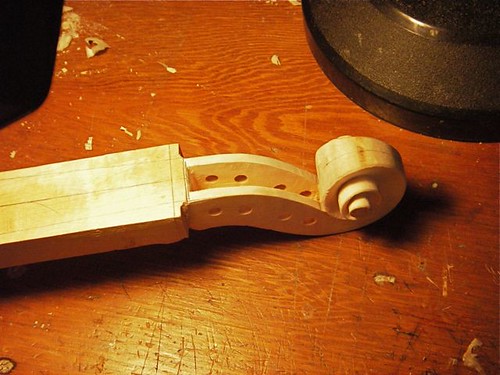
The pegbox is mostly hollowed out, a little final trimming left to do, particularly at the nut end (on the left in this photo), where I'll take a bit more out after the nut is in place. Next step is to cut the fluting on the bottom and up & around the scroll.
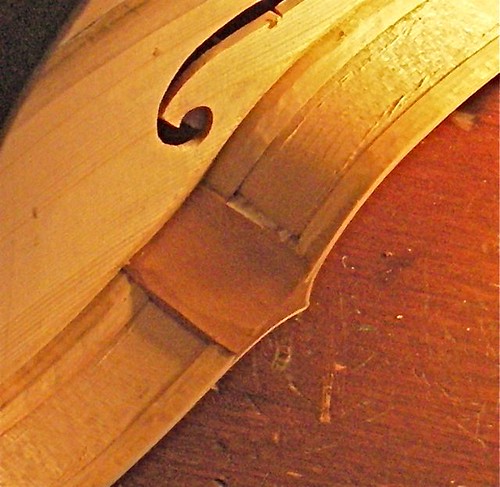
A look at the inside, with the top glued on. In part this is simply to show some of the internal geometry with the parts together, but also to show some of the tool marks. On this one, I'm just leaving them as is. Easiest to see, I think, are the knife cuts in the ribs when I trimmed the linings. Between those, on the c-bout rib, you can also see the toothed-plane grooves left when I thinned the wood down before bending. And you can see a few gouge marks in the corner block, where I worked it down to shape. These tool marks are removed from the outside, where they can be seen, but inside, I don't think they affect the instrument's tone or response.
Bruce Carlson has posted some nice photos of Guarneri del Gesu interiors on Maestronet, including this one, which shows some of the toothed-plane marks --
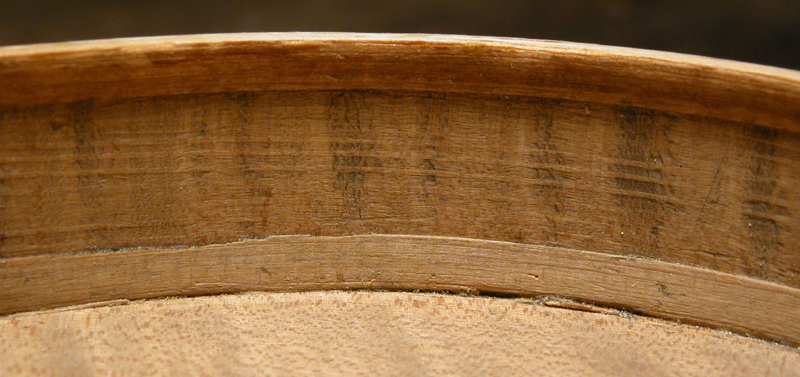
Source
.
No comments:
Post a Comment