
An almost-nasty piece of ebony -- a little chippy, a bit of swirl in the grain. Simple in concept, make the bottom of the fingerboard and the top of the the neck flat, glue them together.
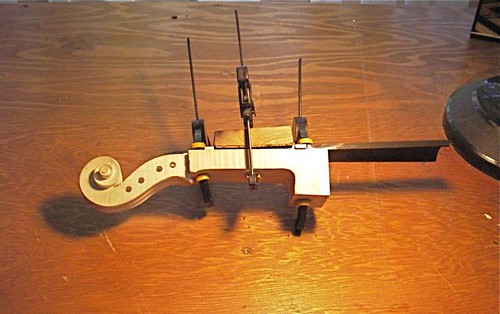
Once everything is flat, I lay the fingerboard on the neck, find the center, and clamp the fingerboard in place. Then I glue a couple little blocks on each side, to locate the fingerboard, and to keep it from sliding when I do glue it in place. You can see one of these little blocks below the left-most clamp in the photo above. This is not my concept, but straight from Johnson and Courtnall's The Art of Violin Making.
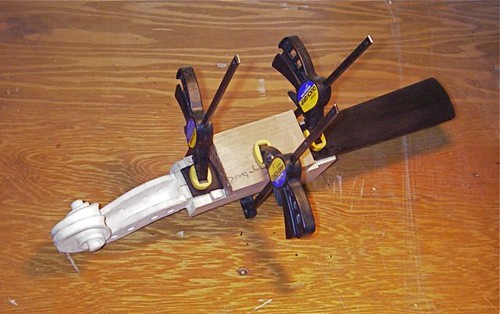
I'll leave the fingerboard in clamps overnight, then the next step is to start shaping the neck and root prior to fitting it to the body.
Ken,
ReplyDeleteDo you tooth the pieces before you glue?
Stephen
No, but I put a slight hollow to the underside of the fingerboard. Fitting them flat together, I know I have a good fit when the fingerboard and neck 'grab' each other (without glue). I use a sharp flexible scraper to create just a little space -- so that light just shines under a straight-edge laid across the width.
ReplyDeleteI've seen some older fingerboards that are scored, and some that are channeled. Doesn't seem to make much difference. Also, the fingerboard is one piece we want to come off easily, so I use watered-down older hide glue.