June is typically a busy month for me. Since 2008, I have been attending the Southern California Violin Makers Workshop for a week, sometimes 2, and then during the third full-week in June, we have the shop set up at the National Old-time Fiddlers Contest in Weiser, Idaho.
So today I'll post about the workshop. It's held in Claremont, California, put on by Jim Brown, and taught/led by Michael Darnton of Chicago. The grounds are not too bad.
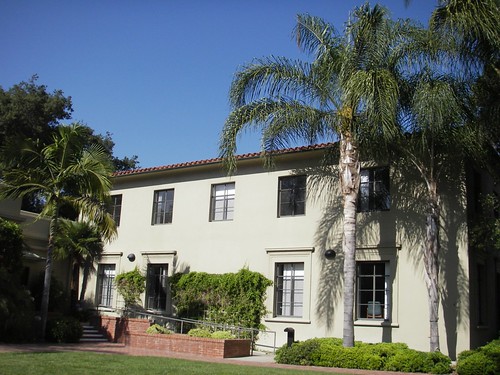
The violin-makers workshop was held on the ground-floor in this wing of the building --
while the bow-makers were across the way in this wing, behind the arched walkway --
Most of the attendees had been to the workshop before, and all (in the first two weeks) had built previous violins. Everyone was at a different place in their current violin and the atmosphere is such that we can ask questions about anything at any time. We all just set down at a bench and start working. Seeing what other people are doing, how they're doing it, the tools they're using are all wonderful ways of learning.
For me the greatest thing is that I learn so much I didn't even know to ask about.
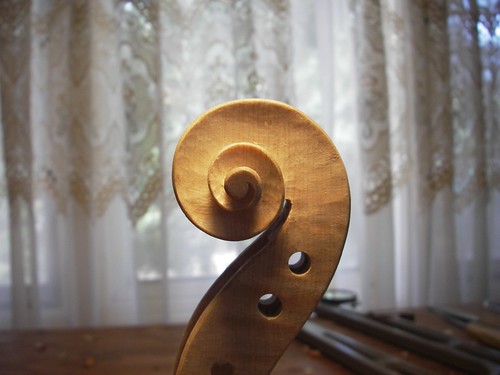
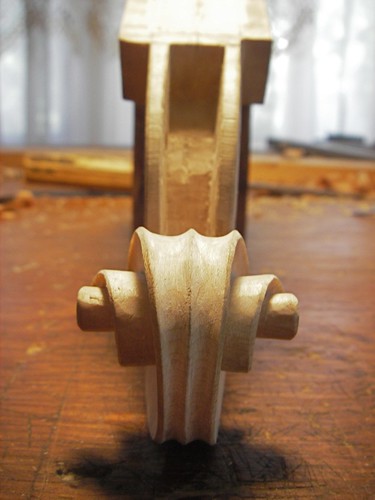
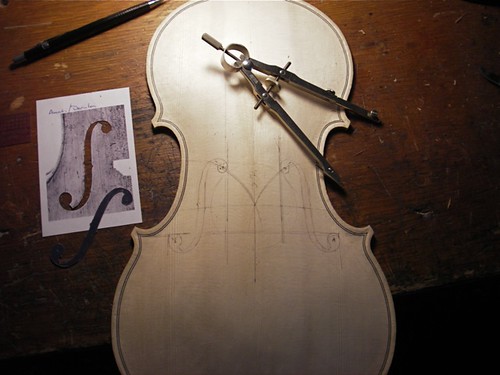
One of my goals this time was to learn more about the outline and corners. I believe I made a major conceptual breakthrough in my understanding of corner geometry. I was never happy with the shape of my violin corners, mainly because I didn't have a clear picture in my head. Now, after years of having it presented to me, something finally clicked. It's now a matter of execution.
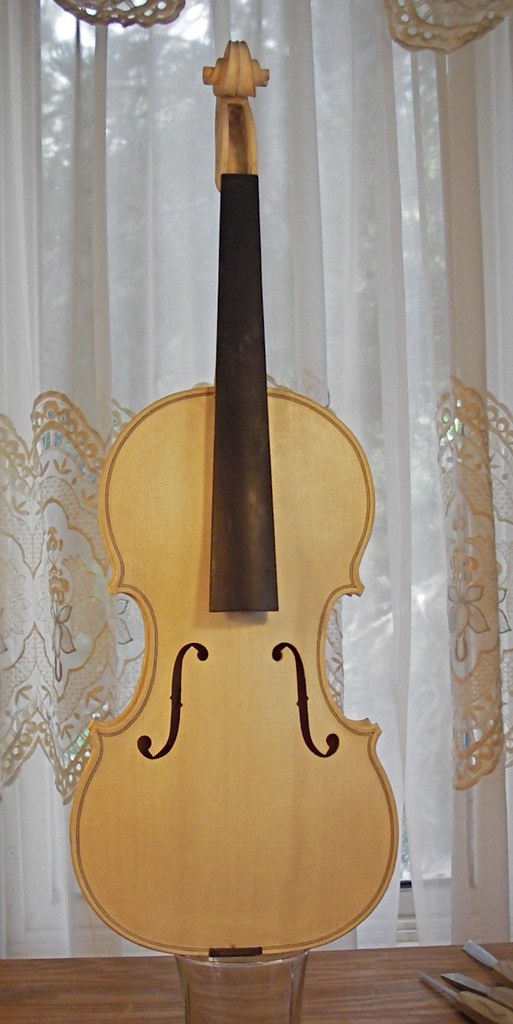
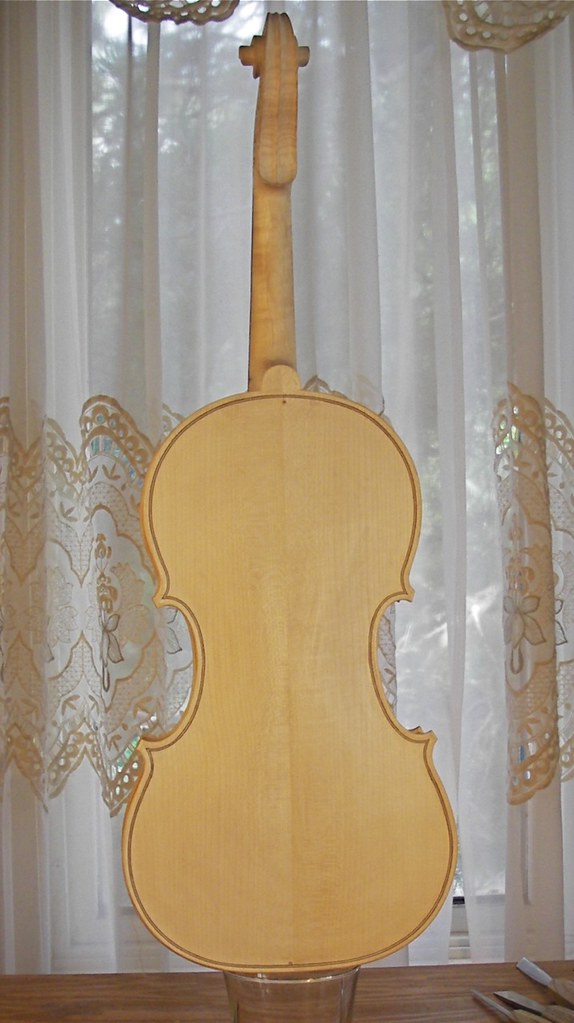
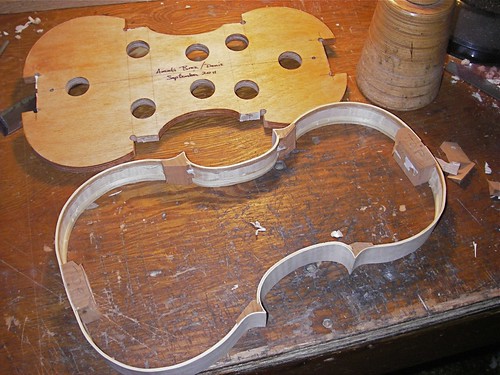
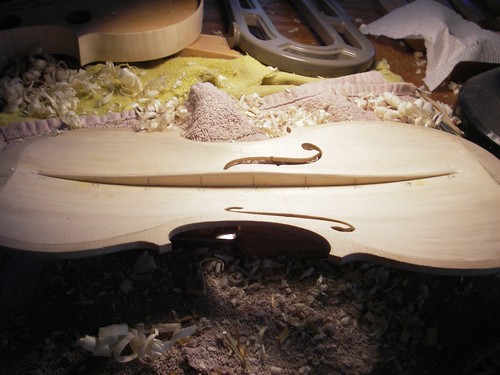
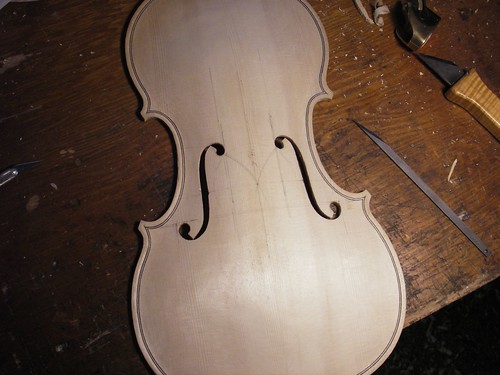
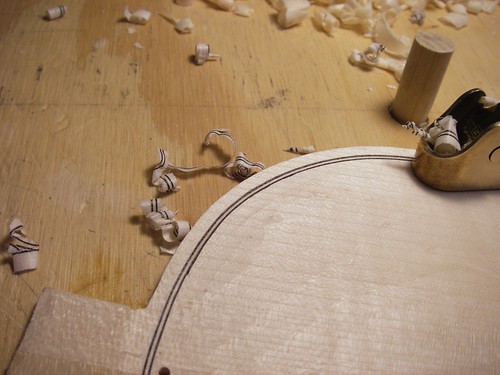
Towards the end of my week there, I got the purfling in both plates of my Brothers Amati fiddle.
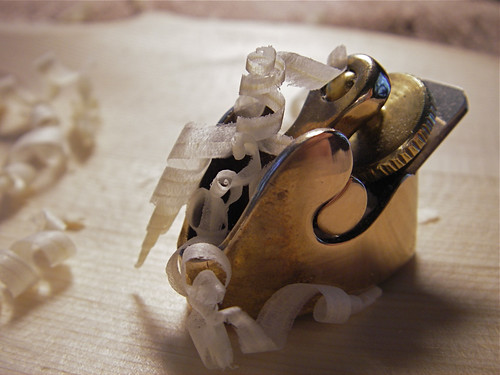
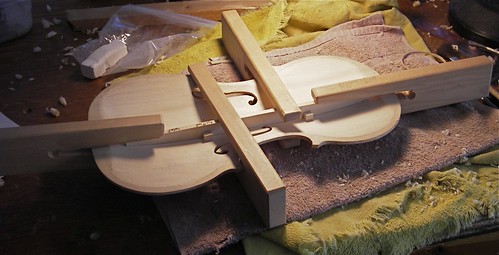
And I spent some time working the edges down.
The workshop's official site is
here. If I understand it correctly, the workshop is accepting beginners during the third week.
I have more photos of the workshop
here.
Michael Darnton's website is
here.