Friday, June 29, 2012

Laying out and cutting f-holes

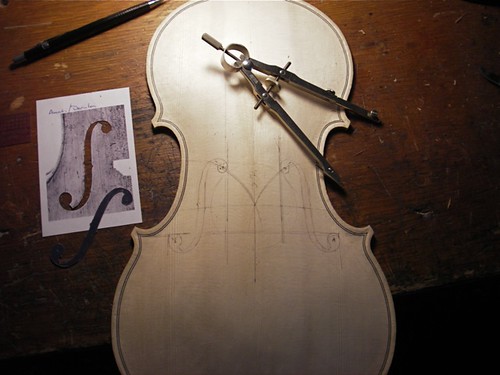
Using a few straight lines -- down the center, across the stop length (where the bridge will sit), and across at the low point of the c-bout purfling -- and circles of 32- and 64-mm, I'm trying to make the f-holes look right.


I'm using the lay-out scheme featured on Michael Darnton's website, as well as an image of a Brothers Amati f-hole he likes.  Even with all that, I still end up adjusting it a bit by eye.  And in doing so, hope to train my eye in the long-run.  Finally, say 'good enough' and cut the holes.


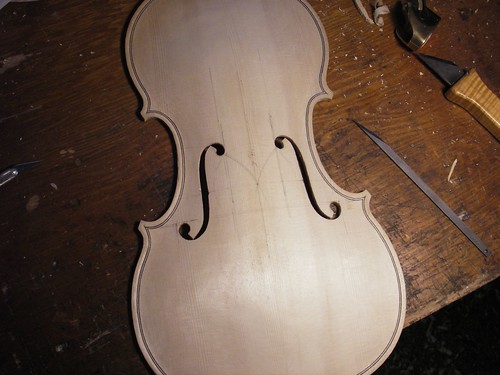
At this point they've got something of the shape, but still a little too thin.  How to decide that?  I make them wide enough to get the soundpost through.  I'm sure there must be a better criterion, but that works for now.

After a bit of clean-up work, I think I have them ok.


The poster below is of a 1666 Nicolo Amati, son of one of the Brothers Amati, and what I used as a model for my eye.  Again, not a perfect copy by any means, but something I hope works and looks decent.

Sunday, June 24, 2012

Southern California Violin Makers Workshop 2012

June is typically a busy month for me.  Since 2008, I have been attending the Southern California Violin Makers Workshop for a week, sometimes 2, and then during the third full-week in June, we have the shop set up at the National Old-time Fiddlers Contest in Weiser, Idaho.

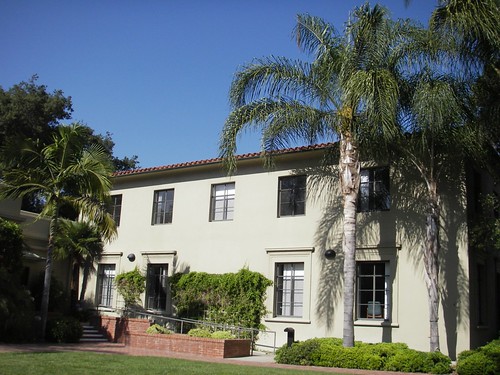
So today I'll post about the workshop.  It's held in Claremont, California, put on by Jim Brown, and taught/led by Michael Darnton of Chicago.  The grounds are not too bad.

The violin-makers workshop was held on the ground-floor in this wing of the building --


while the bow-makers were across the way in this wing, behind the arched walkway --


Most of the attendees had been to the workshop before, and all (in the first two weeks) had built previous violins.  Everyone was at a different place in their current violin and the atmosphere is such that we can ask questions about anything at any time.  We all just set down at a bench and start working.  Seeing what other people are doing, how they're doing it, the tools they're using are all wonderful ways of learning.

For me the greatest thing is that I learn so much I didn't even know to ask about.

One of my goals this time was to learn more about the outline and corners.  I believe I made a major conceptual breakthrough in my understanding of corner geometry.  I was never happy with the shape of  my violin corners, mainly because I didn't have a clear picture in my head.  Now, after years of having it presented to me, something finally clicked.  It's now a matter of execution.

Towards the end of my week there, I got the purfling in both plates of my Brothers Amati fiddle.


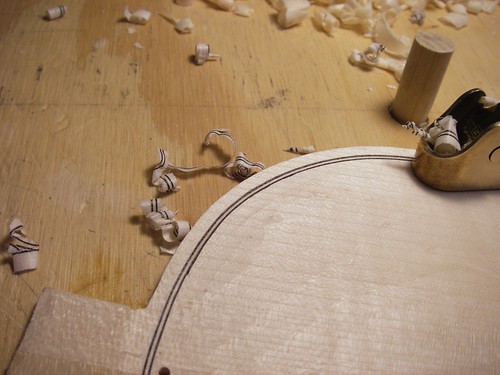
And I spent some time working the edges down.


The workshop's official site is here.  If I understand it correctly, the workshop is accepting beginners during the third week.

I have more photos of the workshop here.

Michael Darnton's website is here.


Thursday, May 17, 2012

Back beginnings


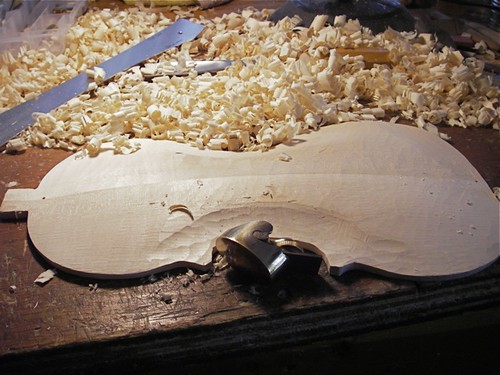
Usually I carve on the back first, but this time I started with the top. Now onto the back, and man, is that maple tough compared to the spruce. I cut the outline today, and started removing wood, getting towards the arching.

The silver piece in the upper left is a long arch template. I have my long arch fairly nice now, but it's still 19mm high in the center, so will need to come down a bit, more towards 16 or so.

Buried in the shavings on the upper center-right is a large gouge that I use (after the scrub plane) to remove wood fast.

In the c-bout is my large thumb plane, which actually removes a lot of wood in a hurry, too -- so much so that it actually gets quite warm to the touch.

Wednesday, May 16, 2012

Refining the edge and arching

I spent time today cleaning up the edge and the arching. For the cross-arching, I am using curtate-cycloids, which seem to follow Cremonese arching fairly well and are at the very least a practical concept for the arching. I have the edges down to about 4.5 mm, so once the edges are adequate, I can put the purfling in. First, though, I will get the back to near the same state to get the corresponding edges and overhangs somewhat coherent.

Friday, May 11, 2012

Top work

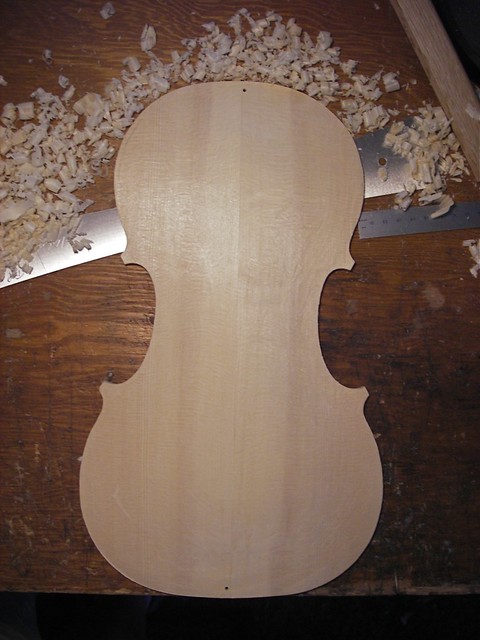
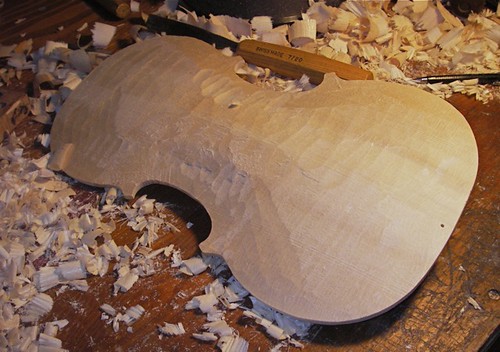
Spent some time this afternoon marking out the top, cutting it, cleaning up the outline, roughly, not to the final, and a little preliminary arching. This is the fun part where lots of wood is quickly removed. This top was last discussed in this blog here.

Friday, April 27, 2012

Into this neck of the wood.


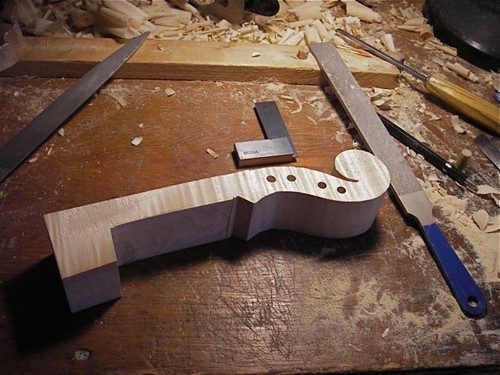
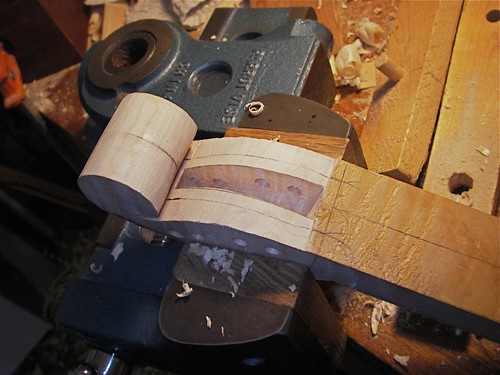
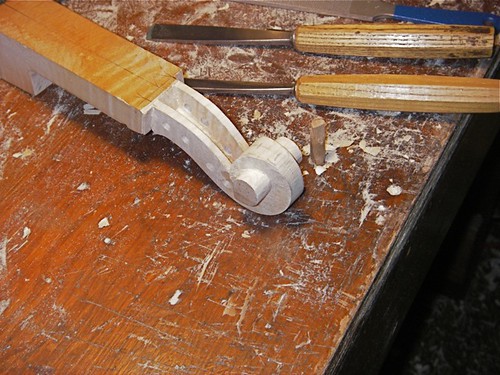
A little progress on the scroll.  Cut out on the band saw.  Mostl of the initial shaping done with rasp and gouge.  Drilled the string holes.


Roughing out the interior of the pegbox.  This goes fairly quick, but it is a work-out.  I still need to clean up the edges.  Lots of curl in this wood, which means it's very easy to get tear-out where you don't want it - which means I have to resharpen tools before finishing up.  But another day, I need to get back to repair work.


Following, or trying to follow, a scheme by Joseph Grubaugh and Sigrun Seifert for the Brothers Amati Scroll (Strad magazine, March 2006).  I'm not sure that I am interpreting the transition from flat paper to curved surface correctly, but am plunging onward.


A bit of work to cut out the sides of the pegbox and the first turn in the scroll.  This highly figured wood really likes to tear out -- lots of work with the rasp!

Wednesday, April 18, 2012

An adventure in necking.


I had hoped to be much further along, but decided instead to behave like an idiot. I am working on a Brothers Amati model, based on a form I drew following Francois Denis's method. He also has a bit on drawing the scroll, but I am also trying to make progress prior to the So. California workshop in June, so I was trying to save a little time.

I did have a Strad magazine poster of a 1666 Nicolo Amati violin, which has a very similar body to the Bros. Amati outline, so my plan was simple. Scan the scroll part of the poster, print it out, glue it on to a generic neck outline. Close enough for now.

I have a new-to-me computer. The scanner is a few years old. It works fine. I scanned the poster. Print out the scan, and it's huge. Go back to the software, adjust settings, resize the image. After 3 or 4 tries, I have it pretty close to the poster image.

This is a Strad poster from 1996.

I try splicing the scanned scroll onto the neck. Hmmm. It looks a little big. Maybe a lot big. Back to comparing with the poster. Same size. Hmmm. Finally (duh!) I turn the poster over and read the measurements.

Strad magazine has gotten a lot better on their posters over the years. I do remember, however, being cautioned that the photos are not always accurate to size and one should check the measurements against the photo.

That is actually a very good idea.

The poster's scroll was, from heel to end of the scroll, a cm longer than the real thing. Not enough for me to notice out-of-context.

So, back to the drawing-board (computer). A few more re-scaling attempts and I get something that is reasonably close. Attach it to the neck template. Glue it to thin metal. Cut it out, file down the edges.

Not enough time today to mark-out or cut the scroll, but I'm sure ready for tomorrow.

Unless some other conceptual problem pops up.