Wednesday, September 7, 2016

Beginning the top


I joined the top a few weeks ago, but just this morning did I get around to tracing and cutting the outline.  After working on hard curly maple of the back, it sure is fun to slice out big curls of spruce.


About 20 minutes of work with a big #7 gouge and a large thumb plane can remove most of the overhead on the top.  I leave the corners big at this point.  It's easier to get them into shape when there's less thickness to worry about, and a split or break near the corner is less likely to be a problem. The plate is about 6 mm thick on the edge at this point in my process.


Taking a break to tend to a few other shop projects, I came back to it this afternoon for about an hour.  Cleaned up the curves a bit, took the edges down to about 4 mm thickness, and started the arching.

Tuesday, September 6, 2016

Refining the outline.


Getting down to smaller tools, sharper tools, taking smaller cuts.  Getting the outline closer to the final shape.  Corners are always a challenge.  Starting to bring the arching into shape, comparing them to arching templates that I made out of paper and cellophane tape.


Wednesday, August 31, 2016

Carving a back, beginnings.

After splitting the billet and then joining the pieces, the 'inside' has to be smoothed.  I use a variety of planes, starting with an old Stanley scrub plane, sometimes using a small block plane, and finishing with a long jointer, mostly across the surfaces, side to side, with increasing thin shavings being taken.


Flattening is somewhat annoying -- most of it will disappear.  When it's flat, lay the rib assembly on it, and trace it.  This little bit near the tracing will remain.  That outside of it will be cut away.  And just inside, it will be scooped out after the outside is finished.

Figured maple is tough wood to work. Here is the same piece, flipped over, with a rough outline and the start of the arching.


Thursday, August 11, 2016

Tool marks


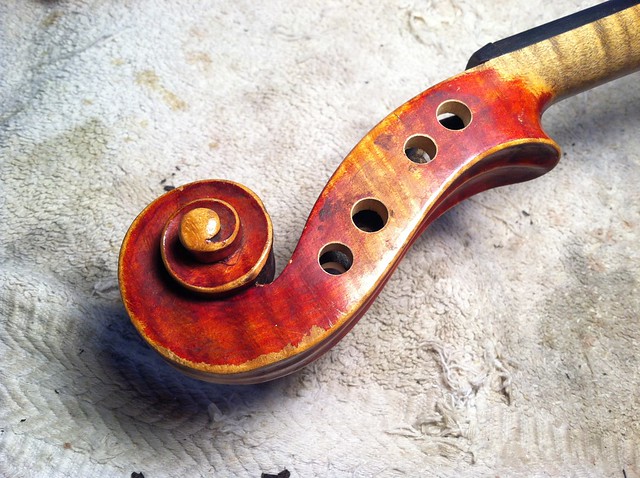
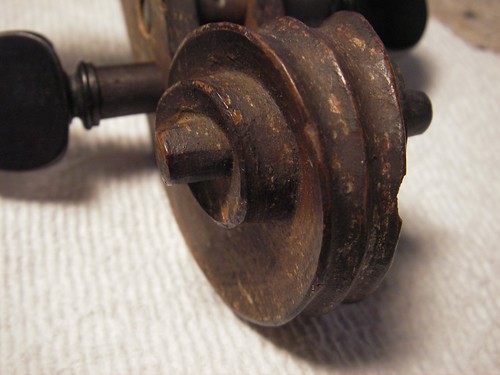
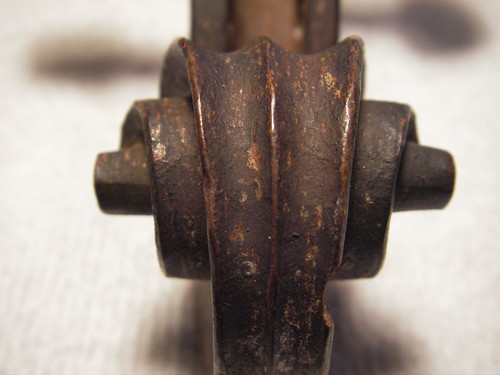
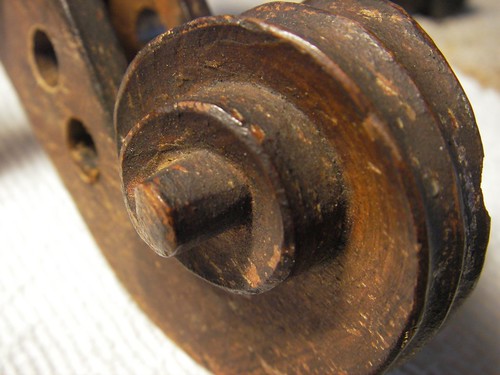
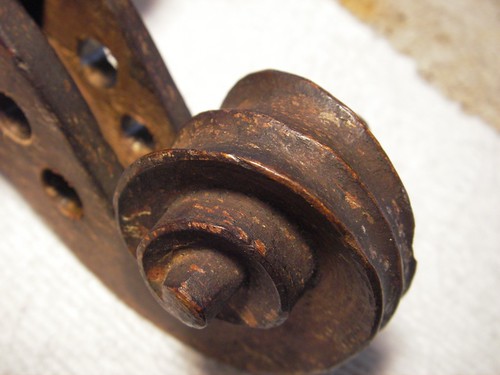
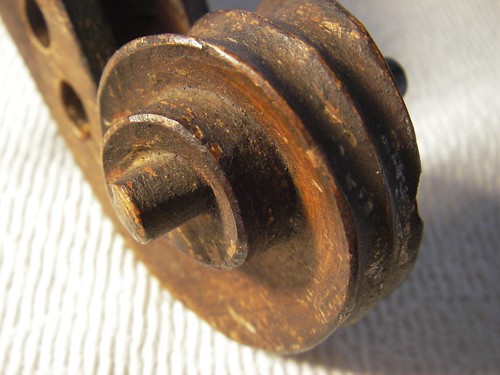
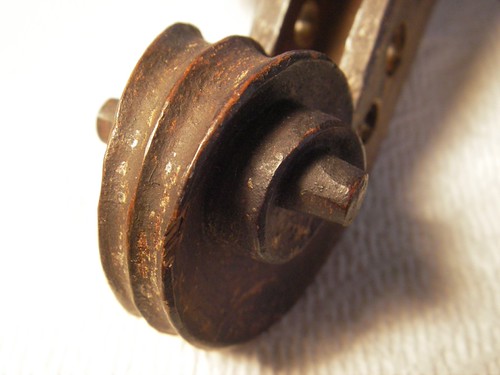
Factory fiddle, no label.  Probably German, possibly early 20th century or late 19th.  In for repair, including a peg-box crack at the A.  Installing a spiral bushing here.  While doing so, I noticed file marks under the varnish -- tool marks from the original woodworker who cut this scroll.  Just thought it was cool.


Wednesday, December 3, 2014

Rehairing a violin bow.

Rehairing bows is something that most violin shops do.  I do a few a month, in addition to violin repairs and making.  It can be challenging, and humbling.  Horse hair is used, which is organic and therefore variable.  It has to be fit to the right length for each individual bow, and the length of hair changes with humidity and temperature.  Not much, but even that can be too much in some situations.  I try not to rehair on really rainy days, if I get the choice.

Another part of rehairing is the replacement of three little pieces of wood that are used to hold the hair in place.  We are seeing more and more student bows done with, how shall we say?, not so much attention paid to these three little plugs.  After all, the customer seldom sees them.

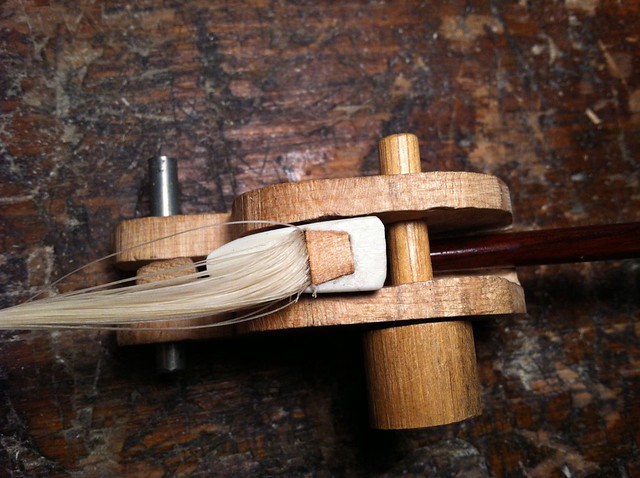
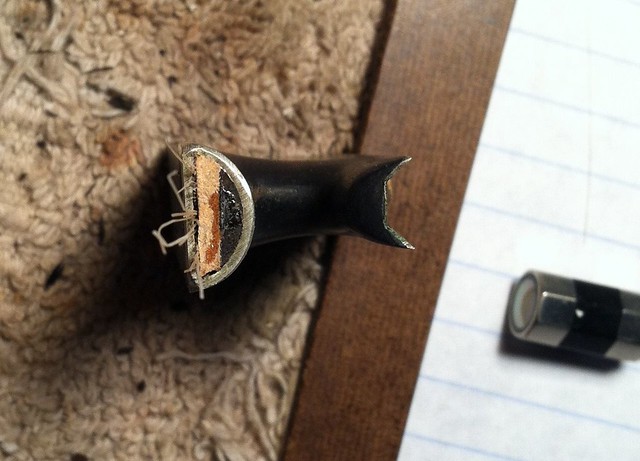
So, here are a few photos of the plugs of a recent rehair.


Here is the tip plug of a student-level violin bow.  When done correctly, the plug is just the right size, held in by geometry.  This one had a little glue to help it stay in place.  Using the traditional invoked cursing 1-10 scale, 1 being none, 10 being the point at which you really need to repent later, this was about a 3.

Here is the ferrule wedge.  It's not the best fitted one I've seen, but it did its job.


This plug holds the hair spread and is typically lightly glued in.  You can see some of the glue that did not get wiped off.  This one actually came apart fairly easy.  Invoked cursing: 1.


For one that was rather loosely fit into the ferrule on the end, someone did take a little time shaping it.  I'm not convinced this sort of shaping does much better than a straight taper, but it's pretty.

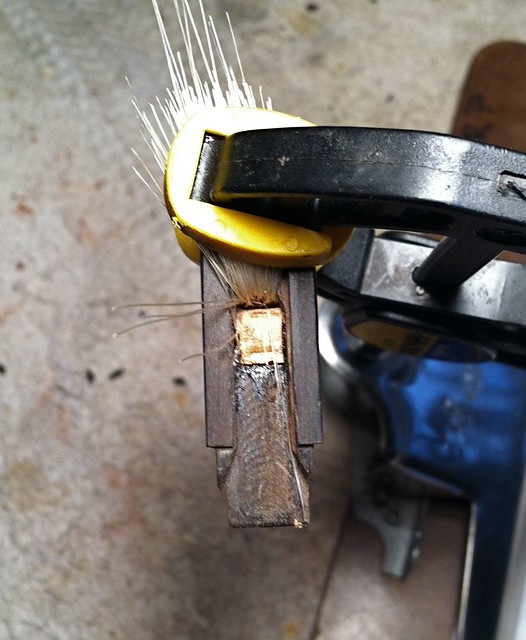
Here is a plug in the frog, holding the hair in that end.  The clamp holding the hair out the way is only for the photograph.  This block, when properly cut, stays in place through geometry and tension.  As with many factory bows, this one had a little glue in place for insurance.  It's a little tougher to get out, due to its depth and the nearby edges.  Invoked cursing 4 on this one.  It came out without too much trouble after a bit of digging.


You can also notice the cutter marks showing in the cut-out of the throat.

And at the upper end, particularly the upper right, you can see a bit of roundness in the mortise.  This is from the drill that was originally used to cut the mortise.  The mortise should be rectangular, and it's ok to start with a circular hole, but you want to make it nice.  This one was mostly rectangular, needing only a little cleaning up.

On the cheapest bows, it is a circular hole, with a piece of dowel glued in, instead of a shaped plug; invoked cursing 11.  I try to remember which ones are like that, what they look like from the outside, and simply turn them down on a rehair.  These Chinese bows often wholesale in the US at the $10-$20 dollar range and are sold in some stores at $70-$150.  But, hey, they're real wooden bows.

What kind of wood?  Dunno.  But wood they are.  Yup.

Tuesday, December 2, 2014

Waiter, there's a hair in my scroll

Cleaning up an old factory fiddle, a "Stainer" copy, and found this varnish-brush hair trapped down in a turn of the scroll. 


It was fairly dirty in there, and I cleaned out a good layer of grime.  For a while I thought the hair might be part of the gunk, but it was in the varnish, a left-over from the making process some hundred years ago.

The fiddle was a decent-sounding student instrument, and quickly went out the door as a rental.

Thursday, October 16, 2014

Factory Fiddle Scroll


Nothing special about this.  It's a typical ca. 1900 "factory fiddle", probably from Germany.  Labelled "Antonius Stradiuarius ... 1736".

I liked seeing the facets.  Hastily carved, by someone who had carved a few, and was just trying to make a living.  After that, the scroll itself has seen some use over the years.

Interesting character, I'd say.