Friday, January 11, 2013

Bright idea -- well, 40 watts, which for me is bright.


A non-fiddle-making post, but you have to eat, too.  


It’s only taken me, what, a couple decades or so to figure it out......

I use a long rise in my bread making, 24 hours or so.  One problem I’ve had is finding a place that is consistently warm over that time period.  We turn the heat off at night, and in the winter, it can be 60 degrees F or lower in the kitchen by morning.

Some folks have suggested a warming box -- a box dedicated to keeping the rising dough warm.  Simple enough thing.  Basically a box and a heat source, such as an incandescent bulb.  But I really don’t like kitchen gadgets, those bulky things that are dedicated to a single use, a non-every-day use.  Not a solution I’d like.

I’ve also heard of folks using their oven for a warming box.  Oven not on, but the light is.  The idea being the light provides enough heat.  I’ve tried that, and my oven light is not warm enough.

So I decided to buy a light socket, one of those ceramic or plastic fixtures folks use in their utility rooms.  Wire a cord on it, with a plug.  Attach the base to a short section of 2x4, and I have something I could put in the oven, running the cord out (door closed) and plugged in.  I’d have to store the socket-and-board somewhere, but it’s much smaller than a box.

When I got to the hardware store, I found the little socket shown in the photo.  About $2.  Exactly what I wanted, but didn't know it existed.  A 40W bulb and an extension cord complete the concept.  Used it last night, and it’s just right.  And when I’m done with it, it goes back into a drawer.

My go-to bread recipe is the no-knead version from Jim Lahey's book. You can find a recipe on the New York Times site.

Wednesday, January 2, 2013

Michael Darnton (violin maker) in the News


I've attended the Southern California Violin Makers Workshop every June since 2008.  Although the workshop runs for 3 weeks each June, I can only attend for one, occasionally two weeks, each year.  I have a frequent conflict with the last week of the workshop as it coincides with the National Old Time Fiddlers Contest in Weiser, Idaho, where we set up shop to tend to instruments and sell a few.

Michael Darnton teaches the Violin Makers Workshop.  He's a careful teacher, precise, and probably gets tired of telling me the same thing repeatedly.  Eventually, however, I do learn something, so on to the next feature of making.  It's also a great opportunity to meet with other makers, see their instruments, and occasionally see some really fine, old Italian fiddles.

Michael was featured recently in his local (Chicago) newspaper.  Here's a video clip from that interview  (newspaper as in the 21st century sense).

Violin-maker demonstrates his handmade process.

And here is a link to a scanned pdf of the print version.

Endeavor of guesswork.

It's really great for me to see Michael in action, hear his voice, be reminded of this or that part of making.

I also have my own photos from the workshop, links on the year.

2008

2009

2010

2011

2012


Thursday, July 12, 2012

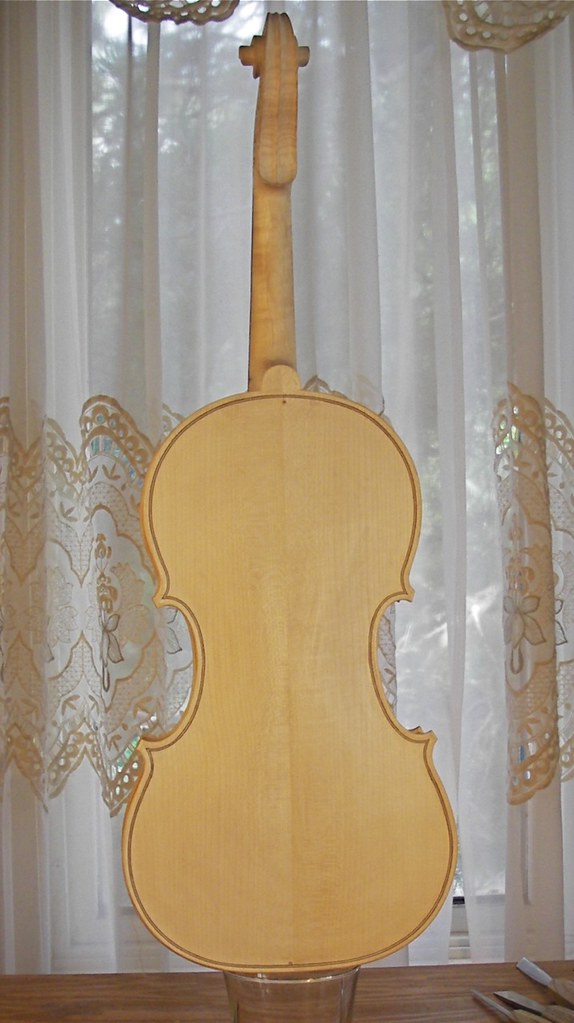
Fiddle in-the-white

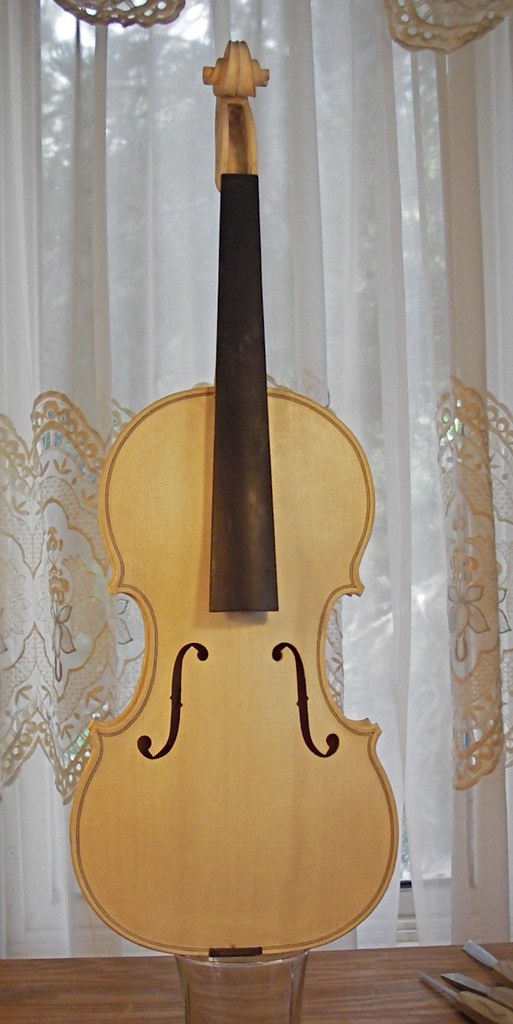
With all the pieces finished, it's a matter to put them together.  Glueing the plates to the rib assembly (after it's been removed from the form) is fairly straight-forward.  You need to be a little careful to get the overhangs reasonably uniform, and to clean up any glue that gets onto wood that will later be varnished.  Setting the neck is challenging -- lots of angles to get right, nothing flat to measure against, and you can't see it all until you get it where you want it.

But, we trudge onward --


To give the wood a little character, we expose it to UV.  Nowadays, most builders seem to have nice UV boxes, and I want to build one, but right now I just do it the old way -- sunlight.


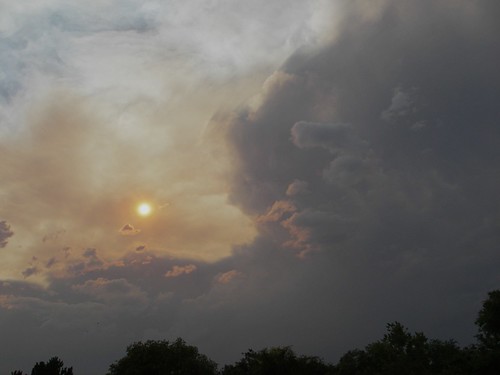
We're hot these days -- 6th day in a row at 100 degrees F or over, and the skies are a bit thick with smoke from surrounding wildfires.  Here's a shot of the sky a couple evenings ago, with both thunderstorm clouds and smoke.


Of course, if I get even a hint of a thunderstorm, or even wind, I bring the fiddle indoors.  Not interested in that sort of antiquing!

Friday, July 6, 2012

Scroll carving.

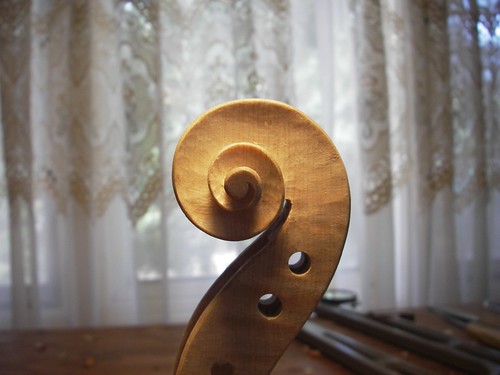
The violin scroll is that one recognizable part that everyone knows, except maybe beginning violin-makers such as myself.  What does it look like anyway?  To the general public, they all look the same.  To experienced violin-folk, they're individual.  Guarneri del Gesu's loopy asymmetric scrolls seem charming in a way the rest of us can only envy.  The near perfection of Stradivari or the Amati are something we can strive for.  In the meantime, those of us toiling with the scroll -- which has really no impact on the sound of the fiddle -- cut one, look at it, learn something, and resolve to do better next time.

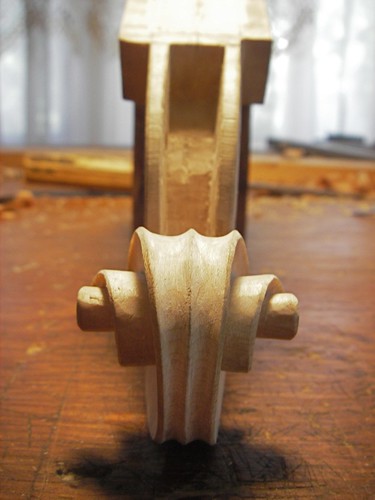
Here's a side view of my current project, with shadows -- helps to bring out the tool marks, some of which I'll get out of the way, others I'll not see until too late or ignore because they don't bother me.  Right now, there are still plenty that bother me, but I'll look at them another day.


Here's a more conventional view.


Not completely finished, but I can straighten up some of the lines tomorrow.

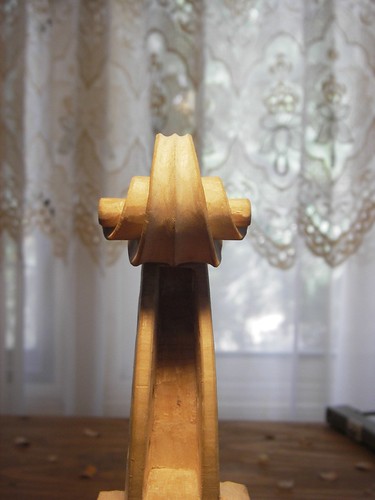
A non-typical view point for most folks, but for violin makers, you end up looking at the darn thing from all sorts of angles.


So, I'm not completely happy with it, but on the other hand, it will be ok, and now I can concentrate on the neck and fingerboard, which really is important to the player.  Surprisingly, or perhaps not, but the neck is crucial.  It's the one place on the fiddle that the player's hand comes in contact with the fiddle, and has a tremendous influence on the way a player views an instrument.

But visually, more people consider the scroll.  Oh well...

Thursday, July 5, 2012

Glueing the top to the ribs


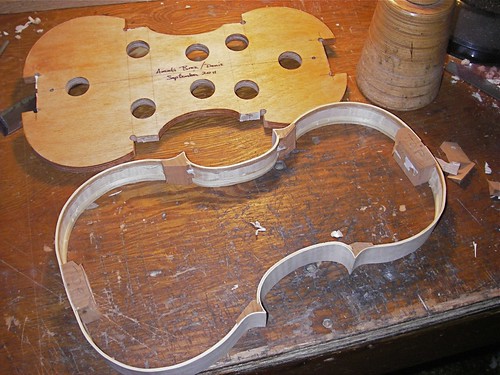
Getting ready to remove the form from the ribs, I clip the blocks with a chisel and mallet.  This gives me a little more wiggle room.

The rib assembly is flexible yet strong.  It only takes a few minutes to get the form out. I clean up the blocks most of the way before glueing the top on.


Hide glue and clamps, we starting to have a box.  Always a fun point in the process.  I spent some time carving the scroll today as well, and it is sitting in the background between the sharpening stone and the caliper.


Now a glass of wine is in order.

Wednesday, July 4, 2012

Finishing the inside of the top

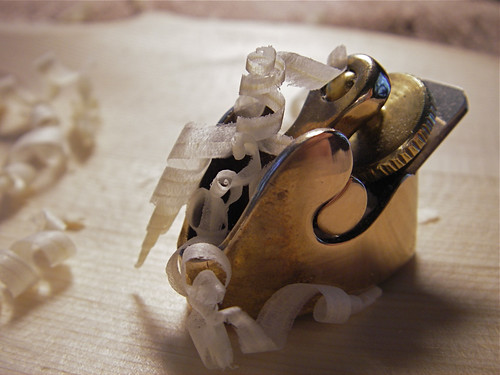
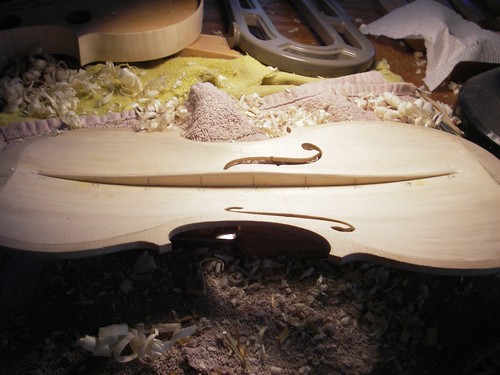
With the outside pretty much done, it's time to finish the inside of the top.  I use a big-sweep gouge to remove most of the stuff, and this goes fairly fast.  Then onto thumb-planes of decreasing size.  At the end, you're removing fairly thin shavings.  This thumbplane has a sole length of 28-mm, or about an inch and an eighth.


I use a graduation-punch modeled after the one in the Stradivari Museum in Cremona to mark the final thicknesses.  Here, the punch is a 16d nail sharpened on a grinder and the anvil is a carriage bolt with a wing-nut soldered on to allow up and down adjustment.  You simply put the plate in the center, against the anvil, and lower the upper arm to press holes to the proper depth.


As we get thinner, we can use light to look for uneveness.


It's a little-known fact that Stradivari invented the incandescent lightbulb for this very purpose.  At least, that's what I've heard from some violinmakers, but further research has shed some doubt an that attribution.  At the very least, bright light is a good tool on new wood.  The two dark bands here are stripes of denser wood showing up more and more prominently as I proceed.  Wood -- you never know exactly what to expect.

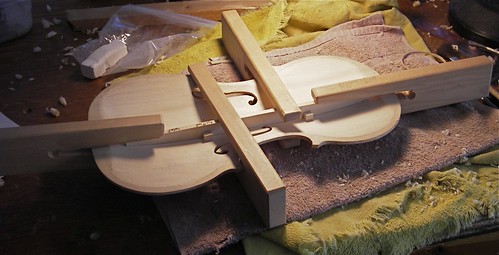
When the inside is finished, the bass-bar material is then fit to the surface.  Once the fit is done, it is glued in place with hide glue.  Here I am using simple, old-fashioned clamps to hold the bass bar in place.


After the glue has set, the bassbar profile can be shaped.


With that, the insides are done.  Next is to shape the edges, then glue the top onto the rib assembly.

Monday, July 2, 2012

Weiser 2012

The National Old-Time Fiddlers Contest has been held during the third full-week in June for many years now.  This year was its 60th anniversary (the same as celebrated by the Queen of England), though I don't know that it's been the third-full week in June all that time.  It has since before I've been going.  Went to my first Weiser in 1995.

Phil Stanley, a Boise bowmaker, and I have been running the repair shop for maybe 10 years now.  We're not sure, and would have to look through our records to figure it out -- clearly not important enough for us to actually do it.  We started out the first couple years running it under Hartz Music's sign, but since then on our own hook.

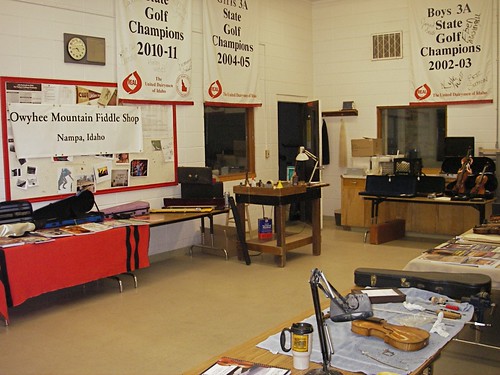
We set up behind the practice area in the Weiser High School.  Here's the view as you come in the door.


As you can see, visually its a mixture of high-school sports, woodshop, computer shop, and our violin and bow shop.  I have a place here in the foreground to do violin repairs, while Phil sets up at the back bench where he does bow rehairs and repairs.

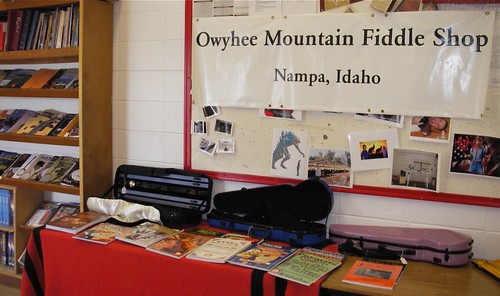
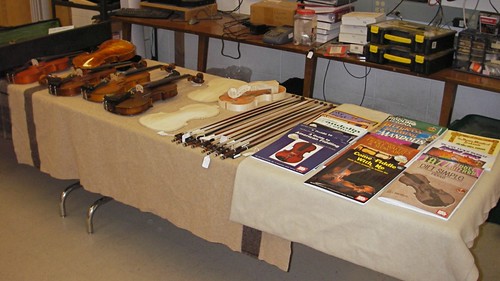
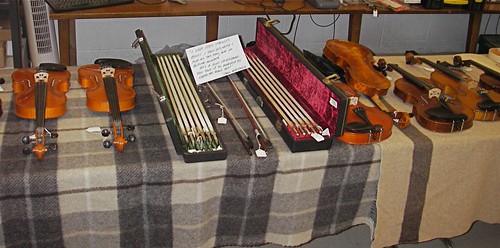
We sell books, cases, bows, fiddles, some strings and tuners.


Phil tries to sell his handmade bows, and I try to sell my fiddles, both factory and handmade.


We've been there long enough that we have a good time seeing the same faces year after year, as well as seeing what were little kids becoming young adults.